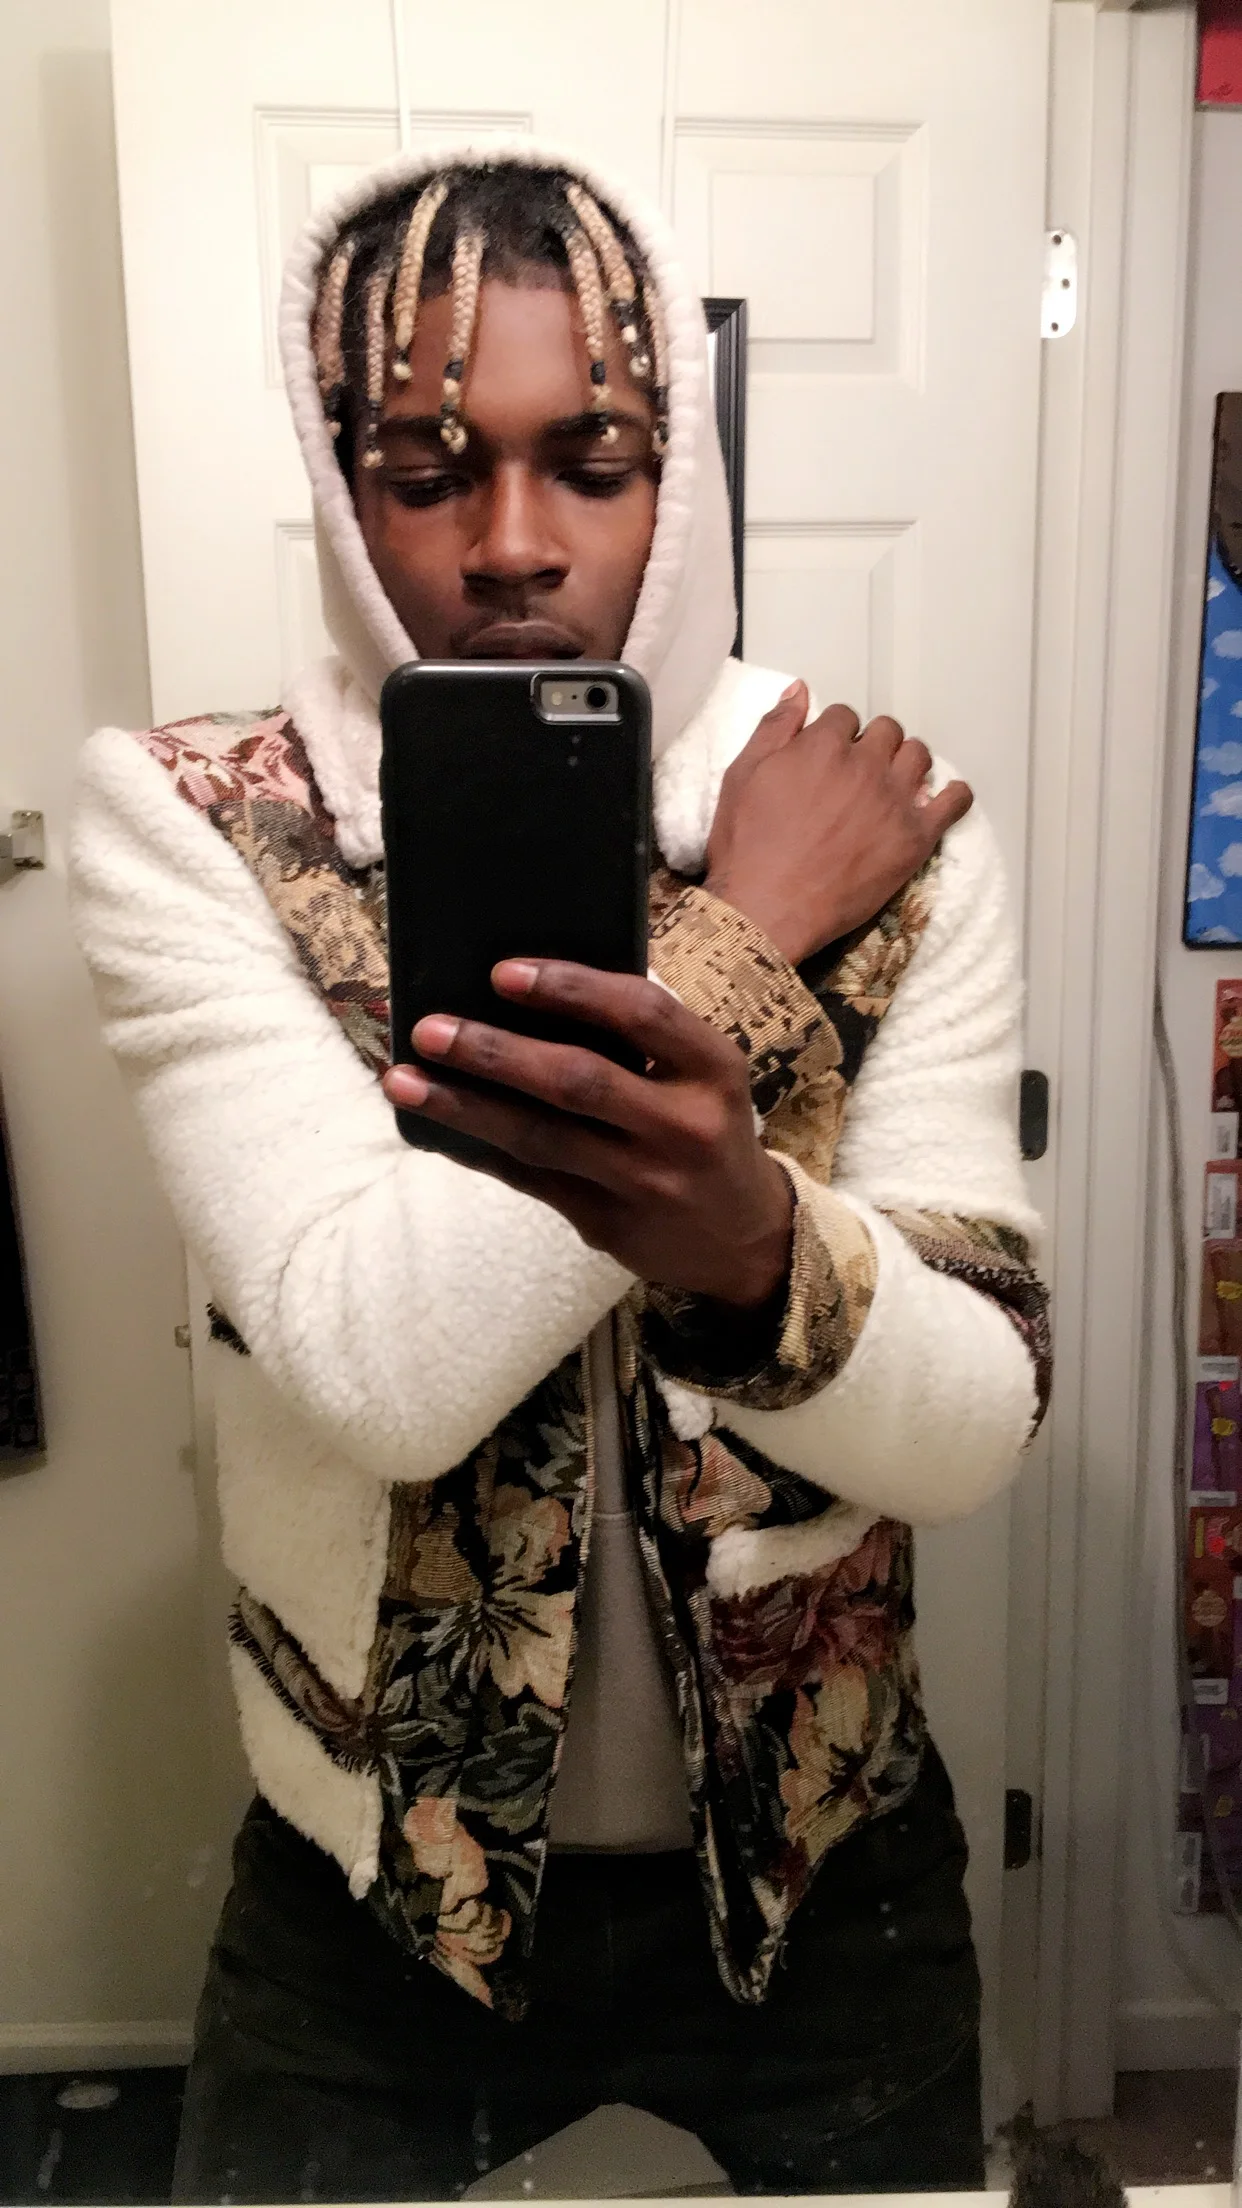
Tailored Sherpa Coat
Textiles/Fabric
- Faux Fur-Sherpa Suede (100% polyester)
- 10oz bulldenim (100% Cotton)
Construction/Process
- I wanted this to be more of a winter coat that could be layered with a hoodie or sweater easily. That being said, I did not add a lining because I did not want to add unnecessary weight. This was the first jacket I made during my fall semester 2016. I had taken a pattern making course the semester prior (then I took a draping course) which helped me craft and expand my pattern making skills.
The jacket has 4 pockets on the outside and button closures. I added the button hole facing and back facing as a stabilizer for the buttons and to improve the overall integrity of the garment through general wear and tear. The collar is lined with interfacing to increase the weight and create more of a defined structure. I believe the sherpa fur gave the garment the winter season essence I intended it to contain. The back sherpa panels are parallel with the back darts which gives the back piece a focal point and guides the eyes in a certain direction when looking at it.
Weight - Lightweight
Textiles/Fabric
- Non-woven Wool Felt
- 35% Wool/ 65% Rayon
Construction/Process
- I knew that this fabric would be difficult to manipulate due to the fact it is a non-woven fabric. I wanted to ensure that I did not ruin the integrity of the final garment by securing good stitch work and using facings to take some of the tension off of the base fabric. I noticed that the looser the stitch length, the more easier it was for the felt to just tear away from each other. I used a 1.5 stitch to secure each piece to tone another, which allowed me a stronger peace of mind in the garments quality. Moving forward, I would add a lining to increase the overall quality of the garment and to take more of the tension and abrasions that would normally affect the base fabric.
Weight - Lightweight
Textiles/ Fabric
- 100% Polyester Sweater Fleece fabric (Heather Grey/Dark Grey)
Construction/Process
- The design for this sweater did a complete 180 because of my fabric choice. I had found these two sweater fabrics that were very comfortable and one was darker than the other, which I could use to my advantage. In one of the torso garments, whether it be the polo, sweater, or hoodie; I wanted to exaggerate a certain part of the body.
I had an idea to use a dropped shoulder to exaggerate the sleeve cap and extend the length on a piece to make it pass the waistline substantially. Also, to just make the sleeve pattern extremely long. That being said, I felt as if this was the perfect garment to do so. I decided to extend my arm pattern by 4 – 5 inches to achieve that look. I knew that I was not going to be adding pockets or seam lines on the sweater so I decided to place more detail in the sleeves while extending them in length as well. I cut the sleeve pattern into 4 different pieces and used the dark and light sweater fabric to piece the sleeve together. This added an intriguing design in the sleeve and another focal point.
I added a last minute design detail since i felt as if the overall composition of the garment was bland. I sewed the side seams together, but left 3-4 inches at the bottom of the side seam hem open. By doing this, the back piece is not completely attached to the front piece by the bottom hem. The back piece would extend slightly outwards towards the back of the model, which gave the garment a very nice flow from top to bottom.
Weight - Midweight
Textiles/Fabric
- Lightweight black Gabardine
- Military green Polyester twill
Construction/Process
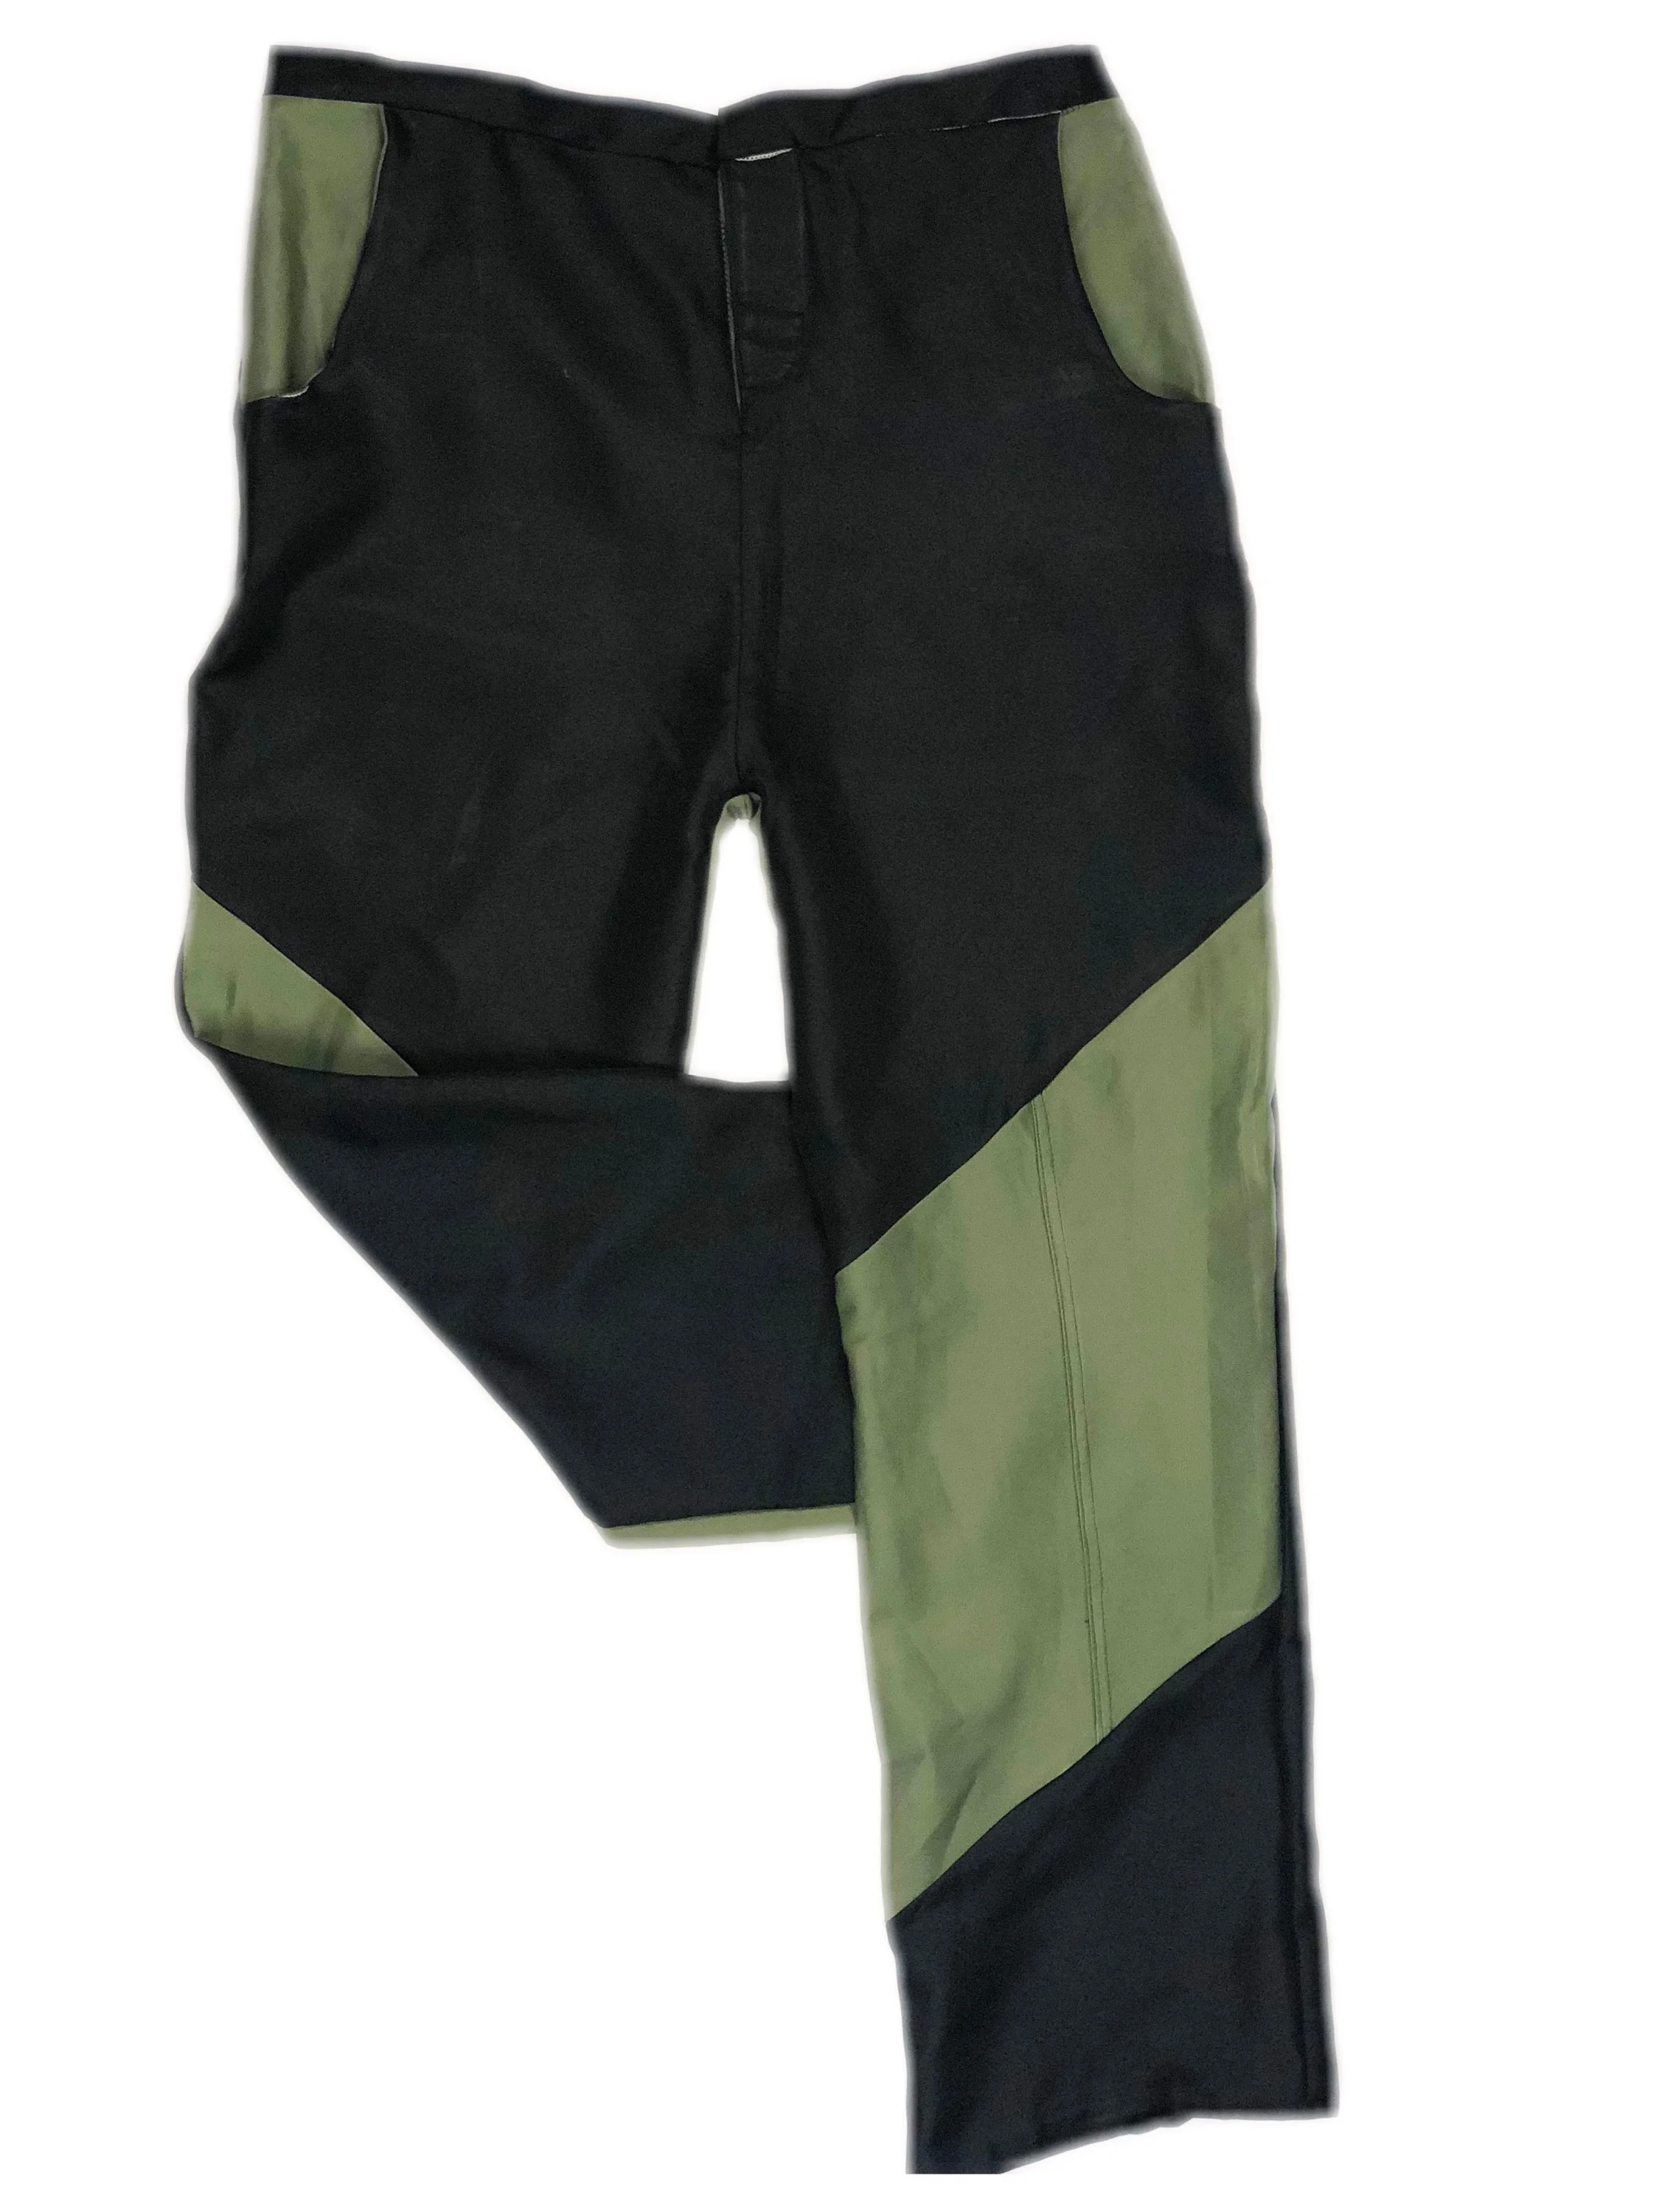
- These pants were initially supposed to be in denim but I chose to do them in a lightweight gabardine with polyester twill military green accents. I used one of the pant patterns I created in muslin for patchwork and added a circular seam line in the back of the pants which I used to encase the military green polyester fabric. I used the black gabardine for my front and back pieces and used the green polyester for the patchwork on the front lower leg and the circular piece in the back of the pants. I believe this contrast in fabric would be perfect when choosing pieces to pair this garment with. The black base color and subtle accents allow this garment to effortlessly mix with a variety of colors from grey, yellow, etc. These pockets have traditional pockets on the front with a button closure incorporated into the fly. If I were to do these pants again, I believe I would change the base fabric from a gabardine to a lightweight wool just because I would enjoy doing the same patchwork with wool fabric. I also believe wool pants are not a trend right now, so this would be more innovative than using a traditional denim or suiting fabric to create these pants. I believe these pants do not fit as well into the line as I intended but I think that is because the colors are so dark (black and green) and the contrast is not as subtle as I intended as well.
Weight - Mid/Heavyweight
Textiles/Fabric
- Plaid Rayon (details)
- Velvet
Construction/Process
- For the trouser, I used two different fabrics. One being a plaid rayon fabric that I used for the design details in the trouser, and the other being a velvet fabric that could easily be mistaken for a type of suede that I used for the base of the front and back pant pieces. The velvet had no shine to it unlike it usually does which I found interesting. The plaid fabric was very light compared to the suede, which is why I added a lightweight interfacing to the front and back bottom pieces of the pants. This made it easier to sew together and improved the drape of the garment when completed because both fabrics are balanced in weight. The color of both fabrics complimented each other quite nicely.
Out of all the pants I made during my capstone, these are my favorite because from a distance, one can not tell the base fabric is this quality of velvet. Also because this was the first zipper fly I ever created (even though I did not use zippers) and it was clean for the most part. I regret not adding my buttons and button holes on the pants prior to sewing the crotch details because it made it so much harder to manipulate the fabric once it was all sewn together. If I could re-do this garment, I would add only a half inch in the hip to give the model more ease in the thigh area when moving.
Weight - Heavyweight
Textiles/Fabric
-Gray Freckled Wool/Cotton Blend (heavy weight)
Construction/Process
- I loved this fabric because of the colorful accents in the grey and black wool. I am assuming they call it freckled wool because of the freckled accents in the fabric itself. I used this to my advantage when creating the outfit for which this garment would be worn. I paired the brown sailor pants with the colorful wool polyester accents with this hoodie because the accents in the colors complimented one another so well. I decided not to stitch the seam allowance into the hoodie pocket and leave it exposed because I think it added to the overall design. I also believe it made the garment complete because there was no hem on the front nor back pieces or the sleeves. I used this suiting fabric that my partner was using to unify our line more by using the same fabric in certain small details. I used the fabric in the hood and the side of the garment. The strip of suiting fabric under the sleeve on the side seams are subtle yet critical to the design of this garment, as well as the strip of suiting fabric on the top of the hoodie pattern going down the back.
Disclaimer
- I would like to make it transparent that I used the wrong front pattern piece when creating this garment. I used the sweater pattern instead of the hoodie pattern I made with the muslin sample. The muslin sample has a lot more space and comfort in the neck area due to the different fabrics and the error I made when cutting out the patterns for this garment.
Weight - Midweight
Textiles/Fabric
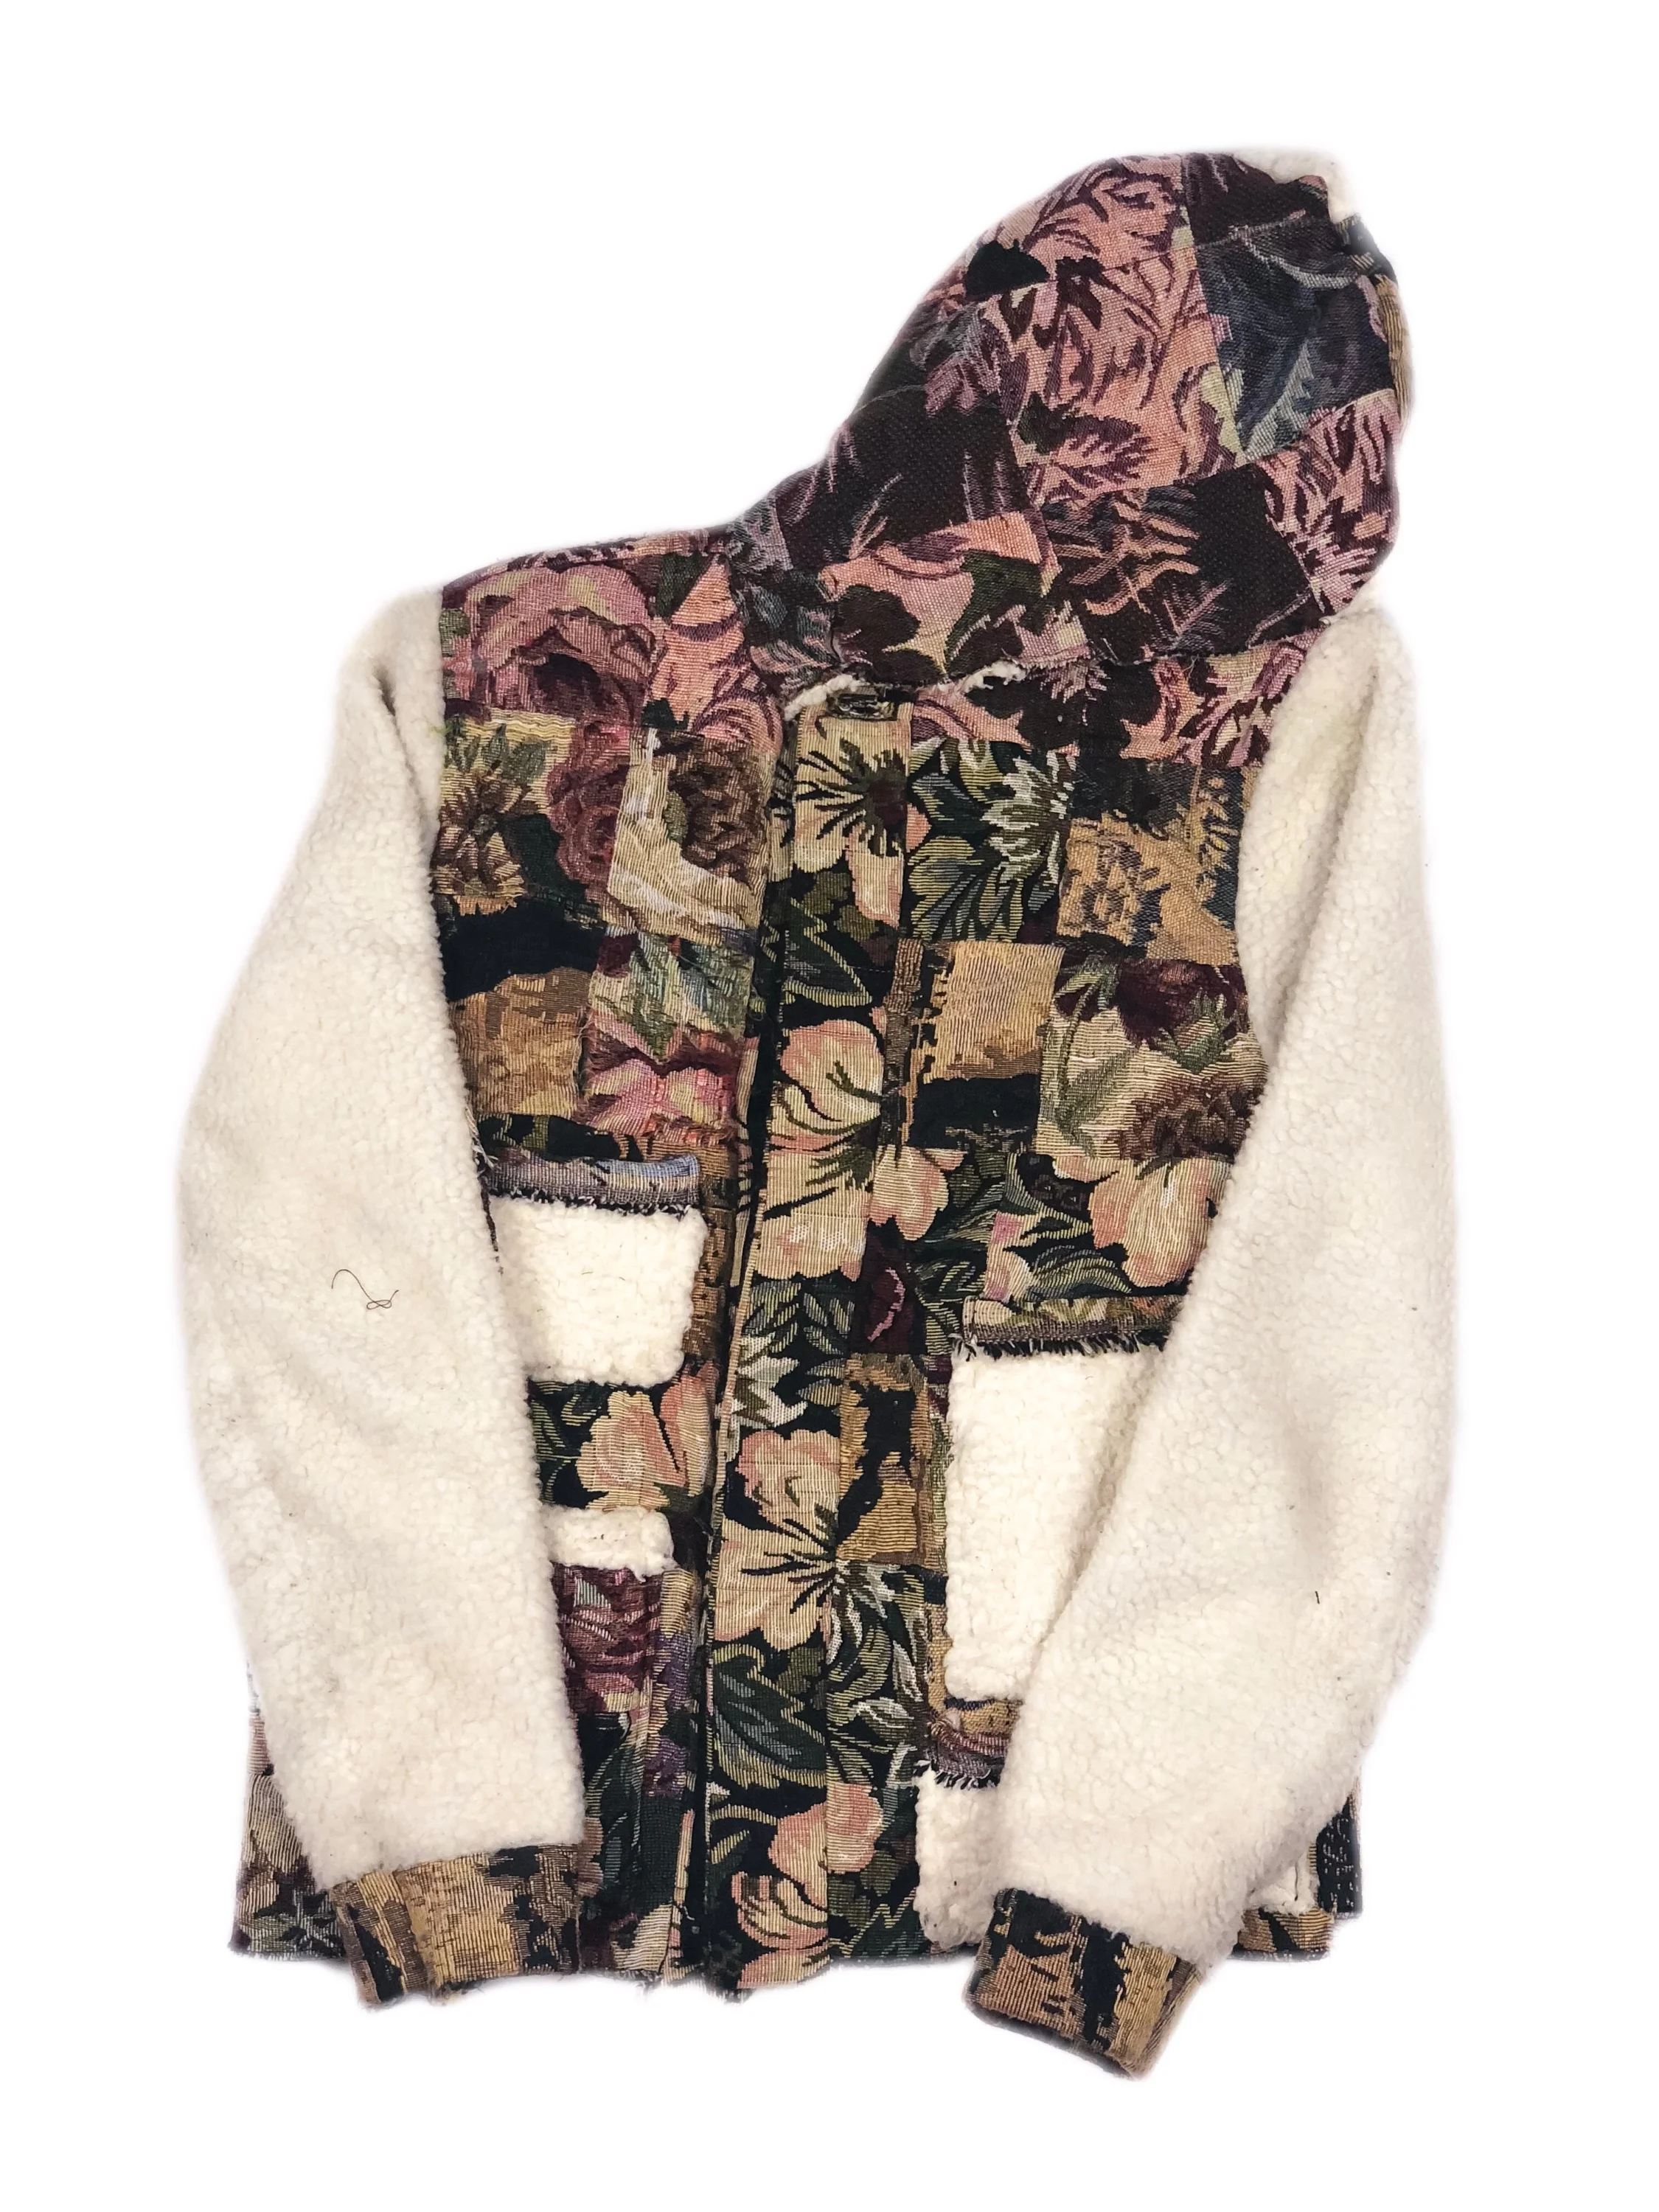
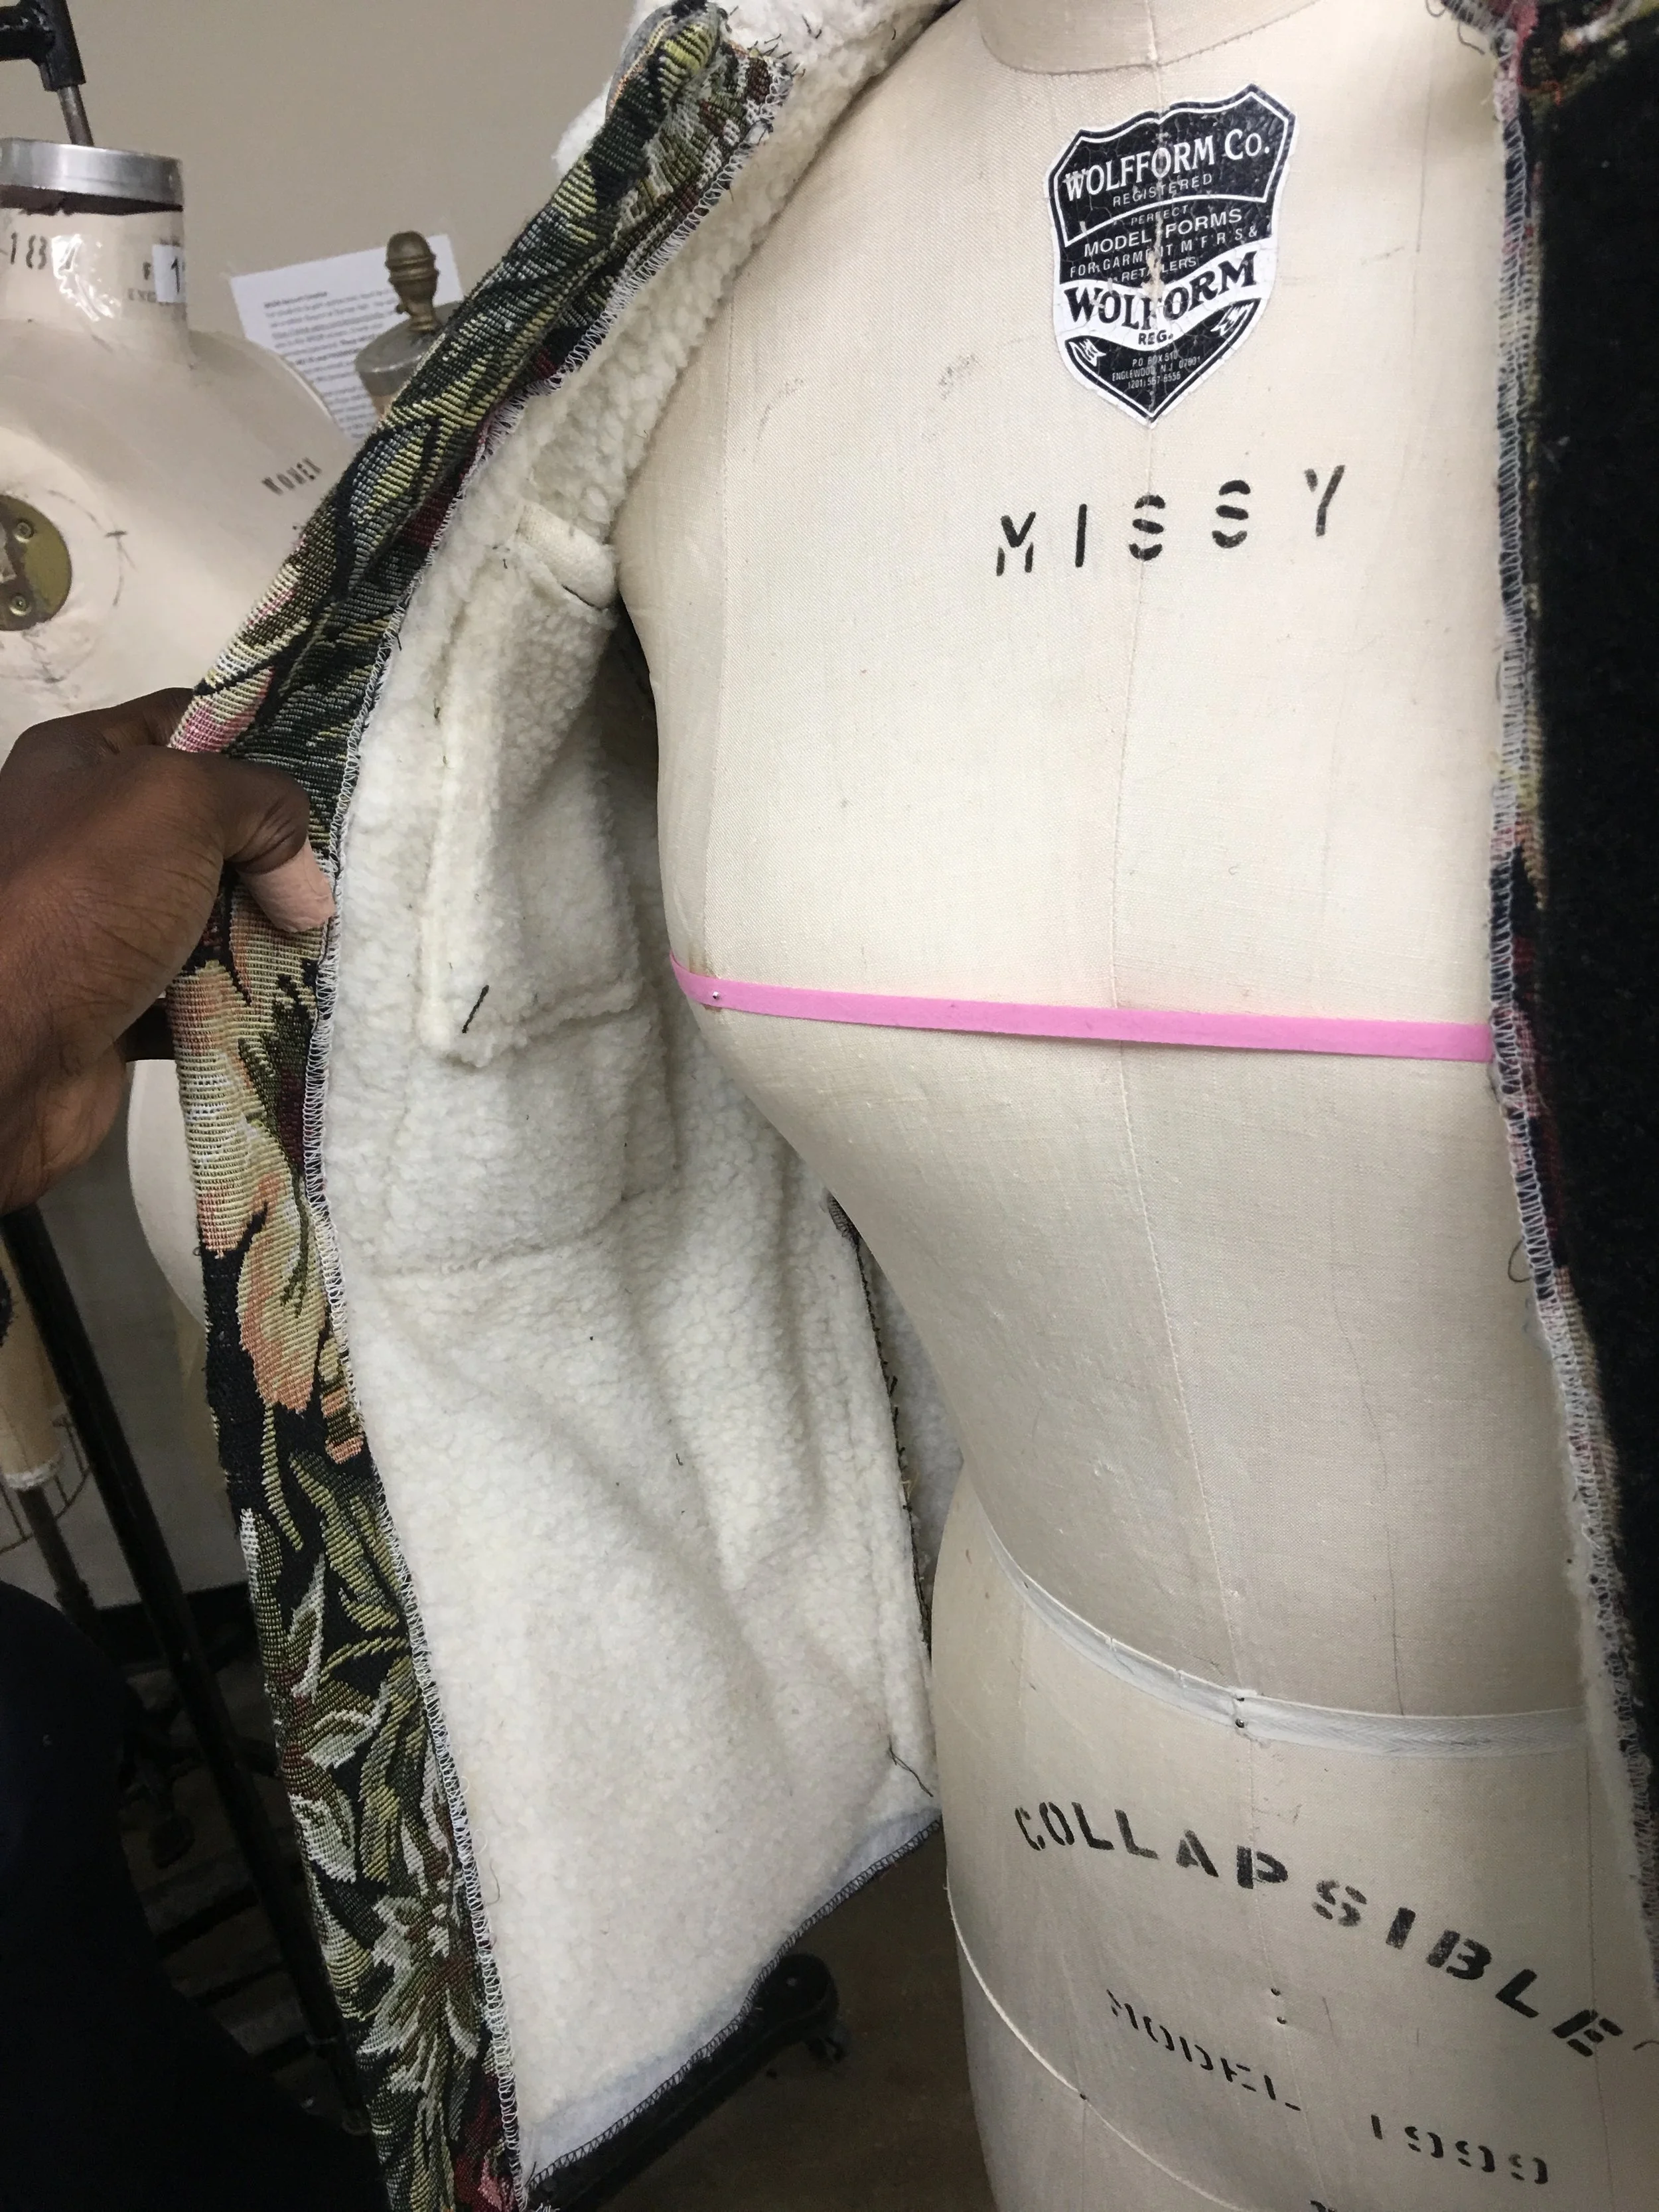
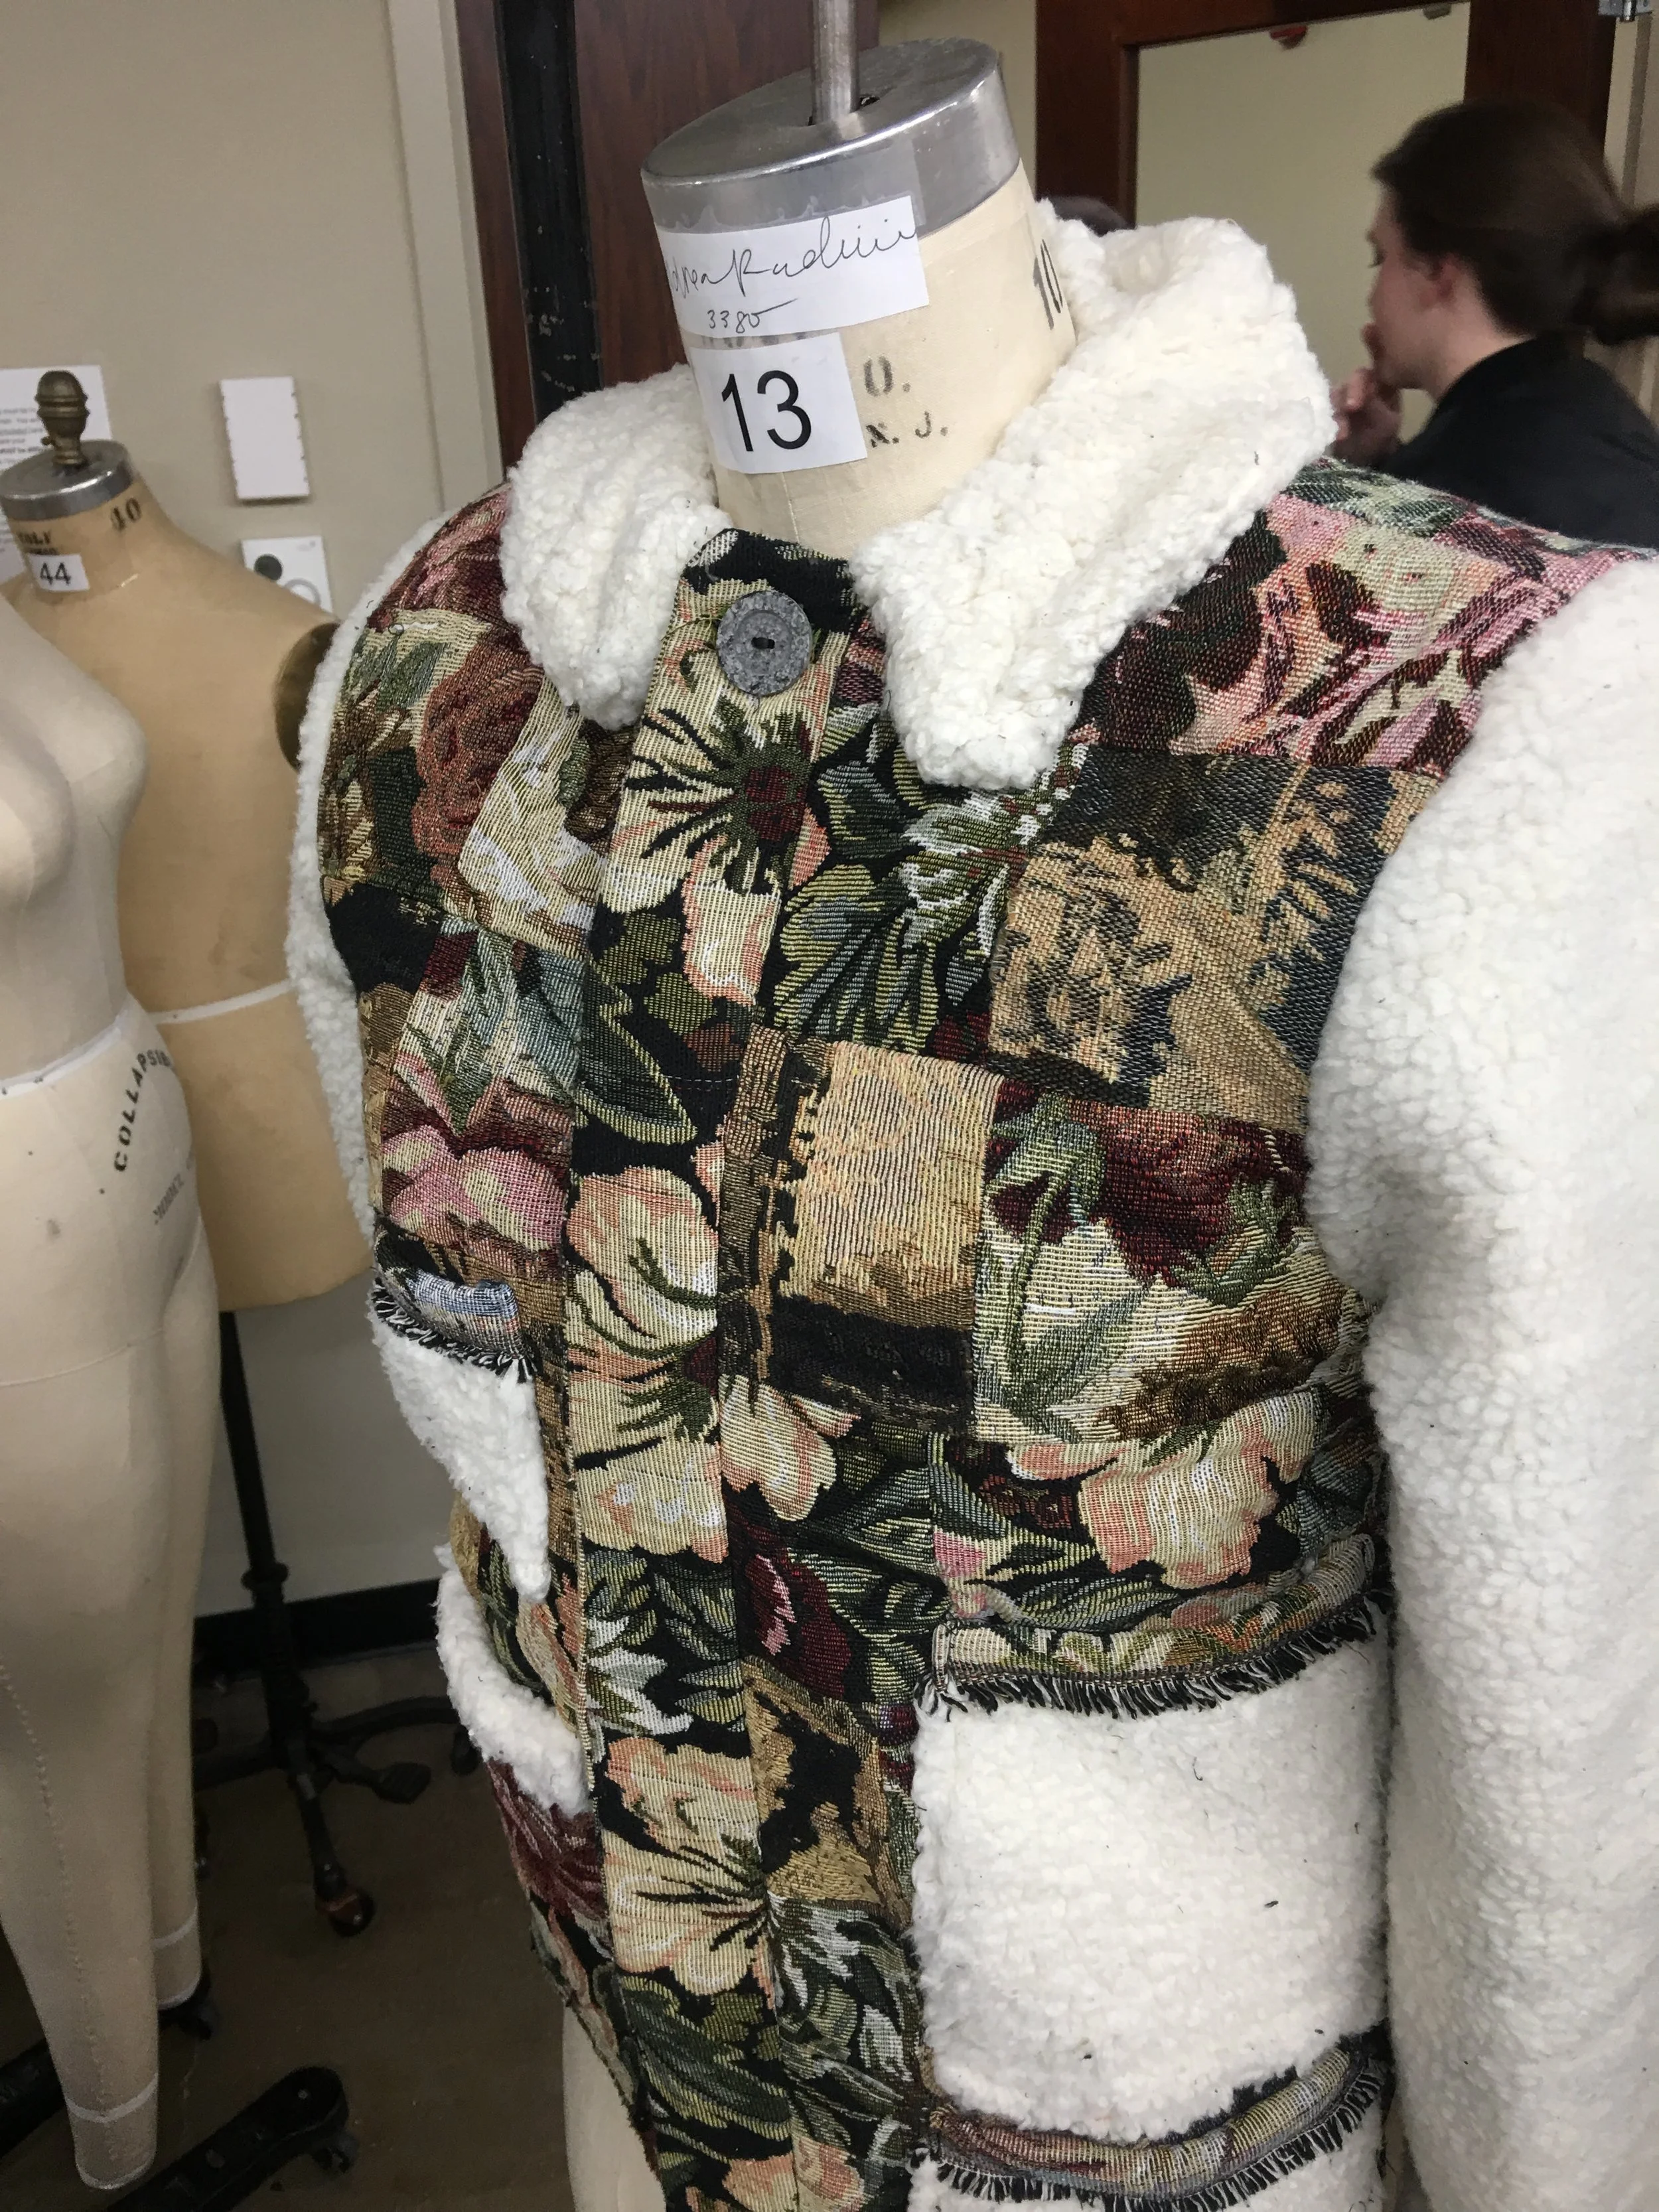
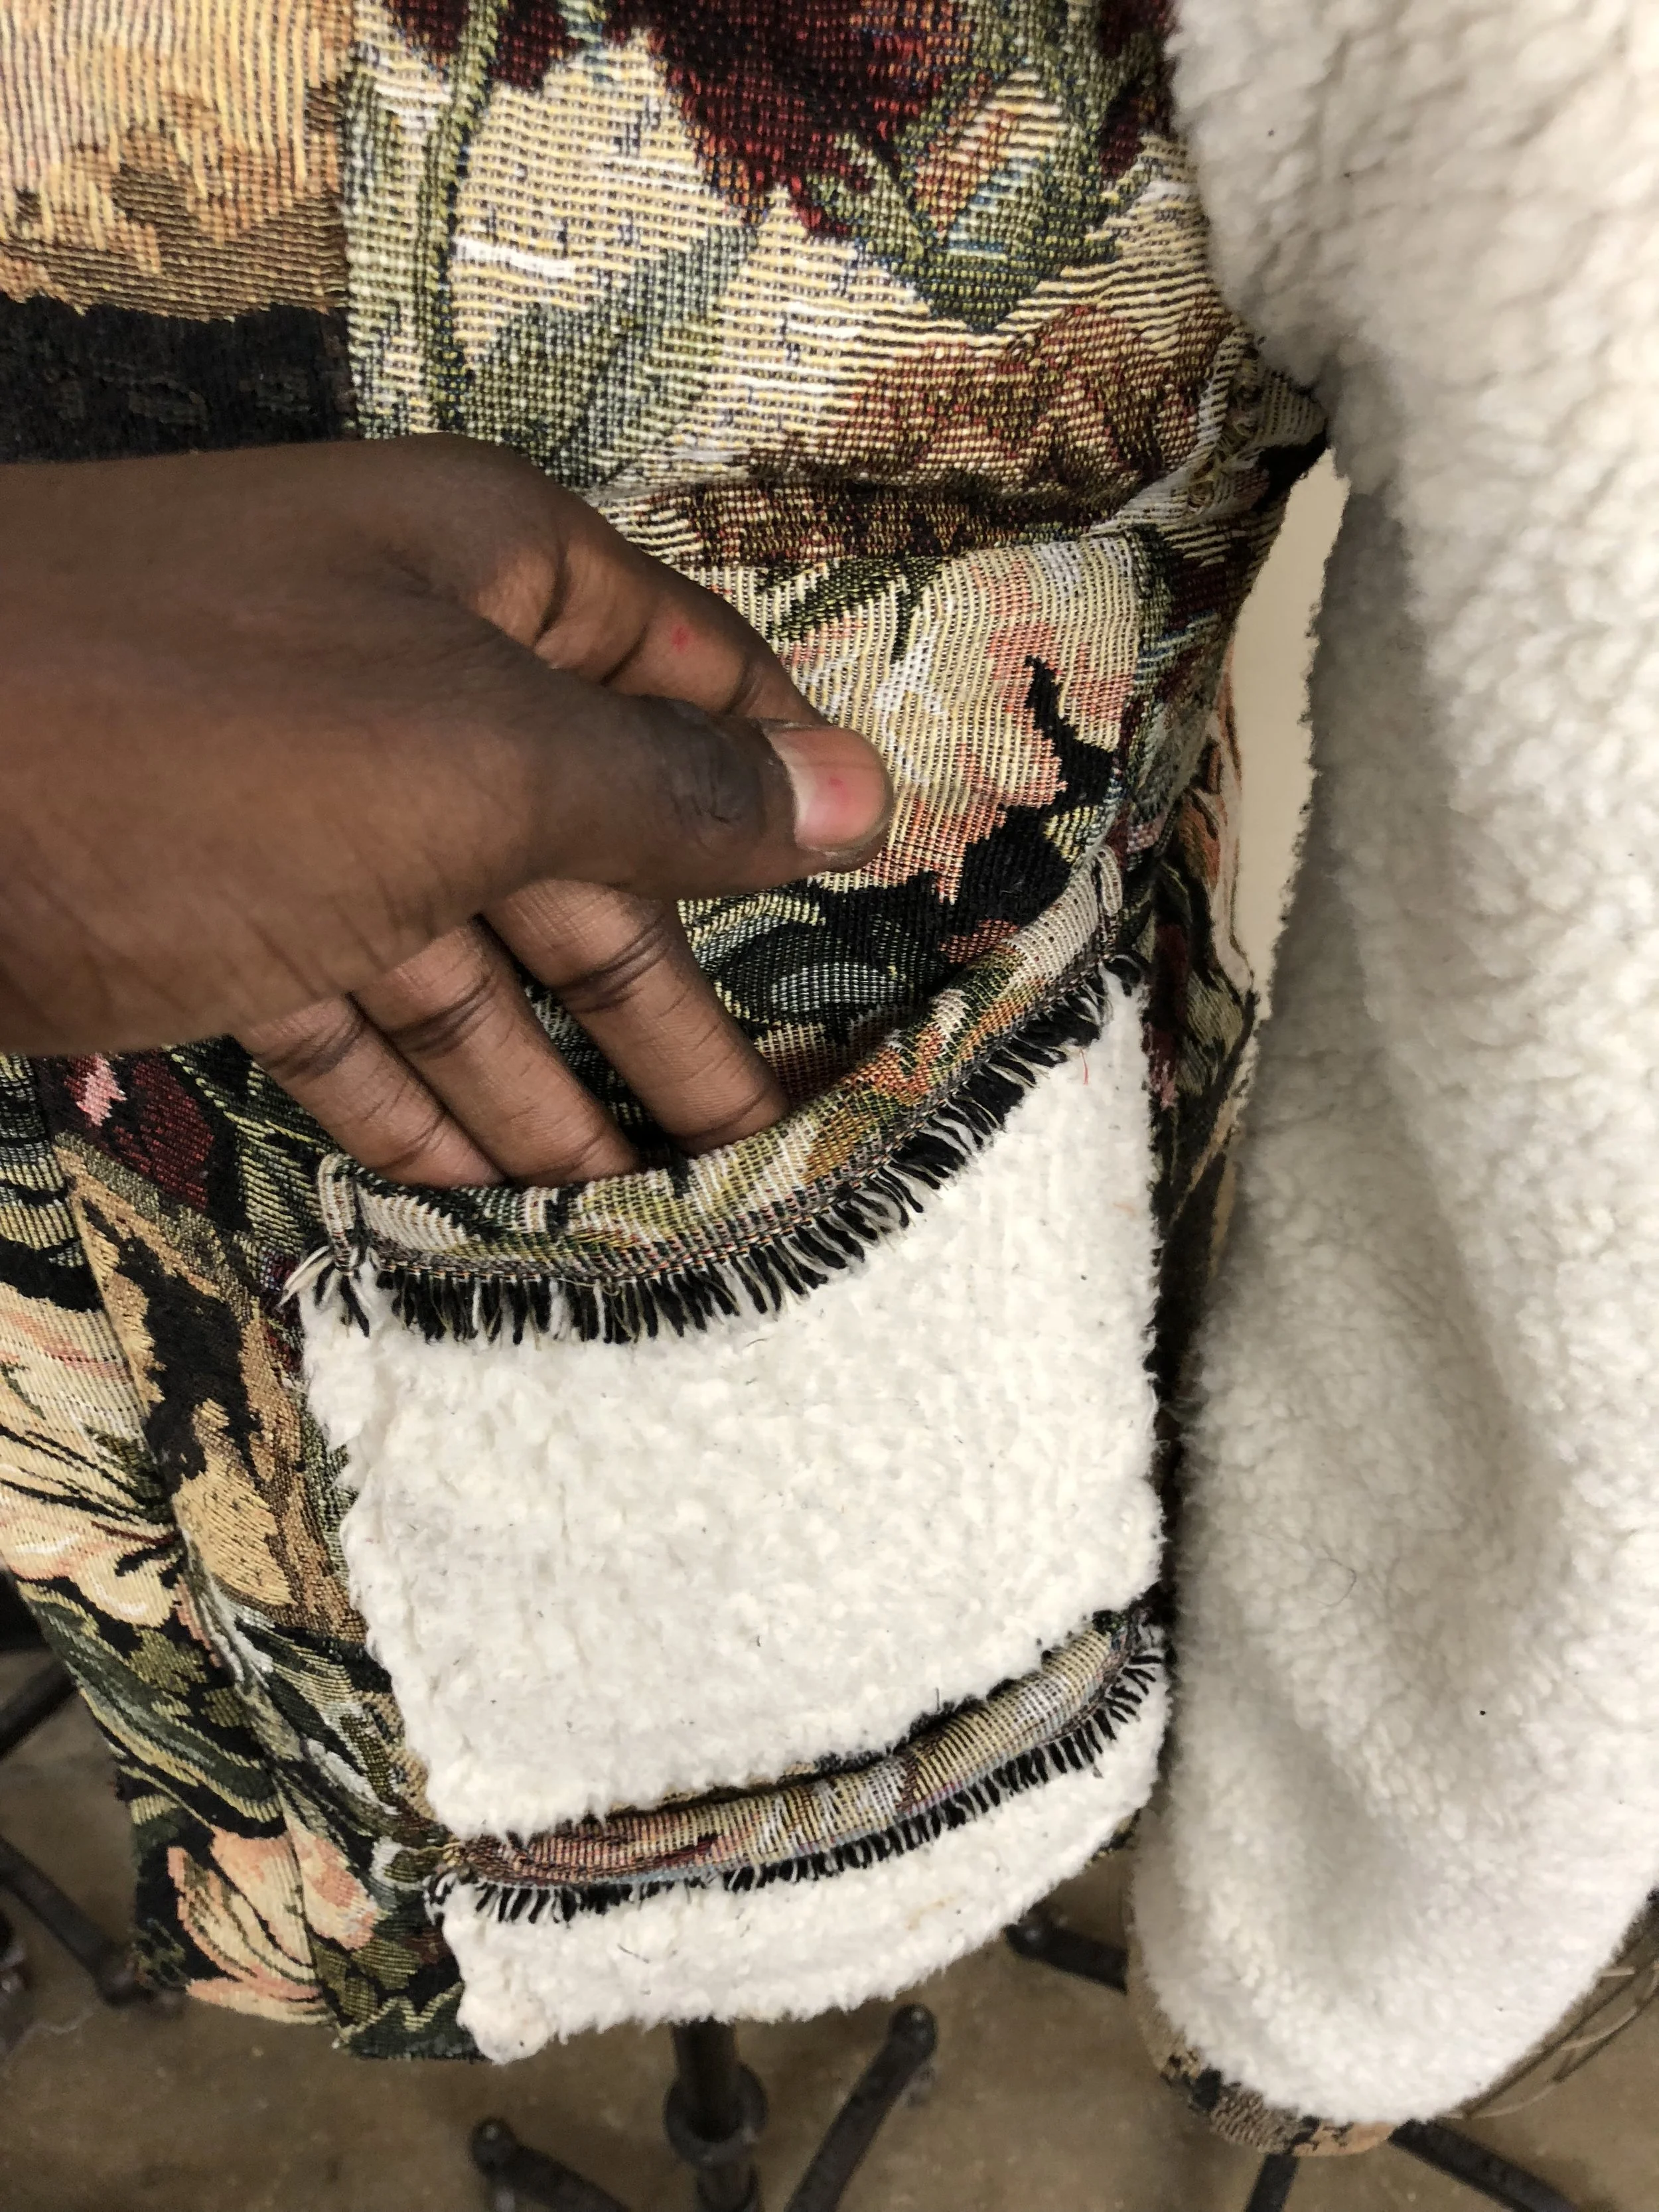
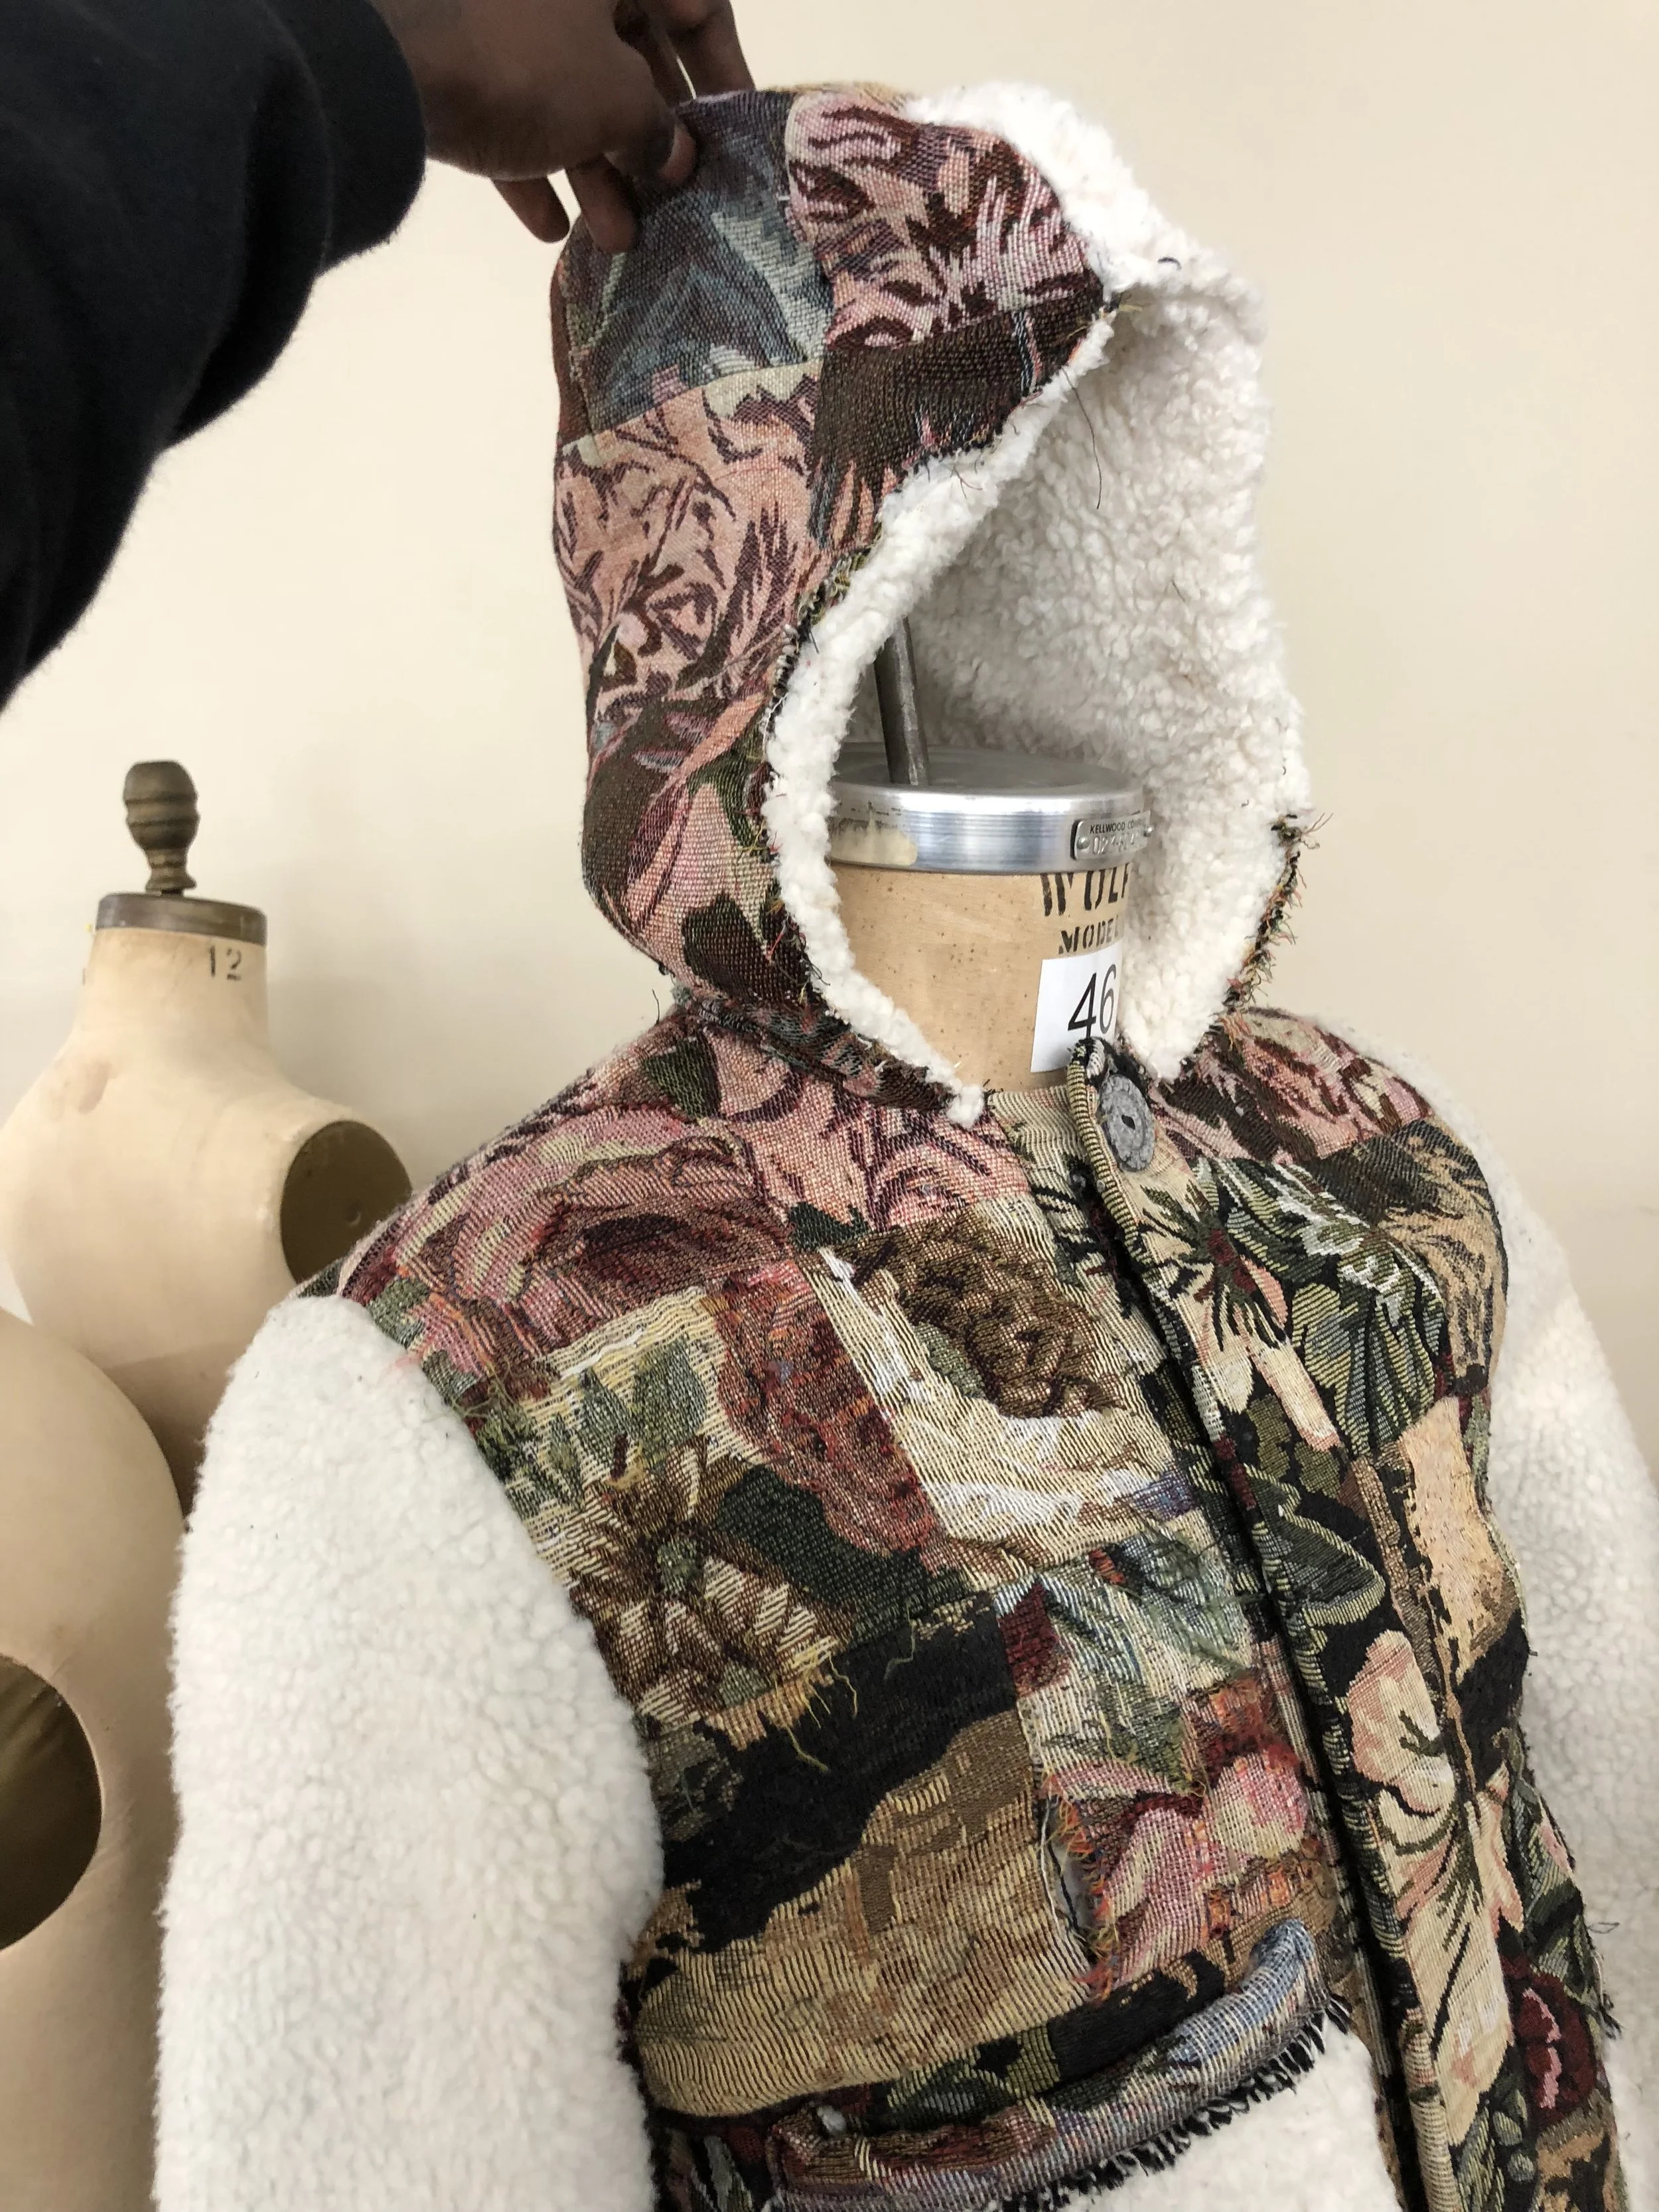
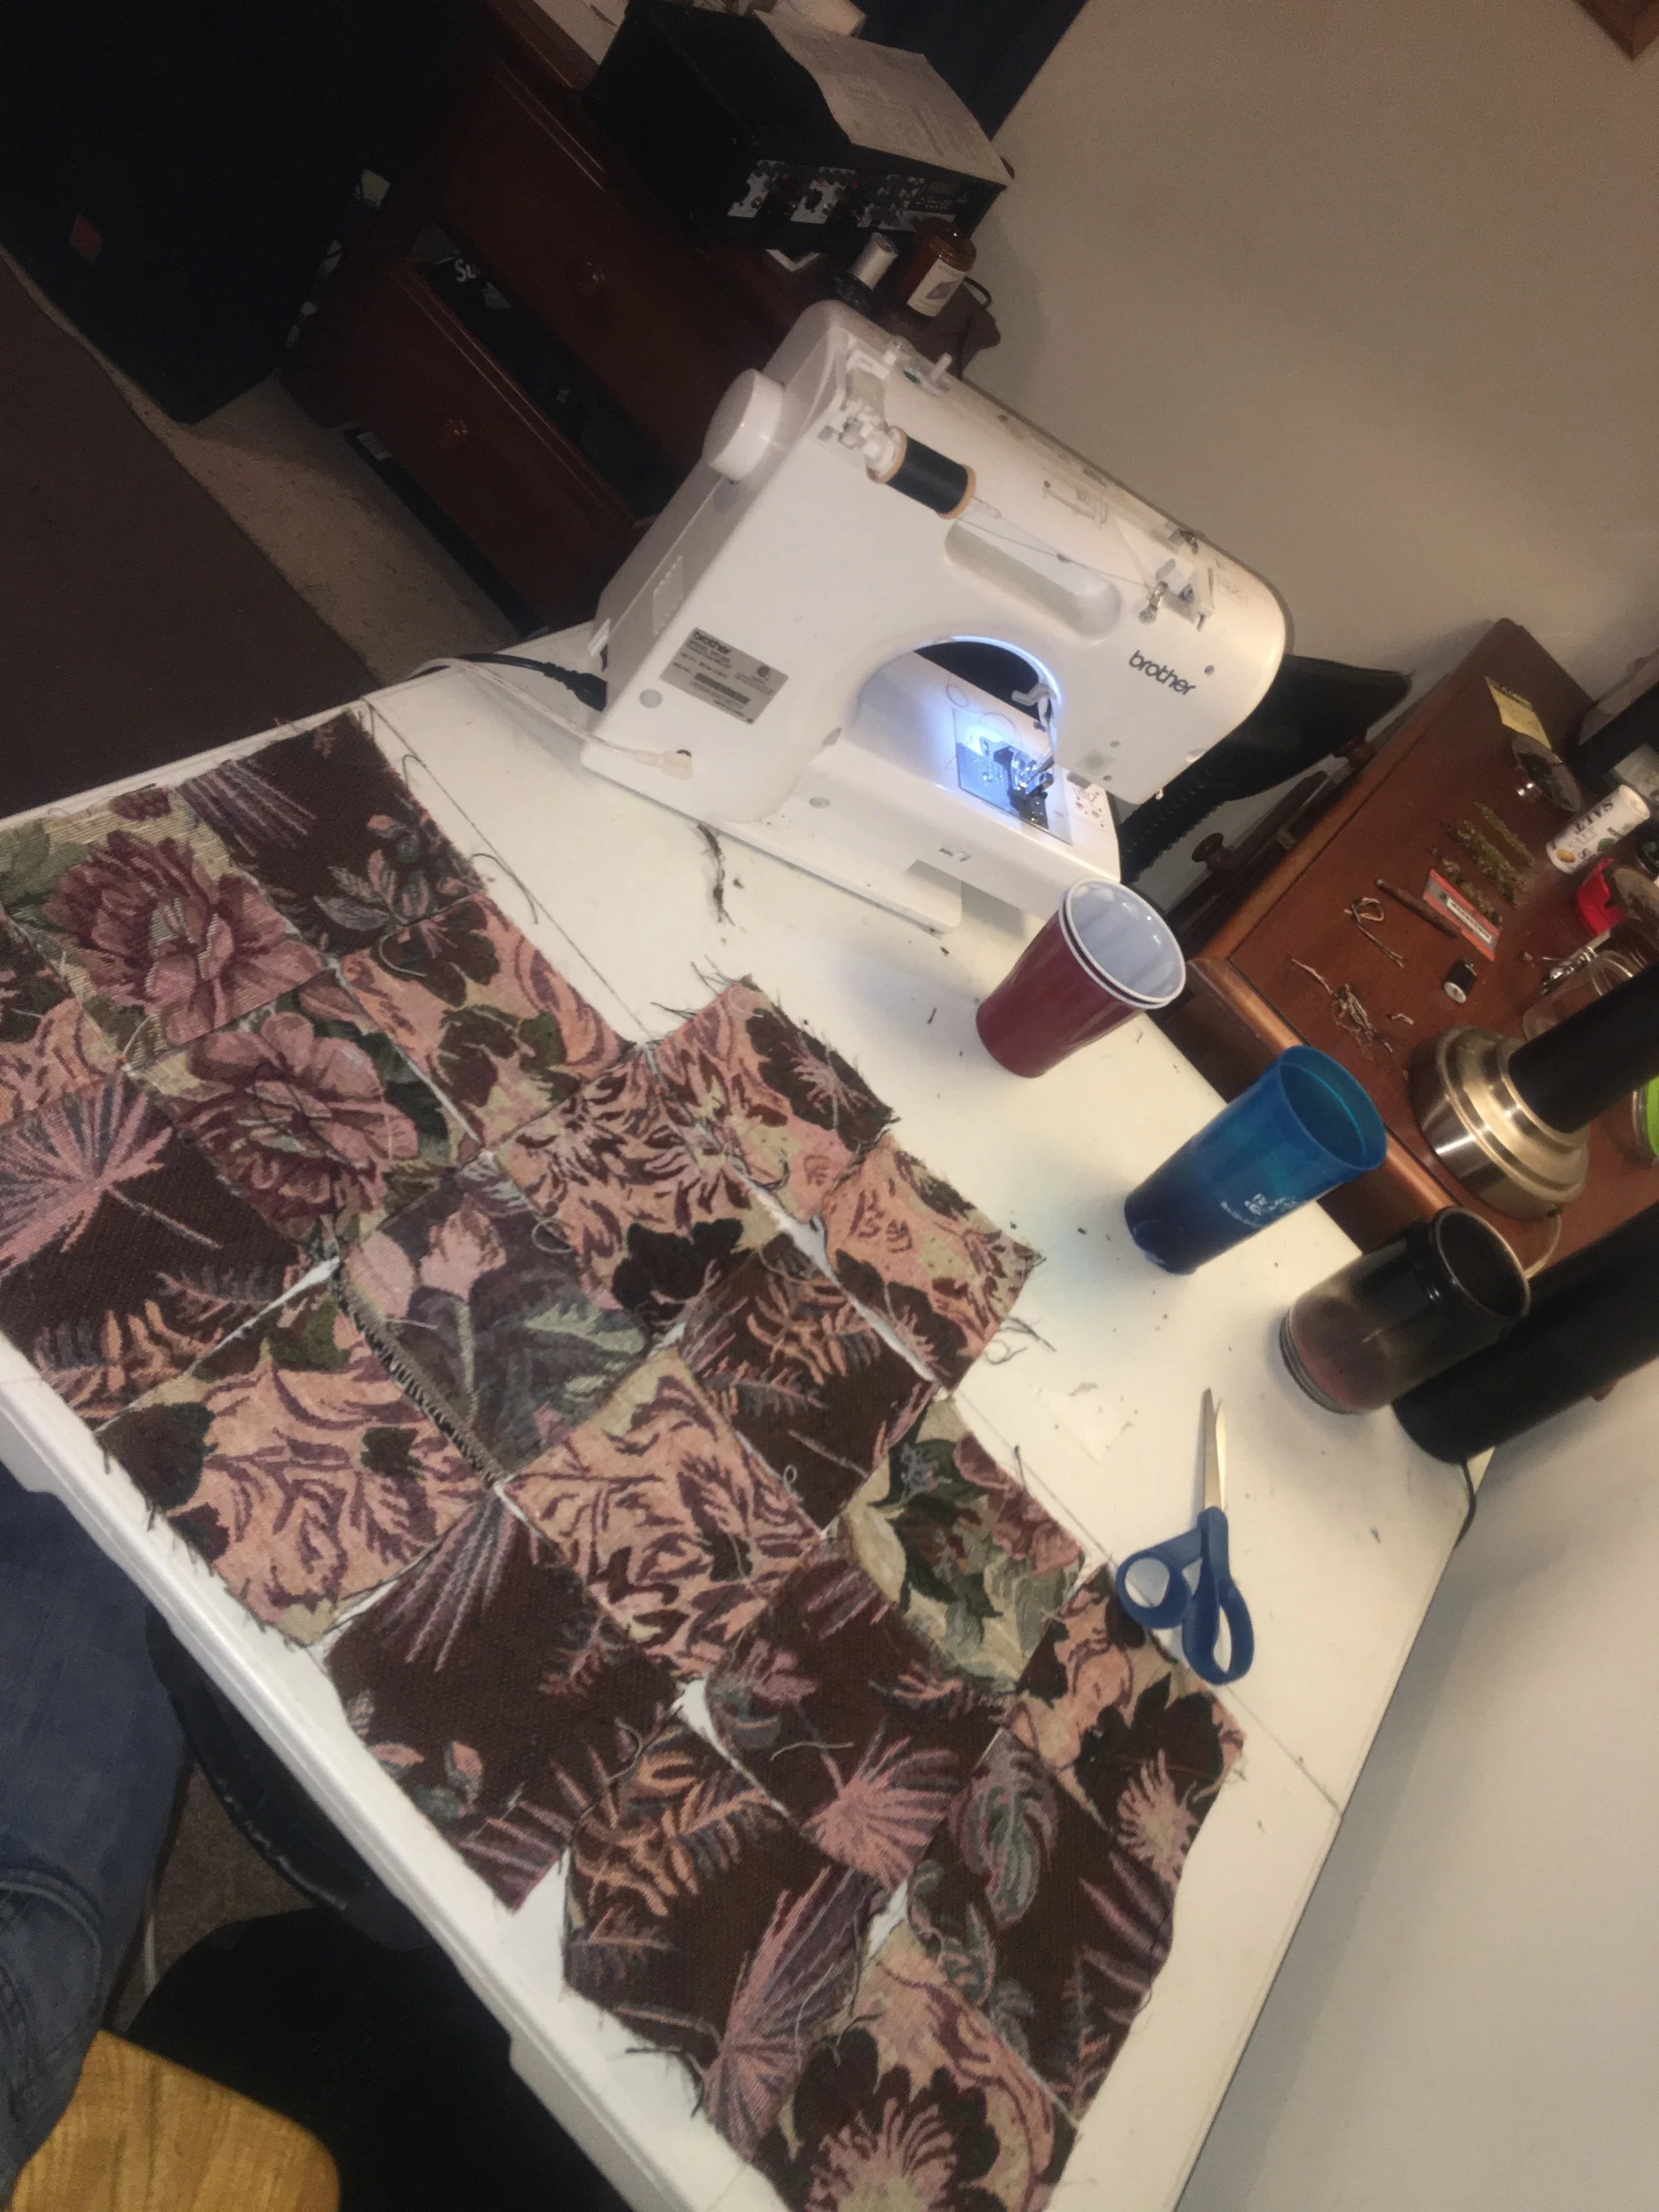
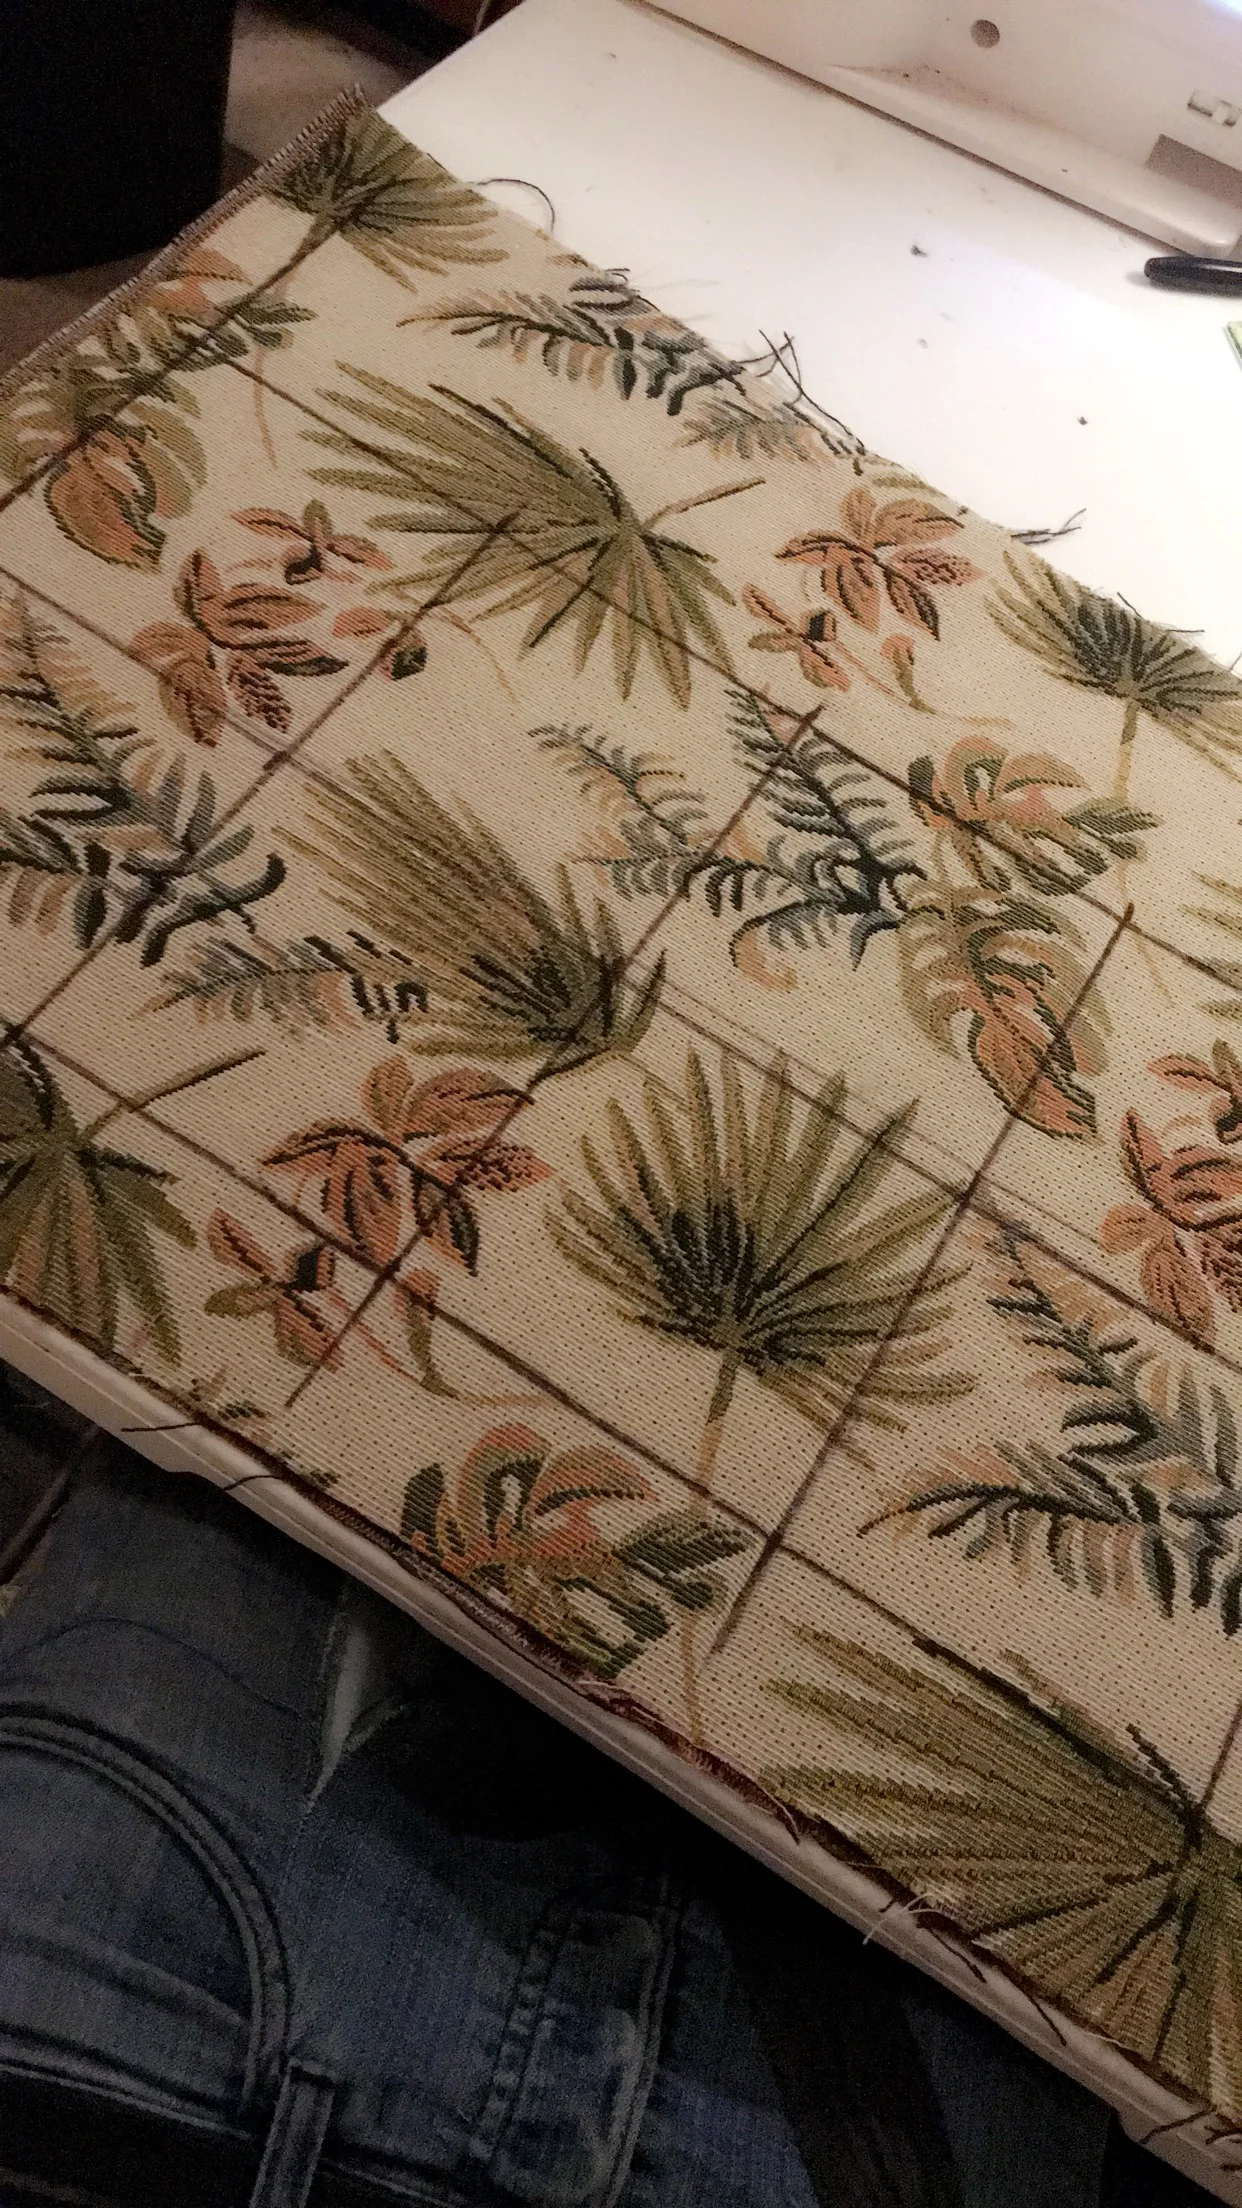
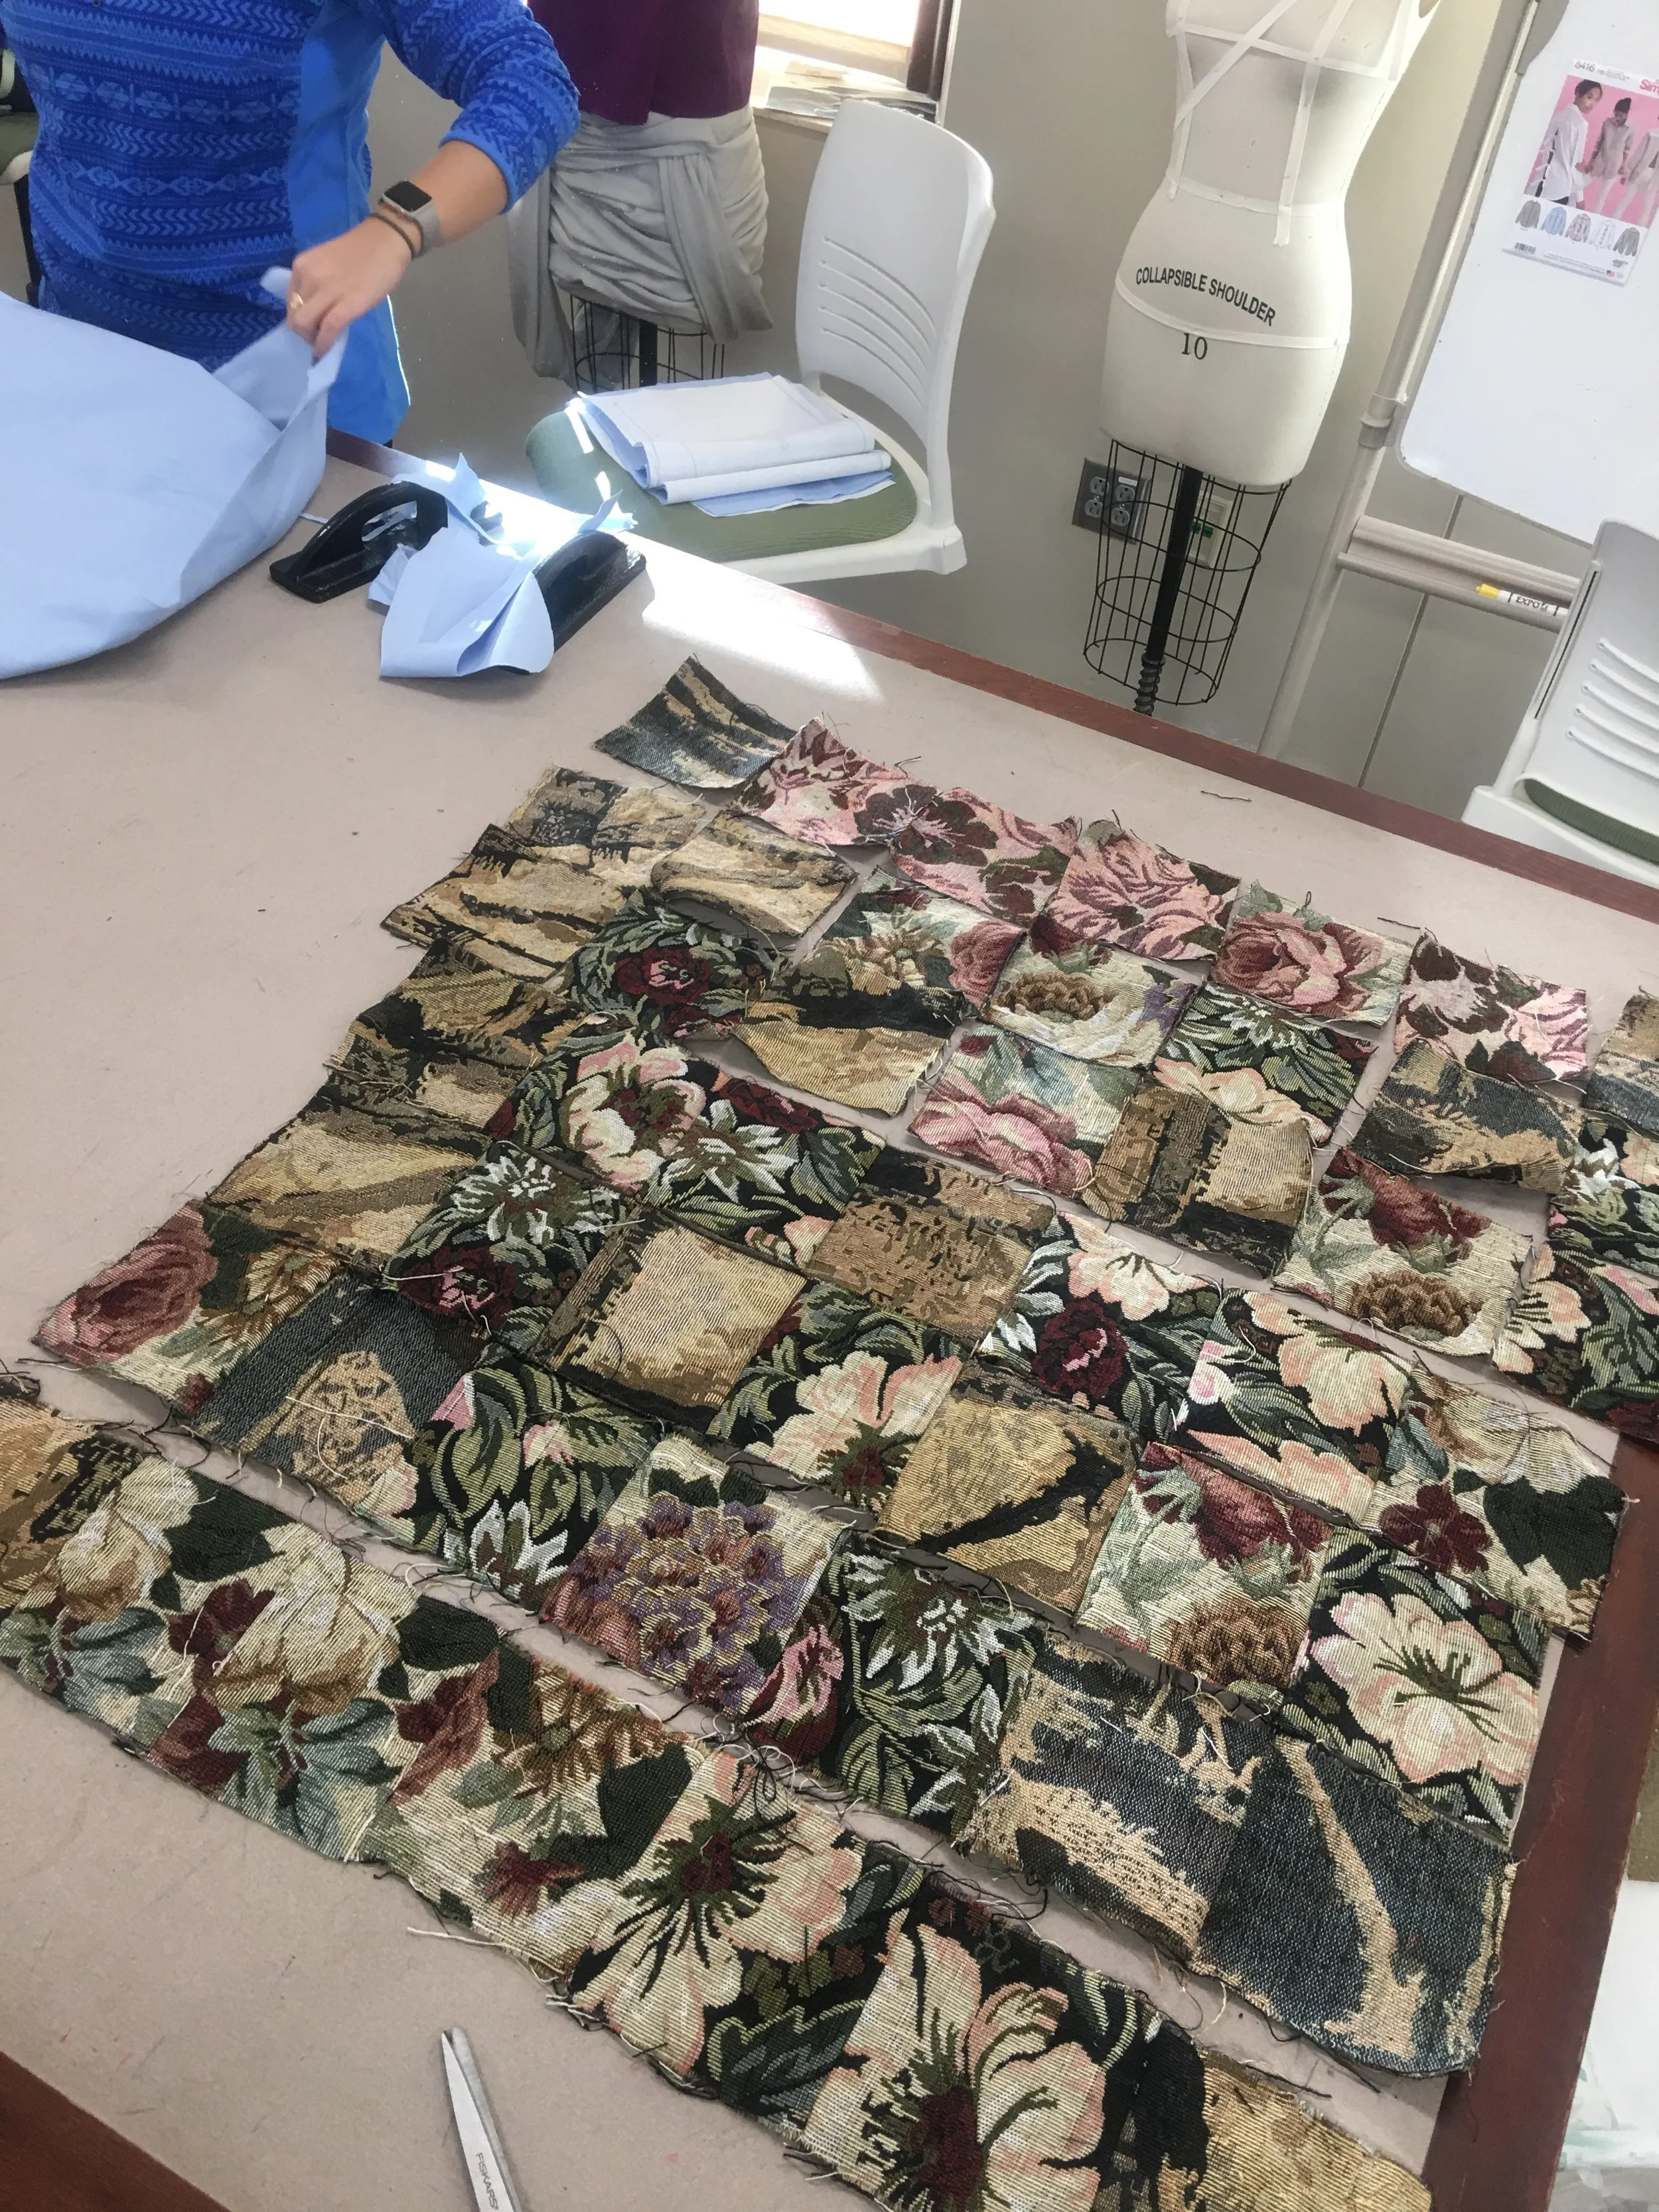
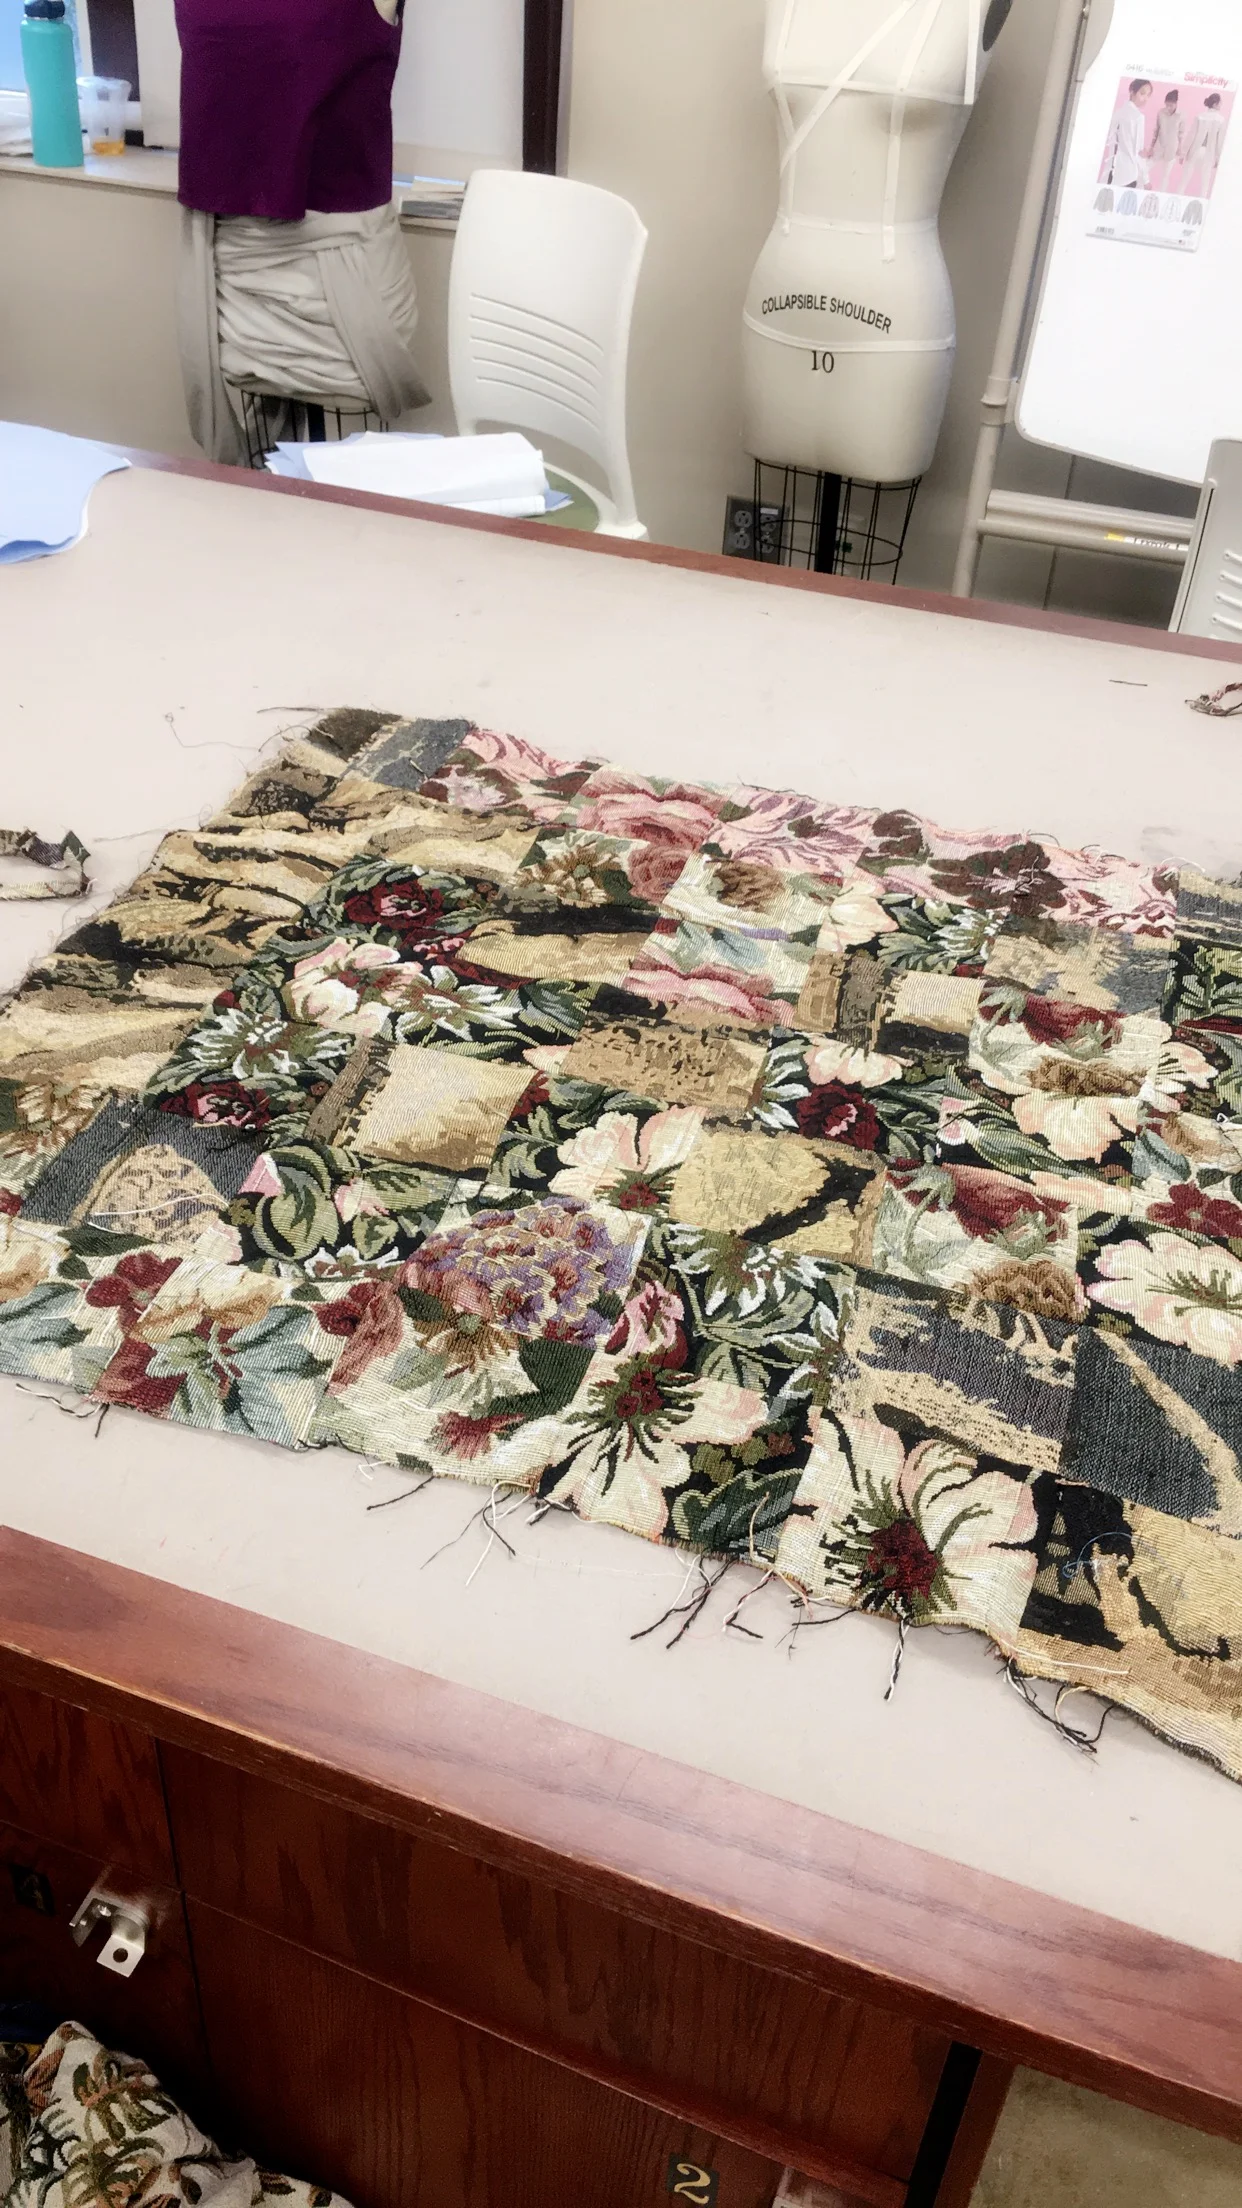
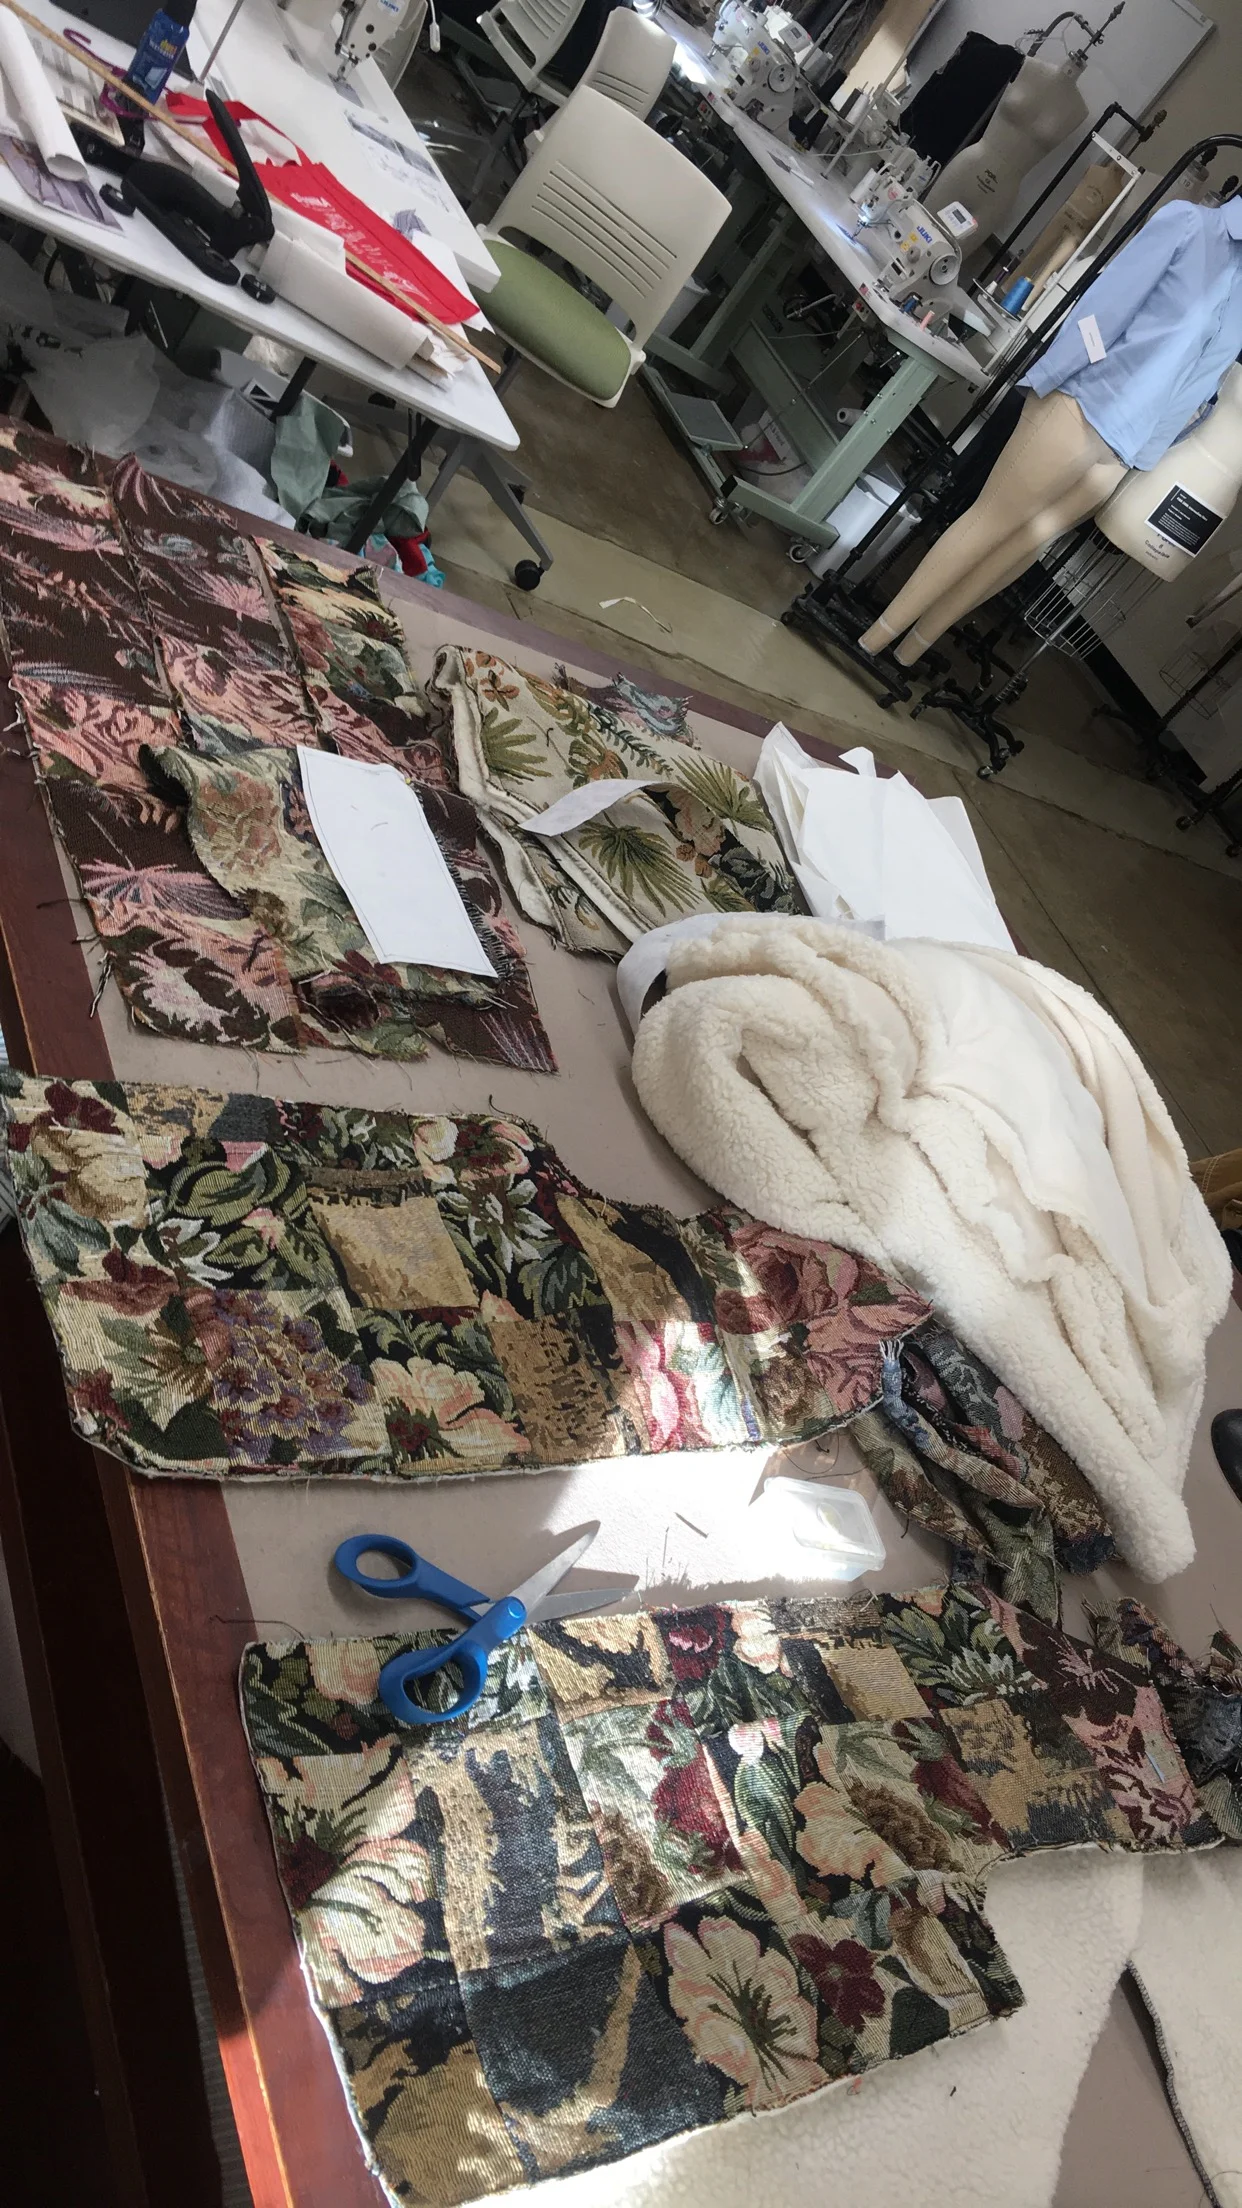
- 4 different Tapestry/Home Decor fabrics (100% Cotton)
- Luxury Sherpa Fur (100% Polyester)
- Faux craft Sherpa Fur (100% Polyester)
Construction/Process
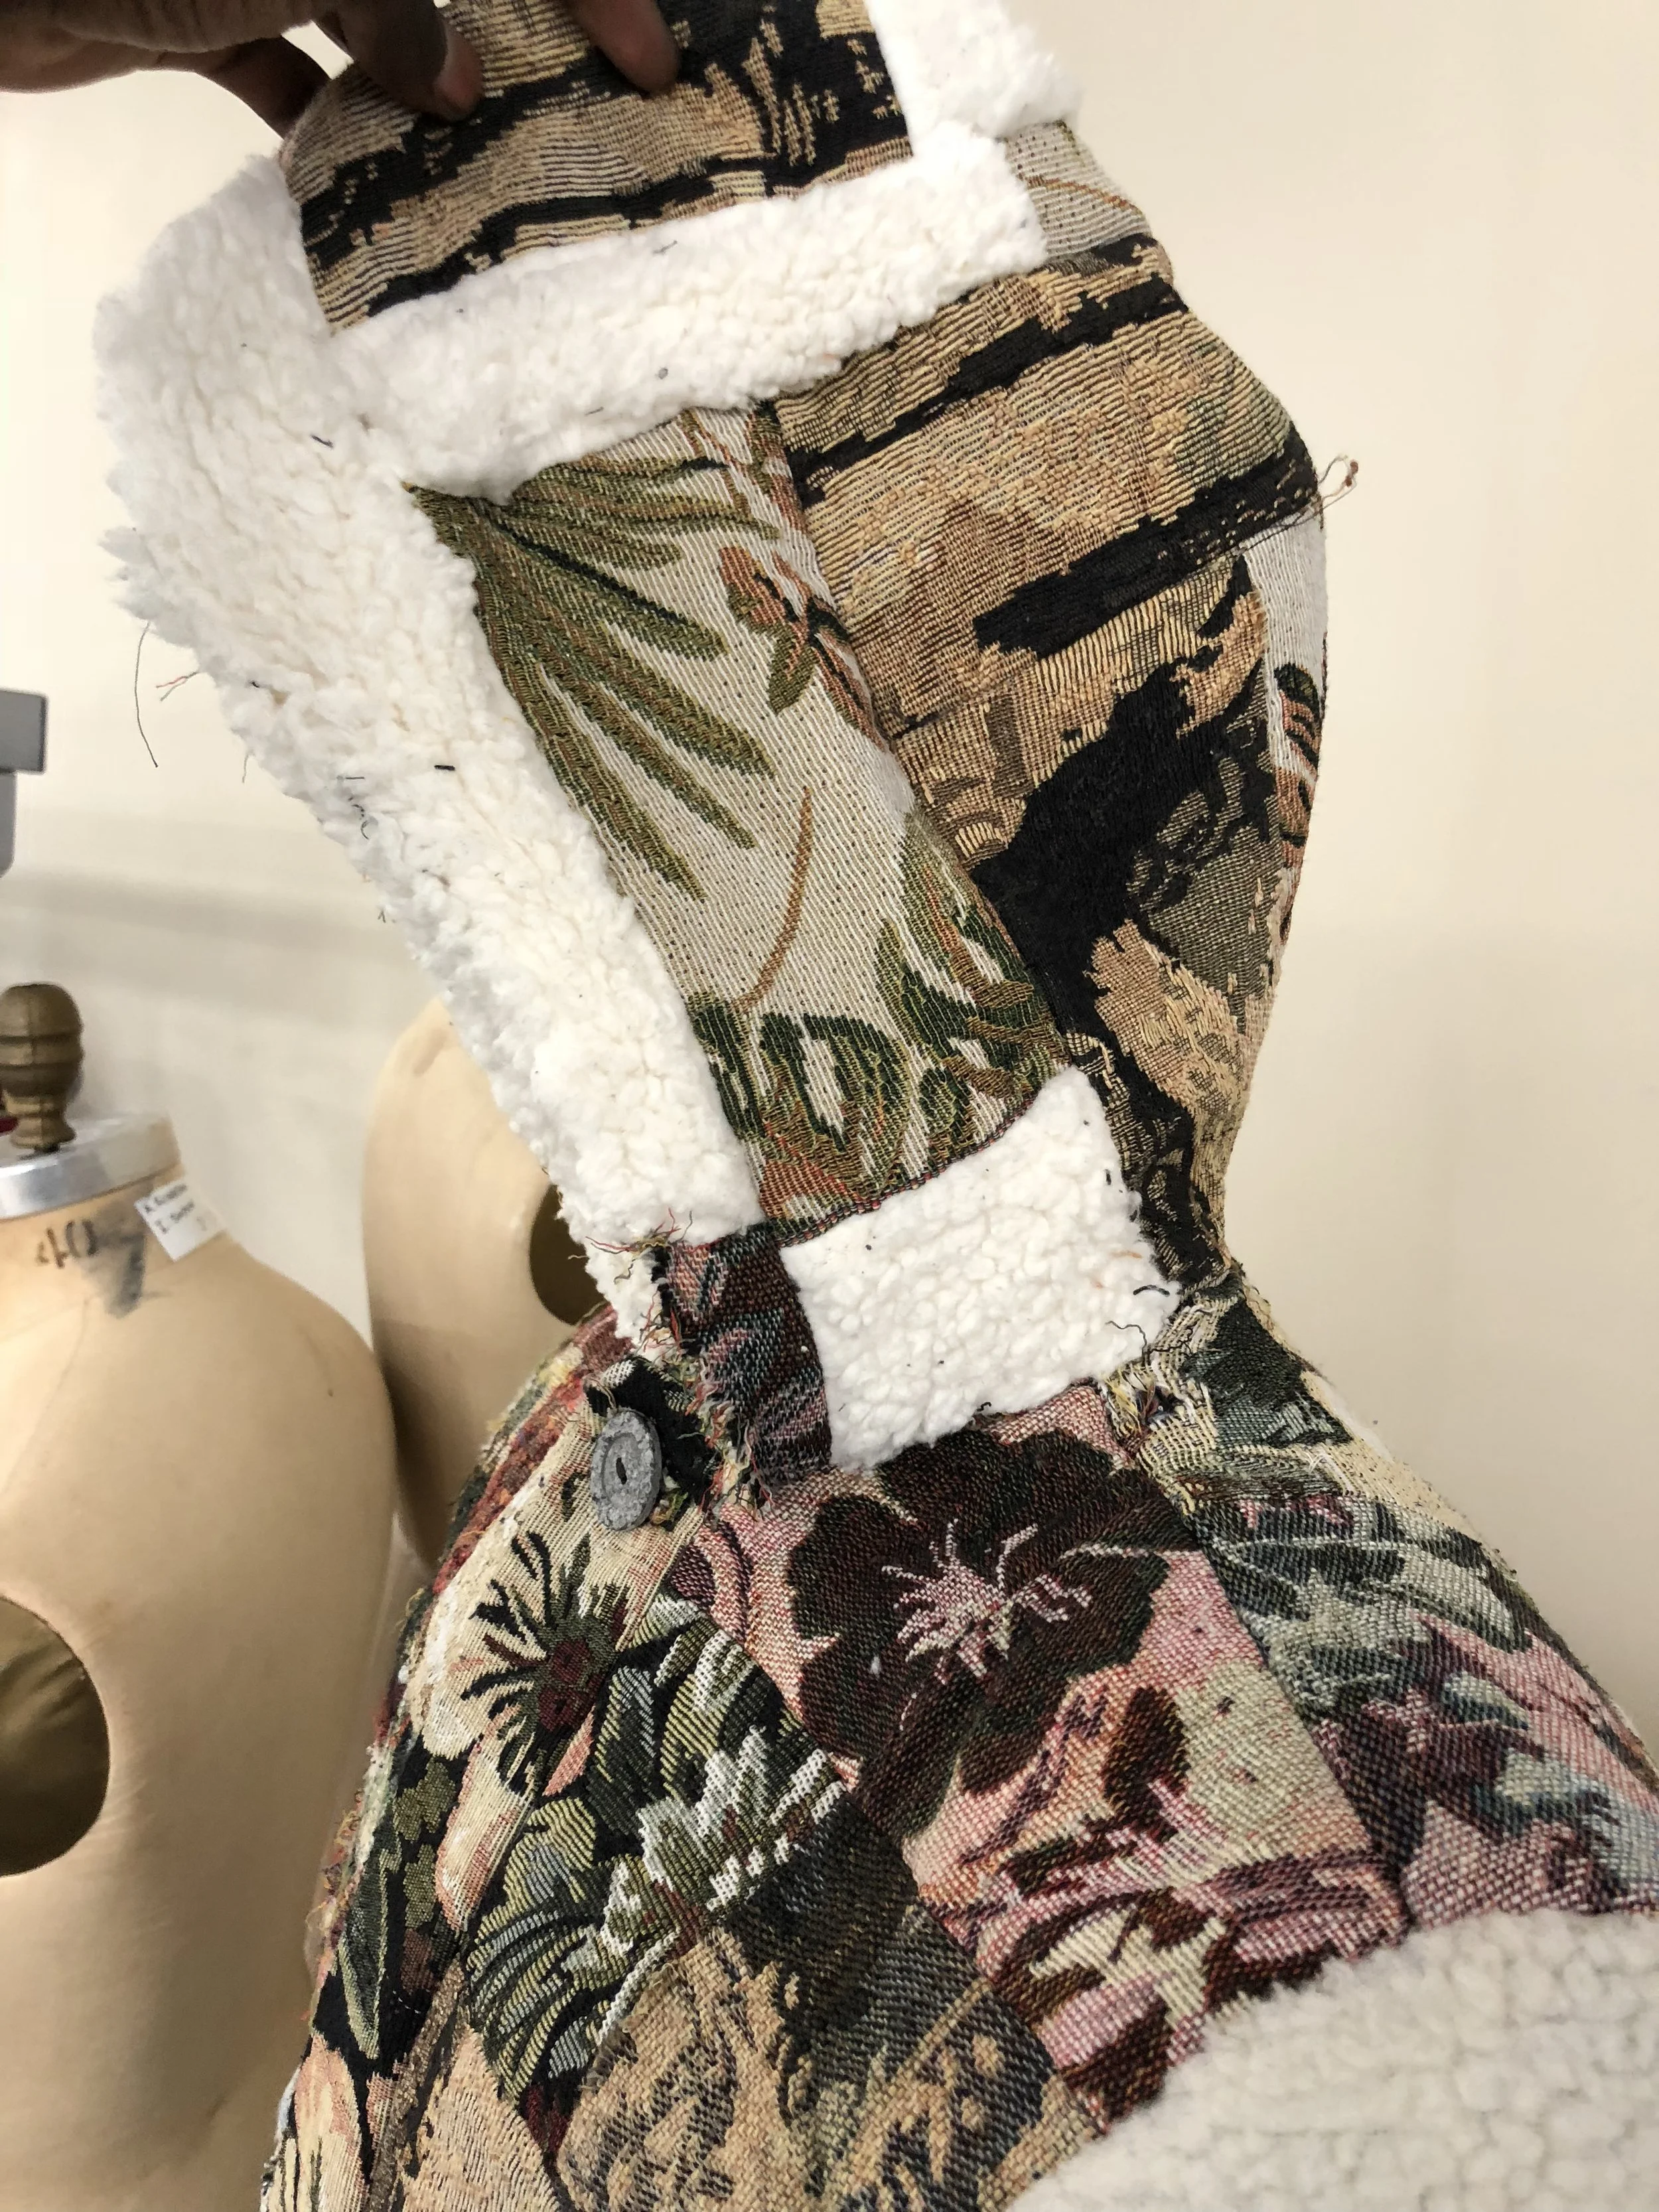
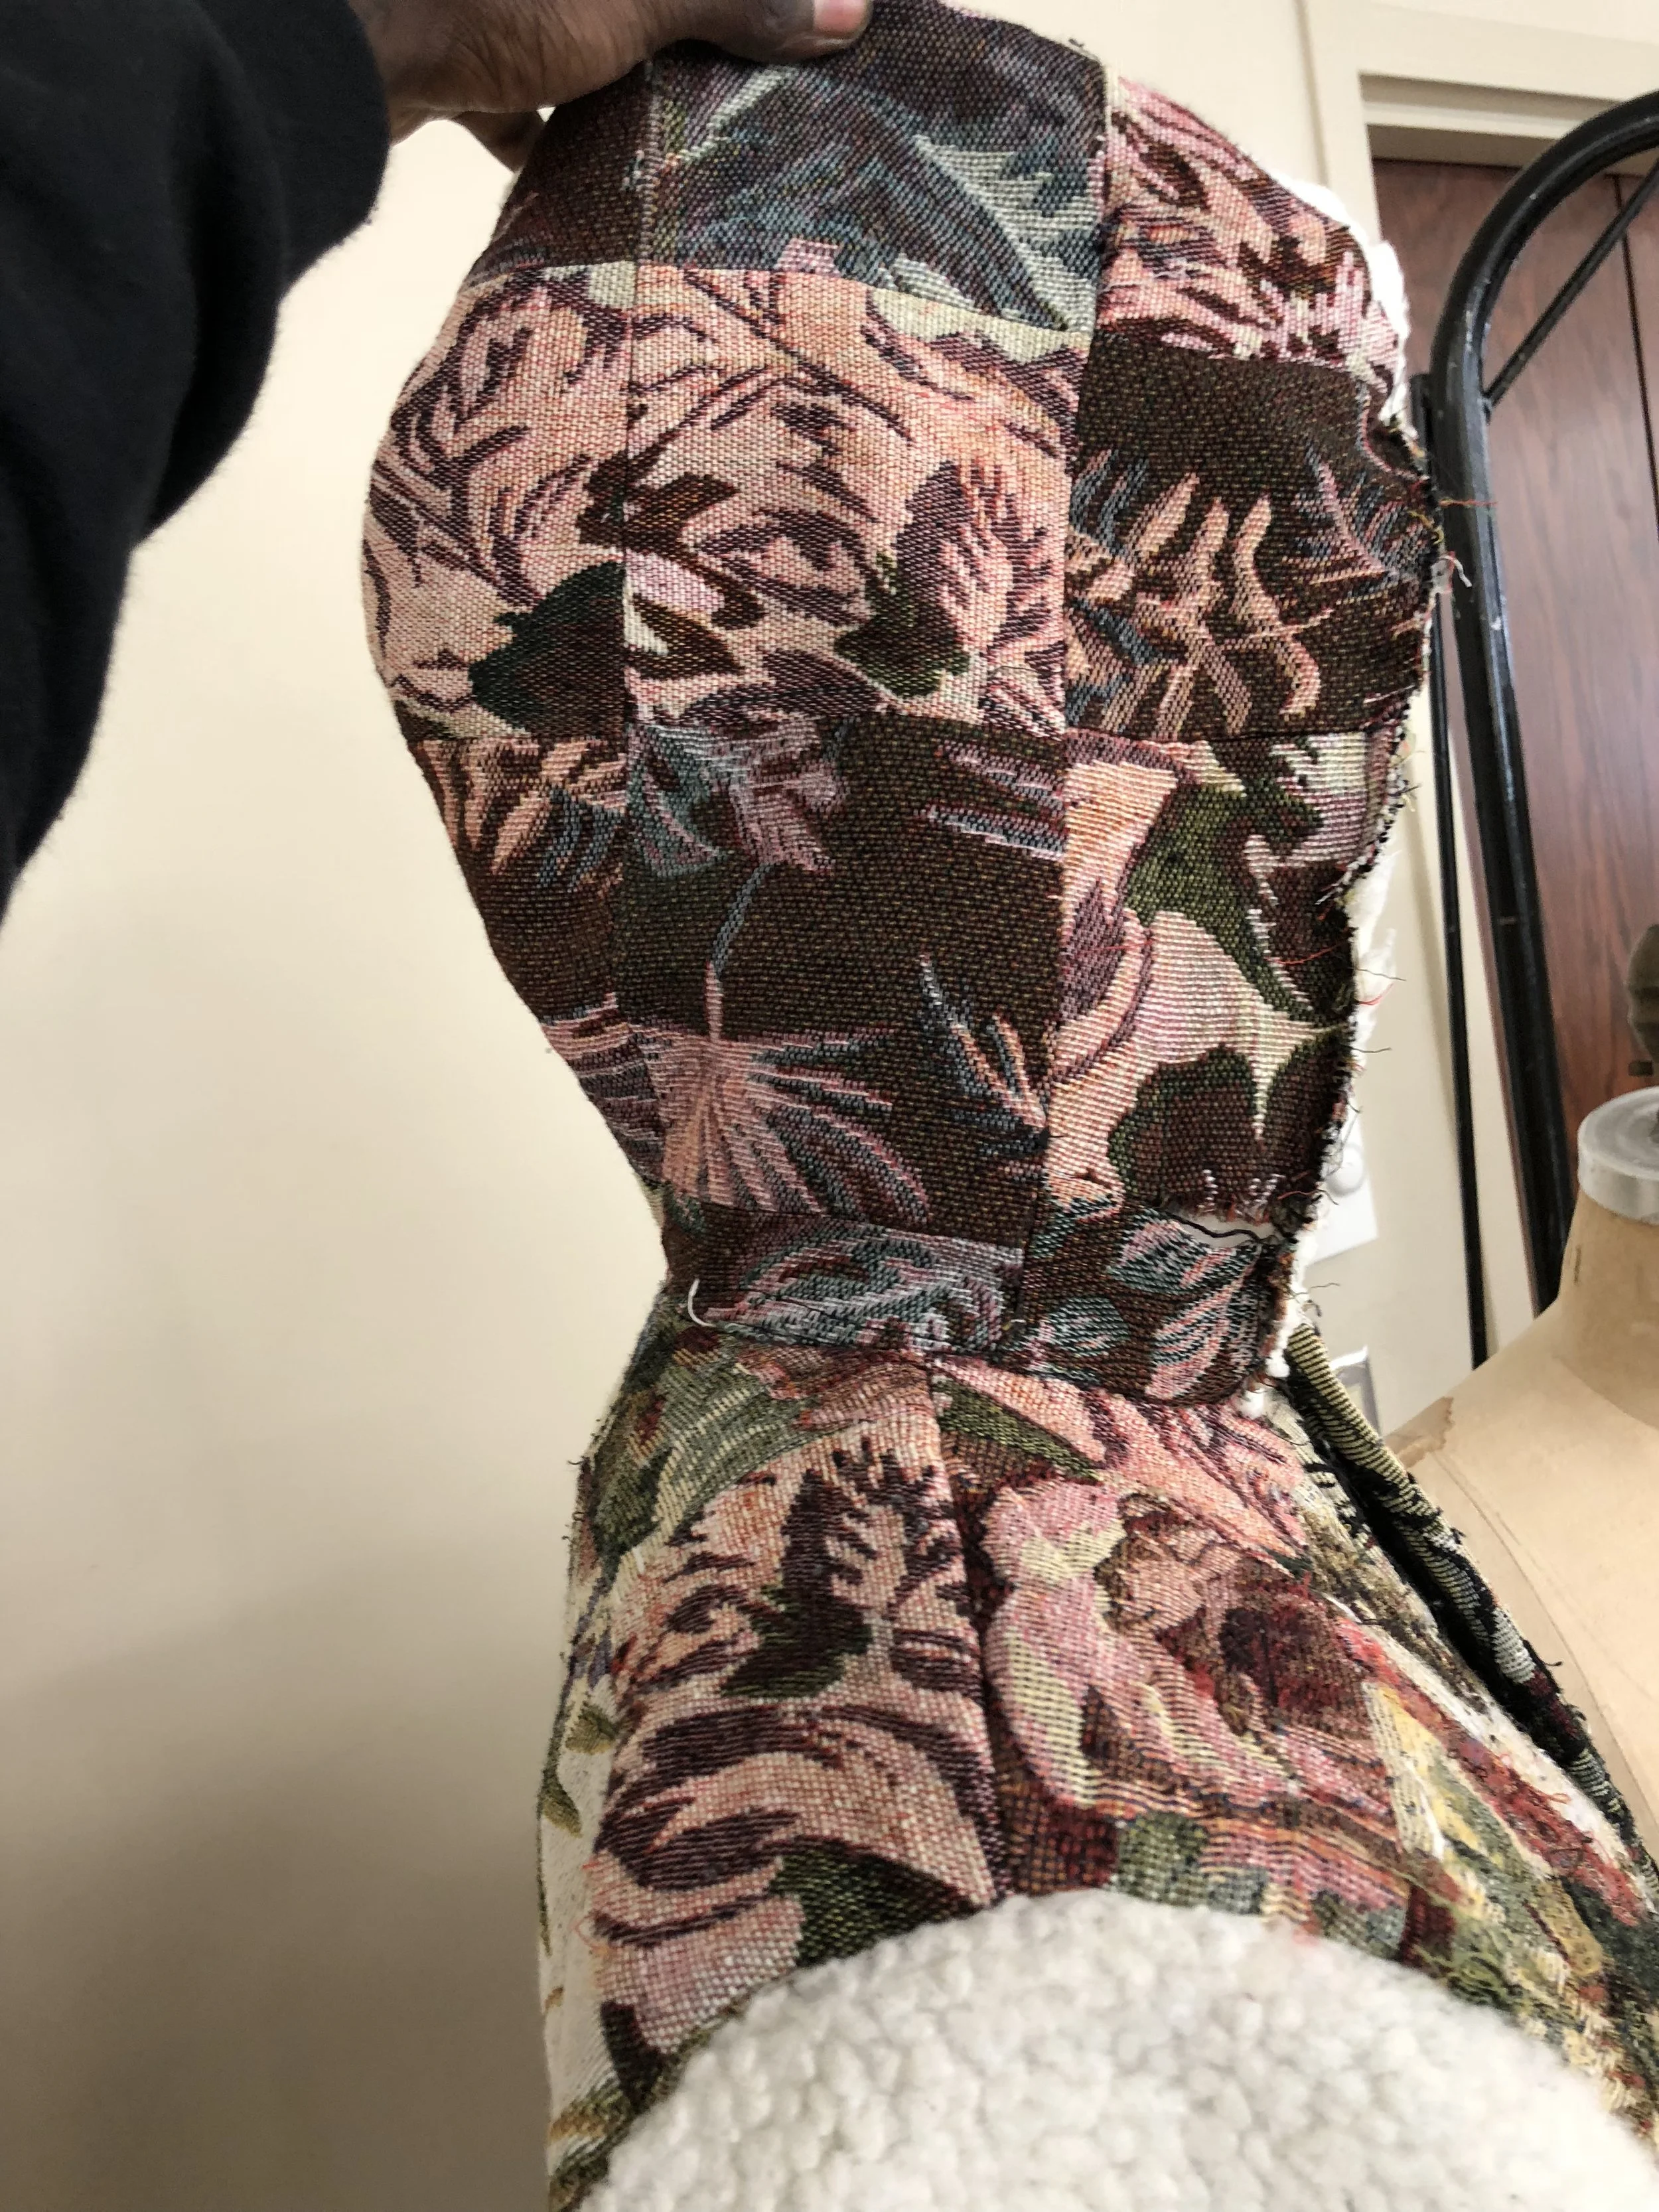
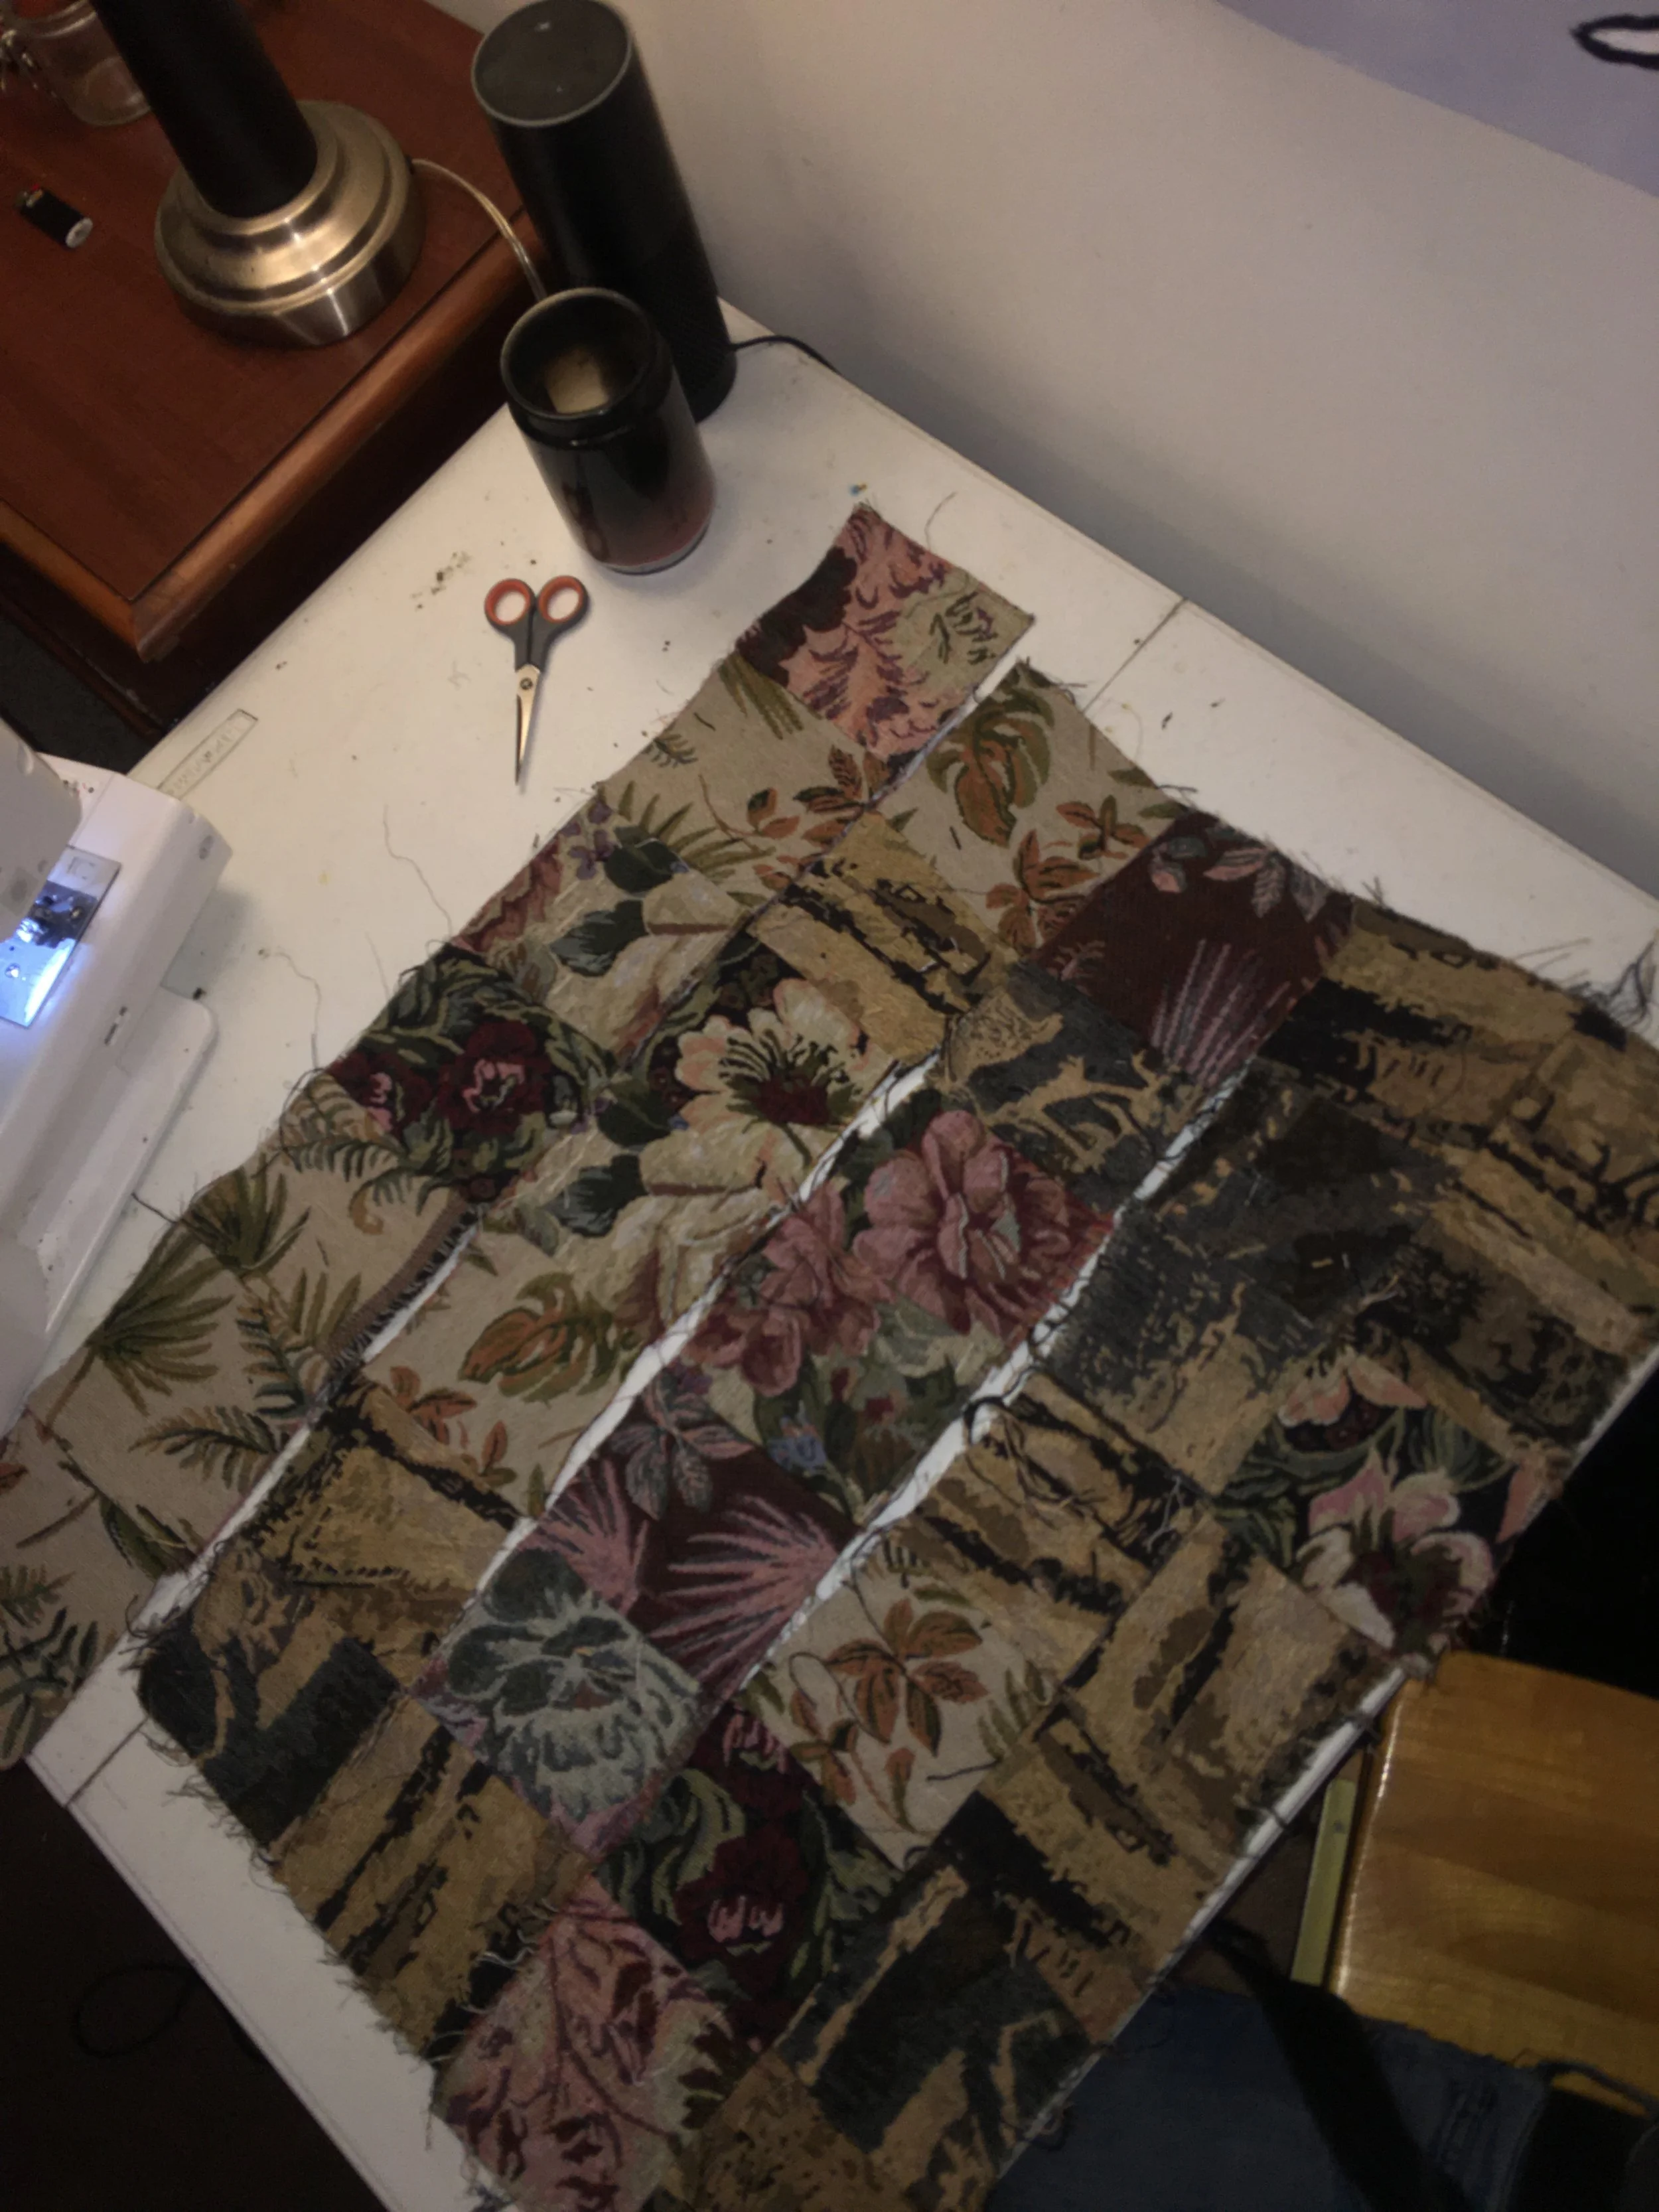
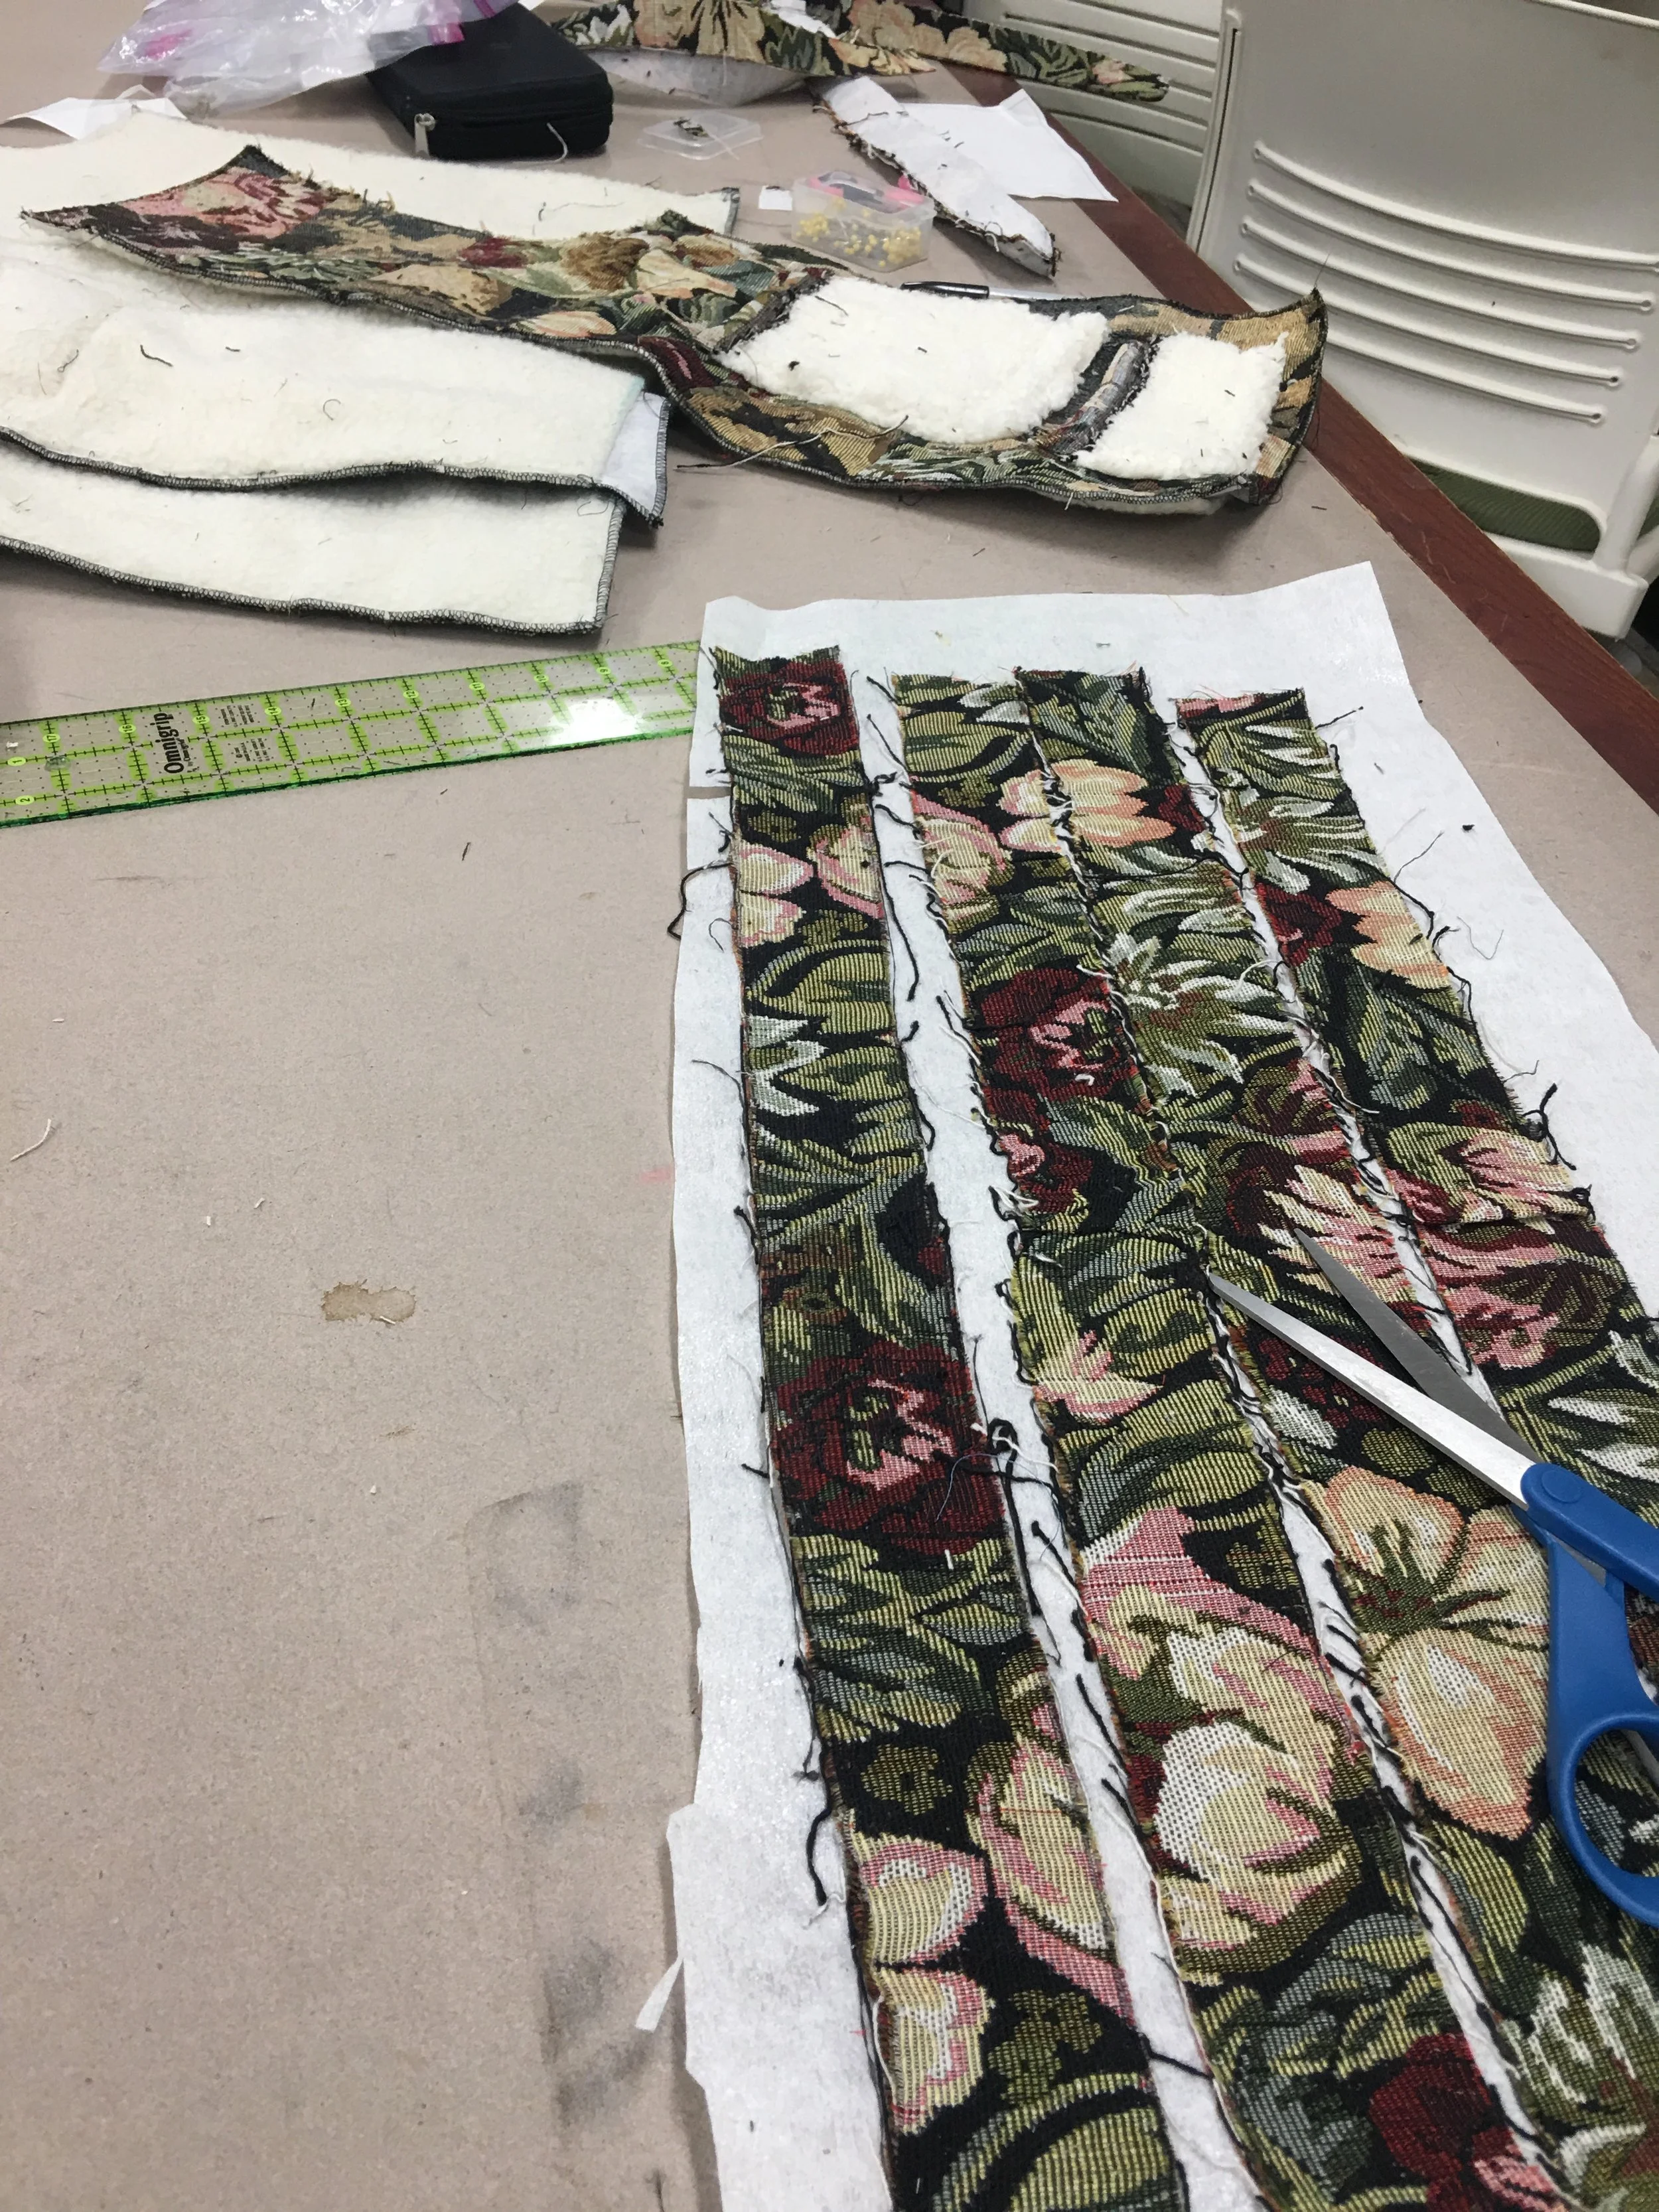
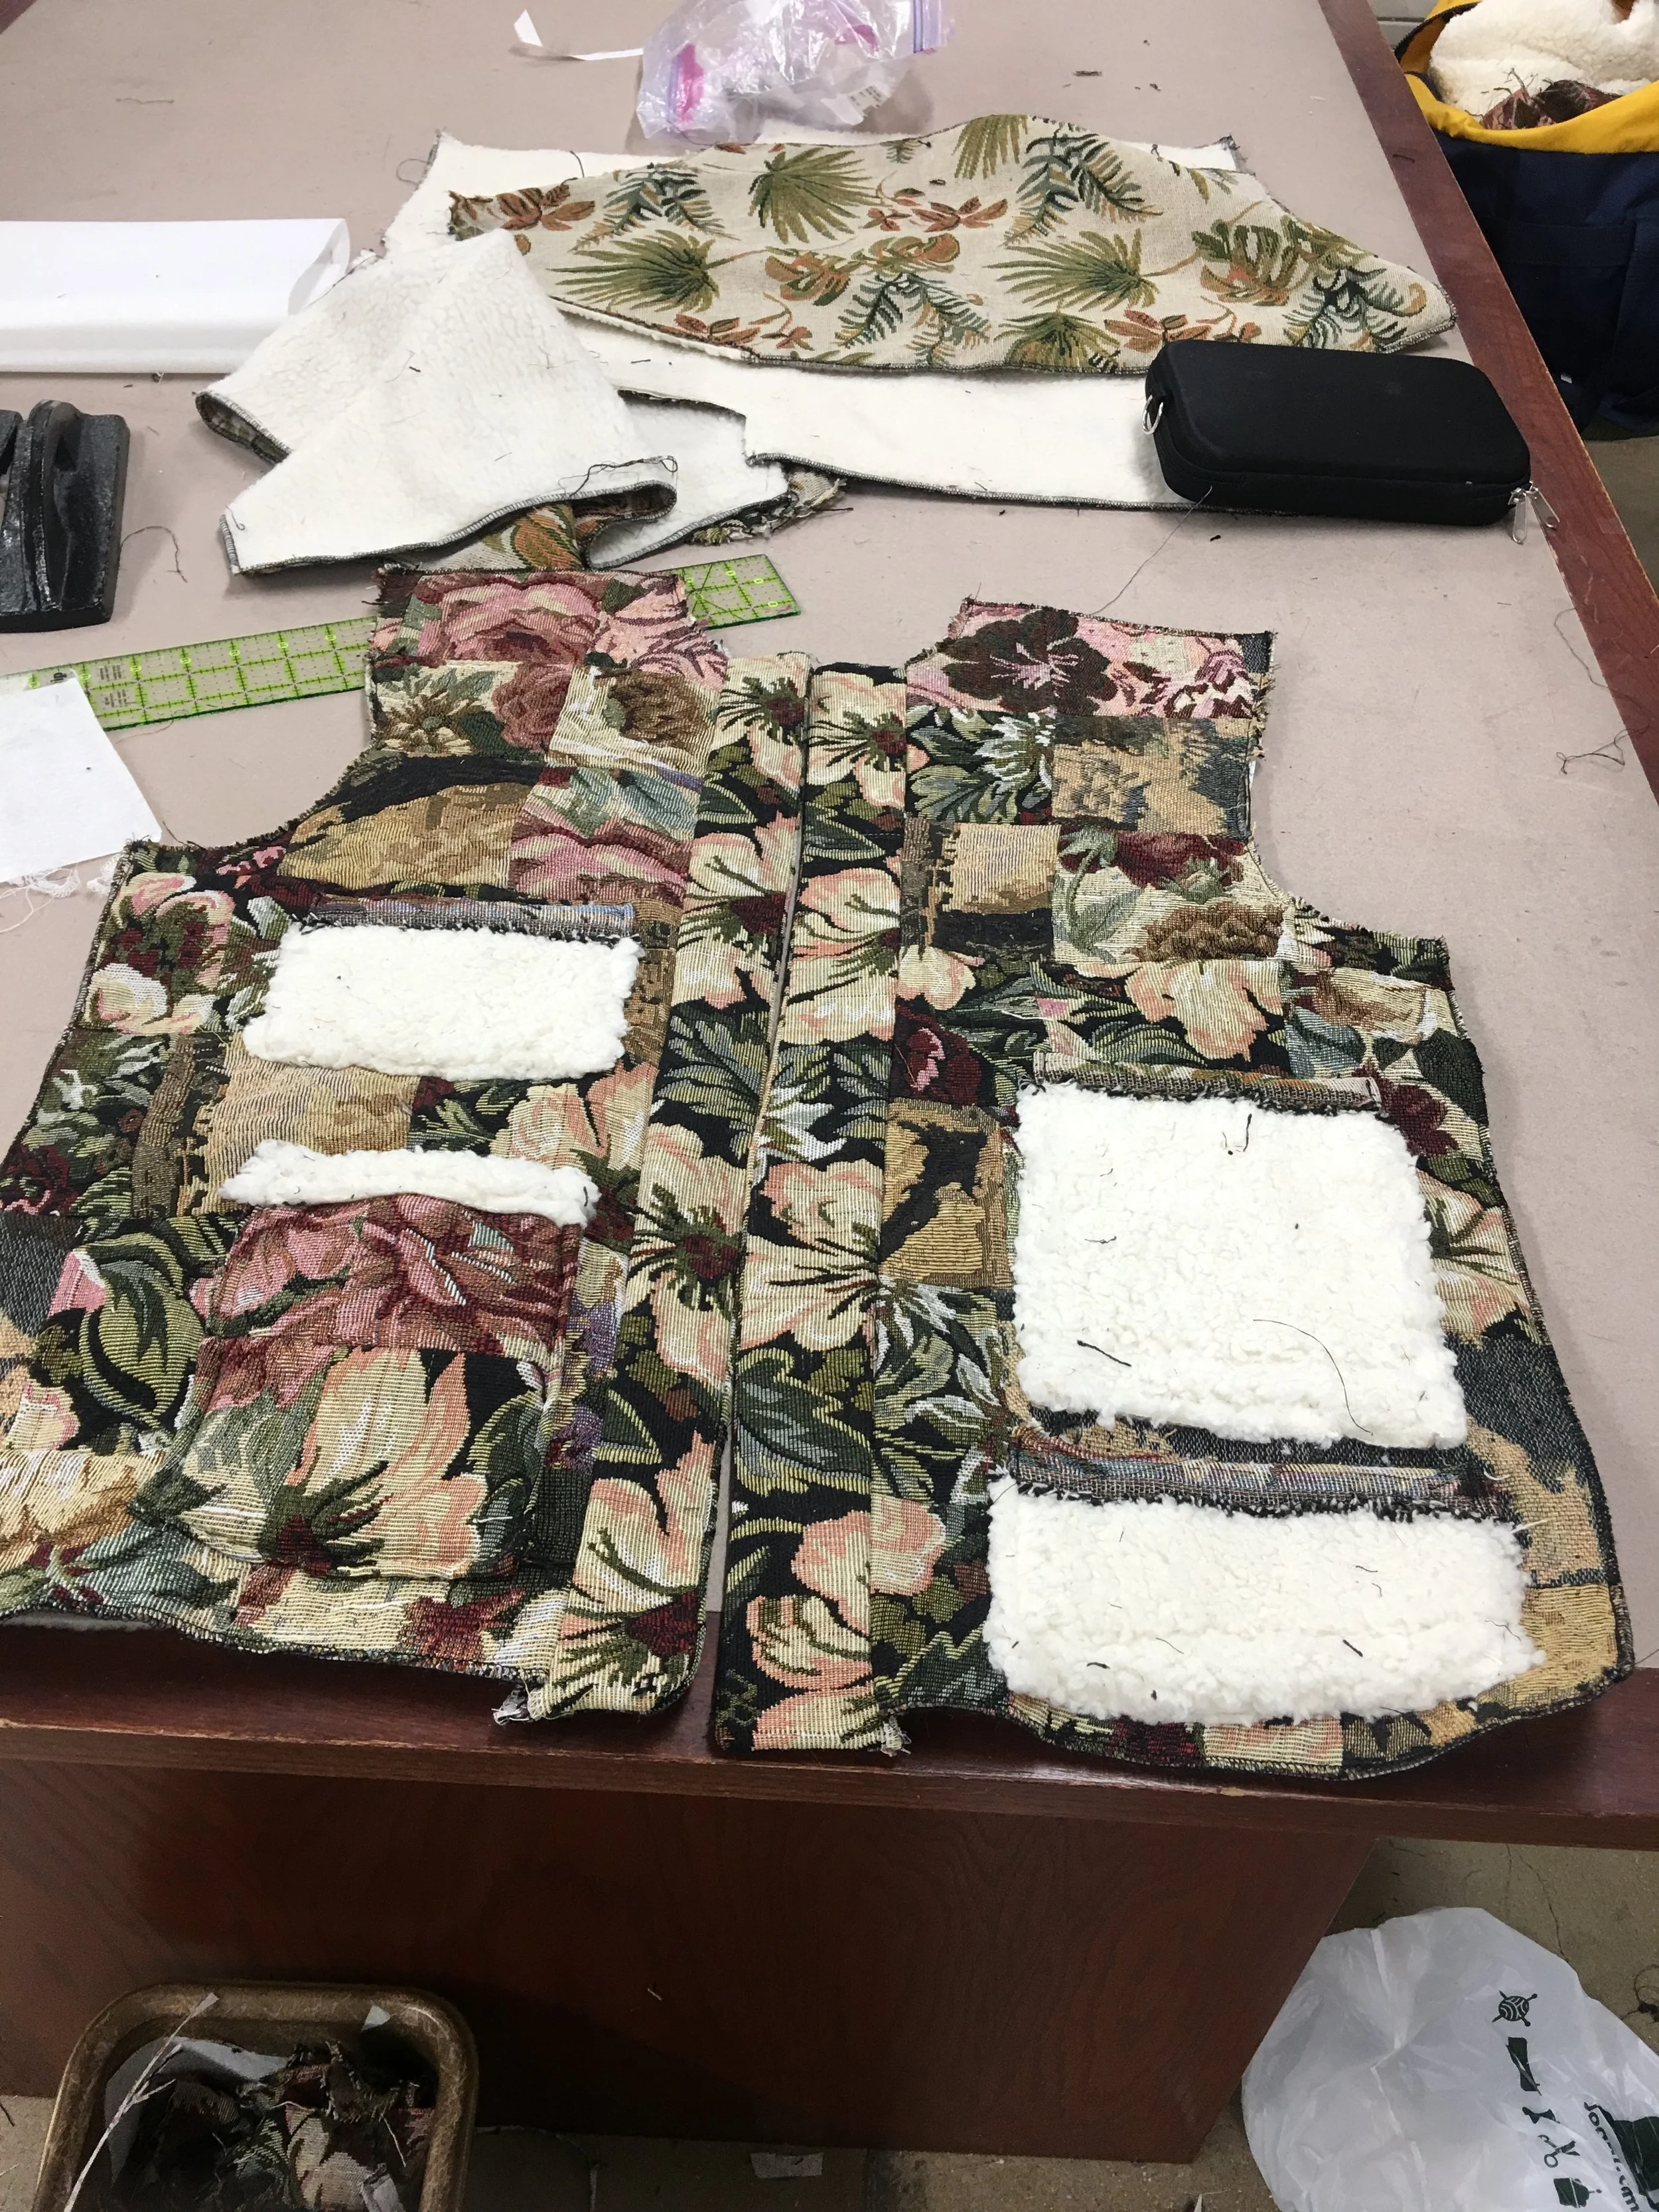
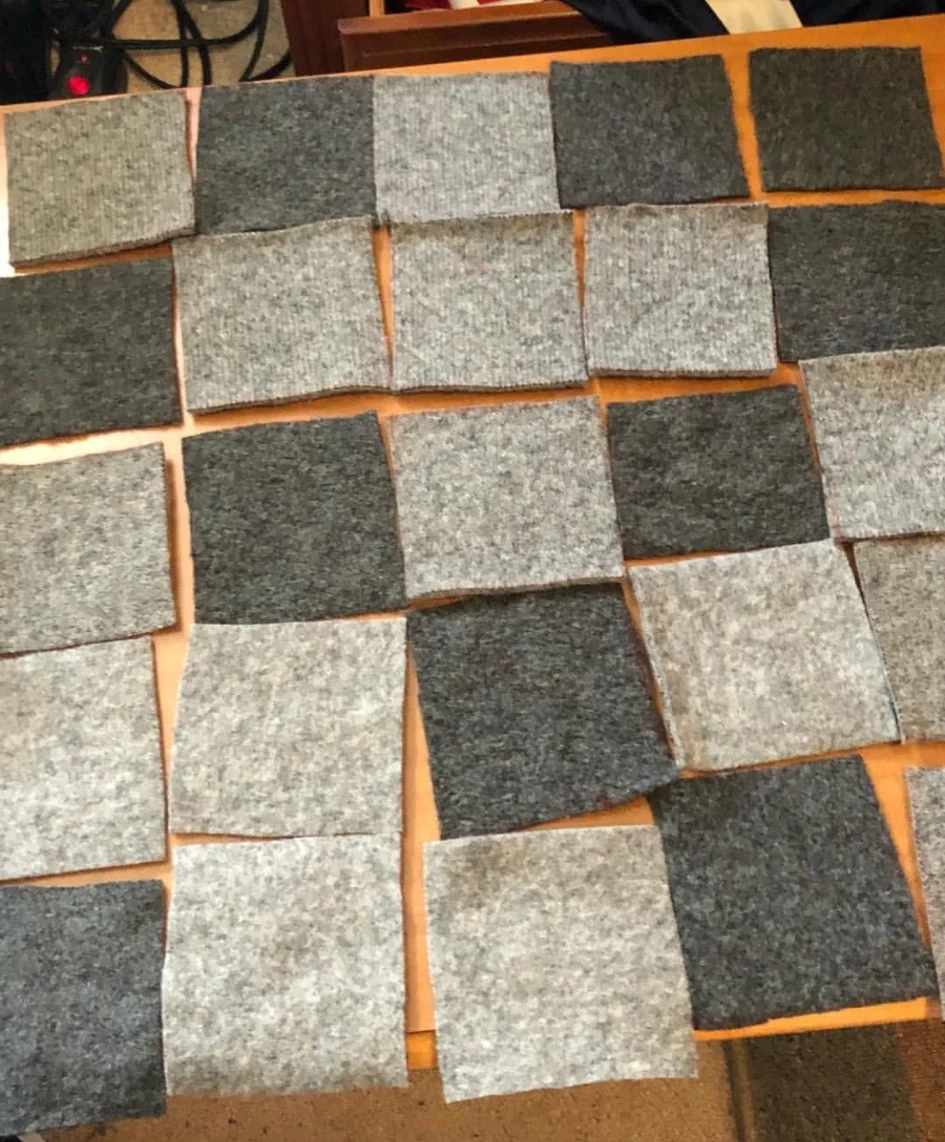
- This garment was created during my Fall semester 2018 at Mizzou. My vision for the silhouette for this garment was to use the patchwork design to illustrate a gradient through the composition of the garment. Transitioning from one color or tone to another one was the overall end goal i wanted to accomplish. I wanted it to be fitted to the body and very comfortable and warm.
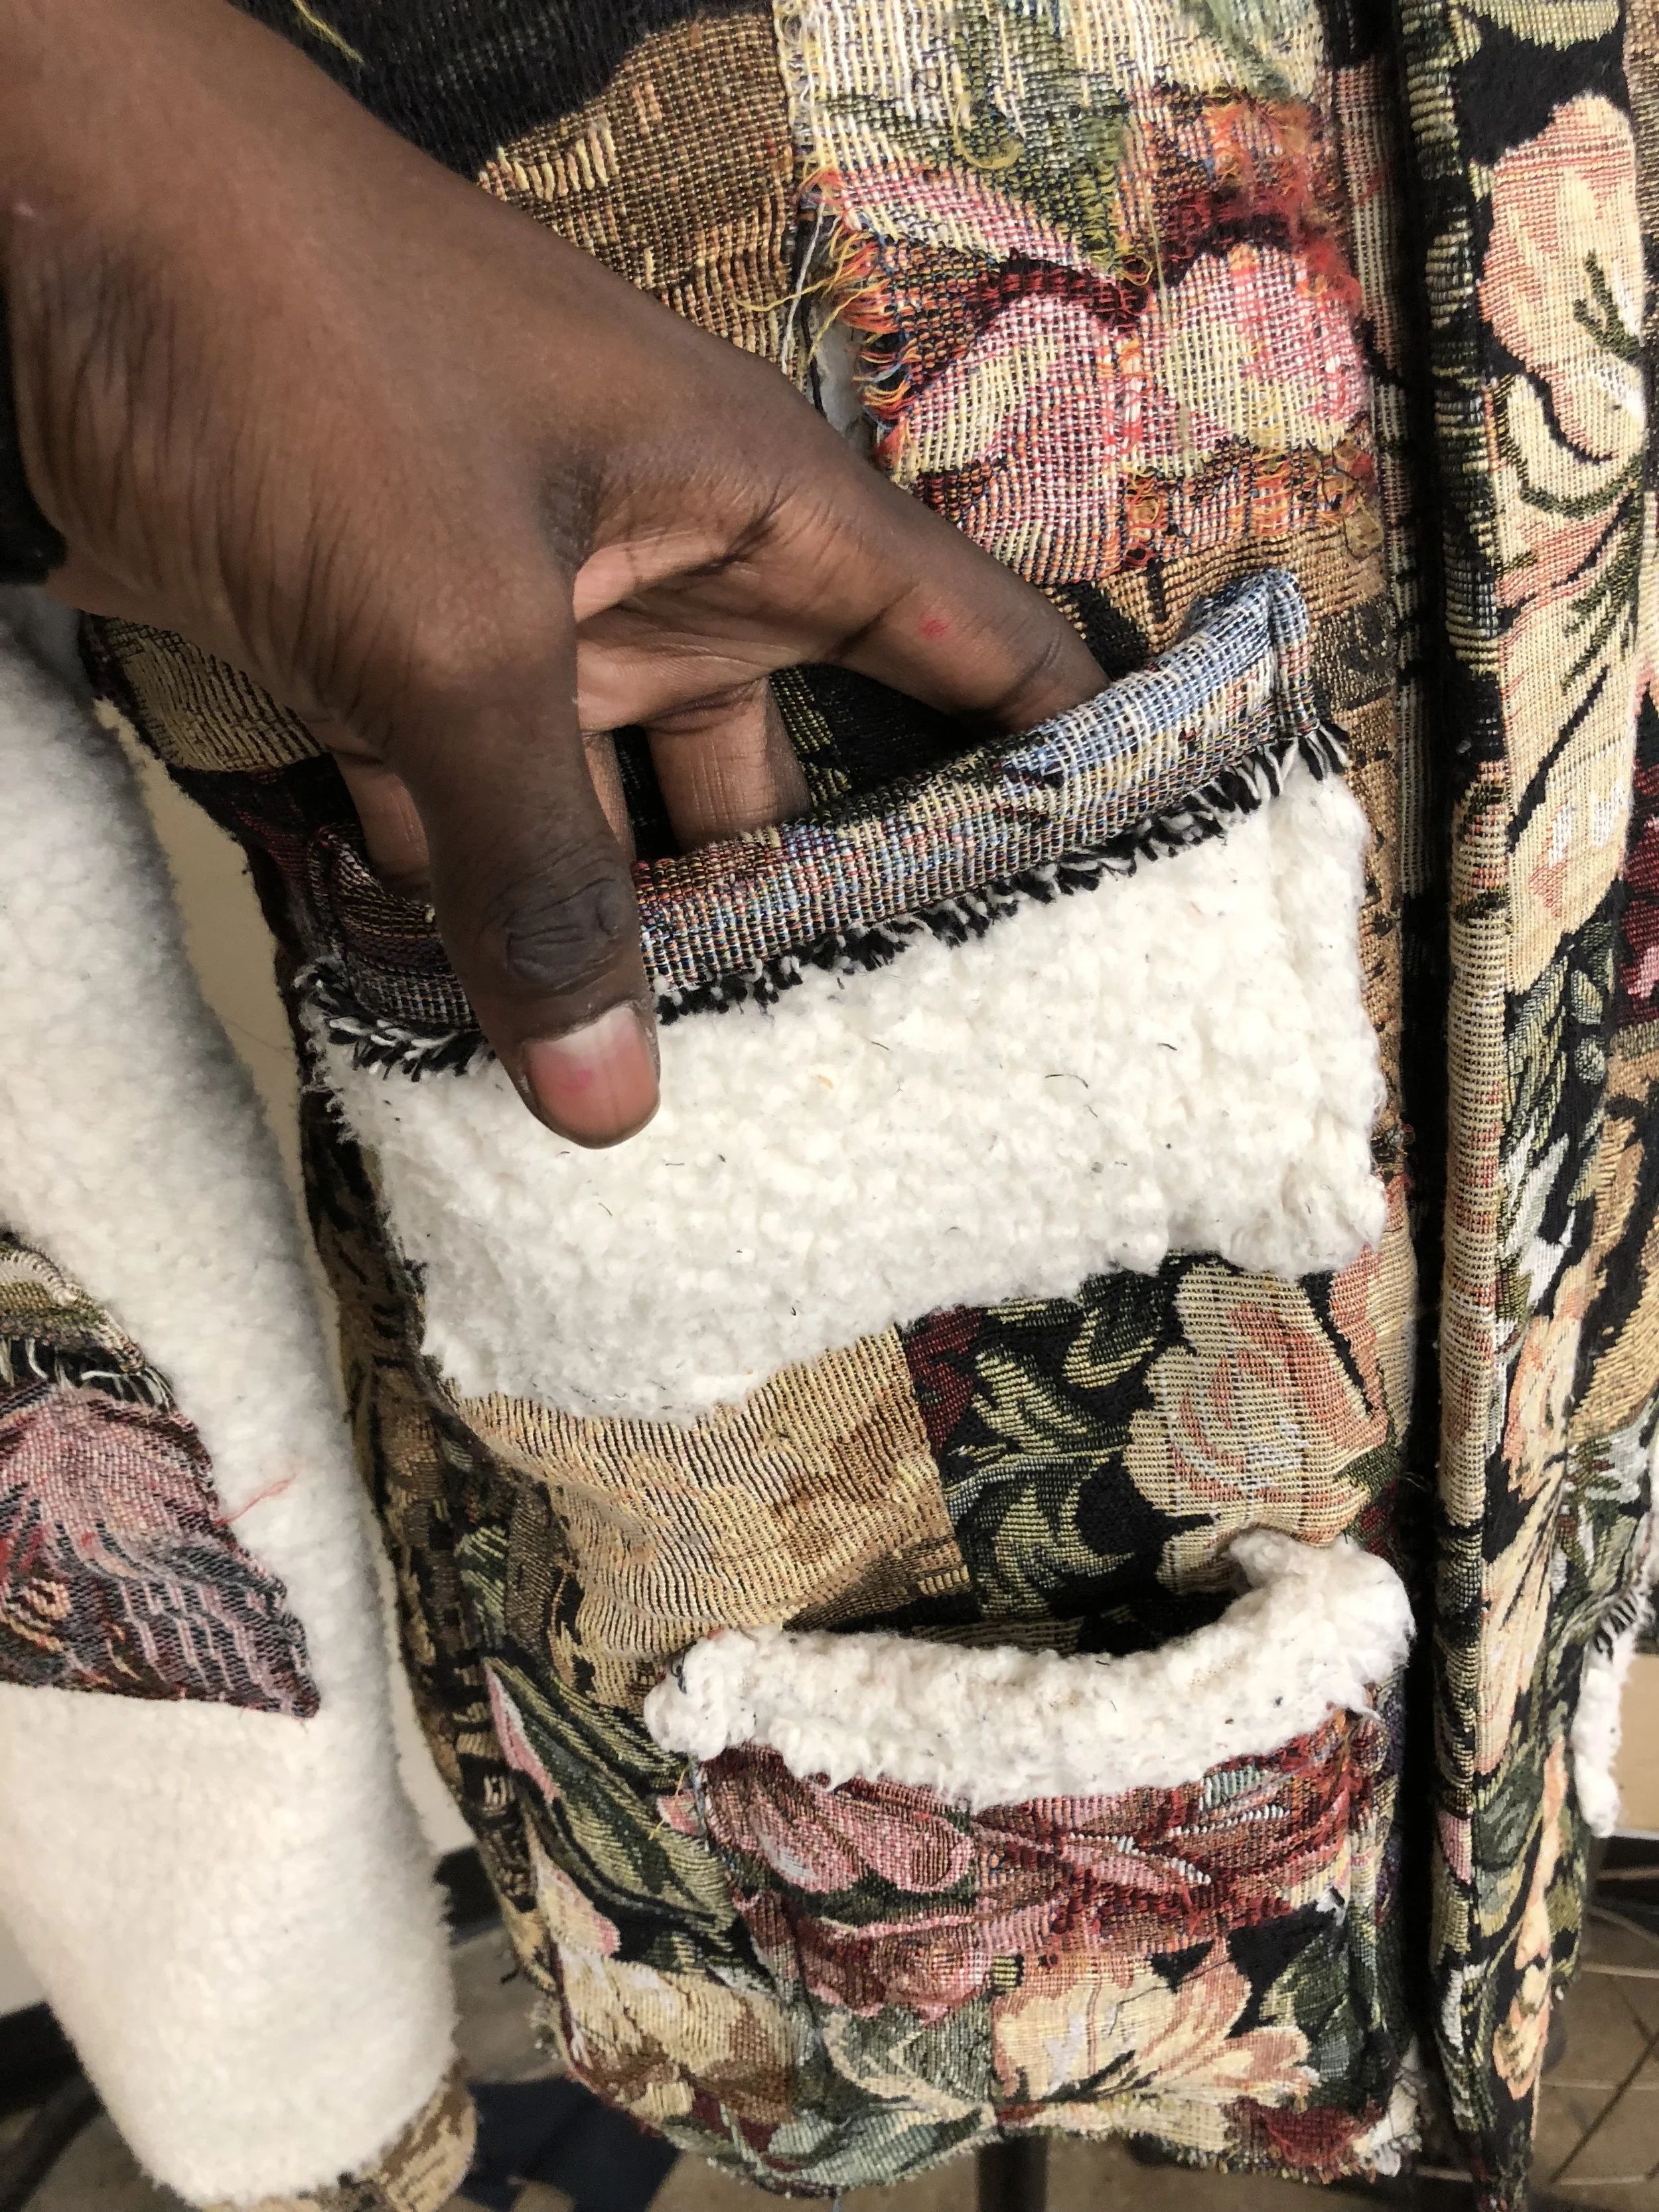
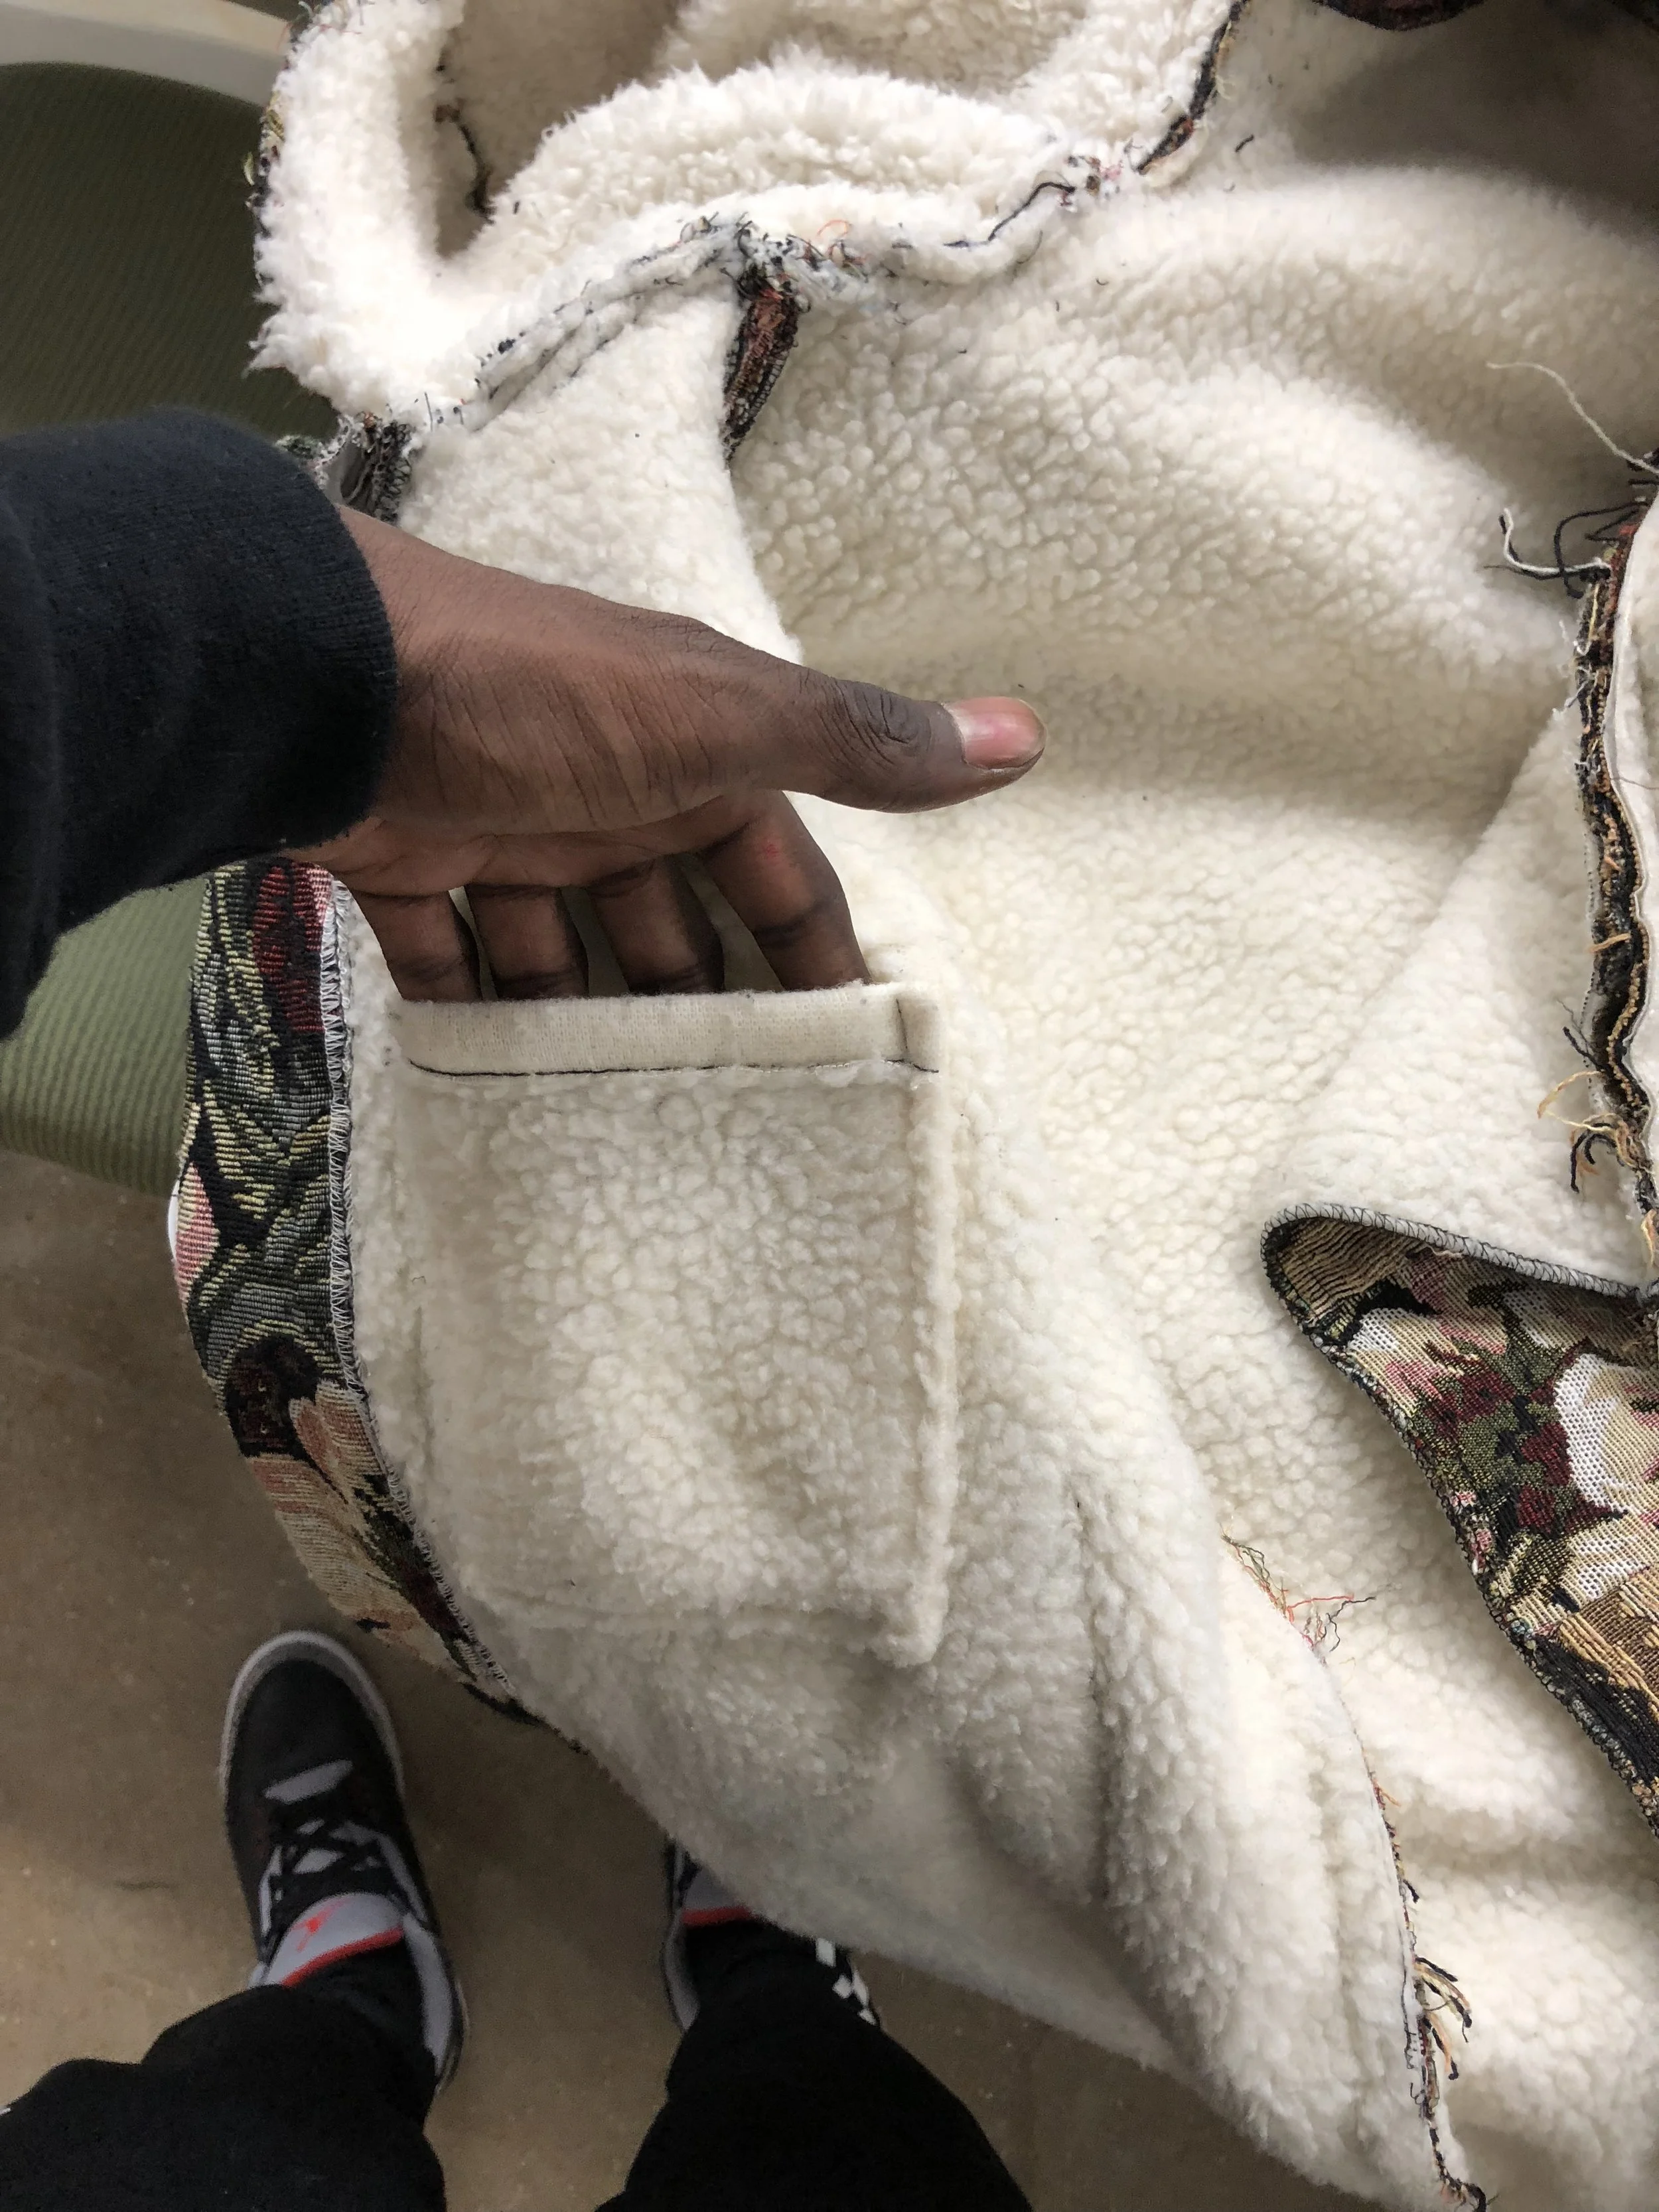
I lined each pattern piece (sleeve, torso, back) with the Sherpa fabric to add weight, comfort, and to act as an insulation device/contain body heat. I added a collar to the neck at first but the installation was hectic and altered the shape of the collar and skewed the collar as well. That being said, i decided to seam rip the collar off of the neck and add a hood, which in my opinion, made a lot more sense than a collar on a winter coat. There are 6 pockets total on this garment (4 front, 2 inside).
When preparing the fabrics for the patchwork, I had to demonstrate a great deal of patience and precision. I had to cut about 30-40 4 x 4 squares and each square had to be cut along the grain-line so that the stretch in each layer would all be the same and not skewed. I used velcro as closures because i wanted the garment to be able to come on and off easily and did not want buttons or a zipper to takeaway from the composition of the jacket. As well, i wanted the closures to be invisible from multiple perspectives; that being of the consumer who is wearing the garment and the surrounding environment whom is directly/indirectly looking at the consumer who is wearing the garment.
Weight - Heavyweight
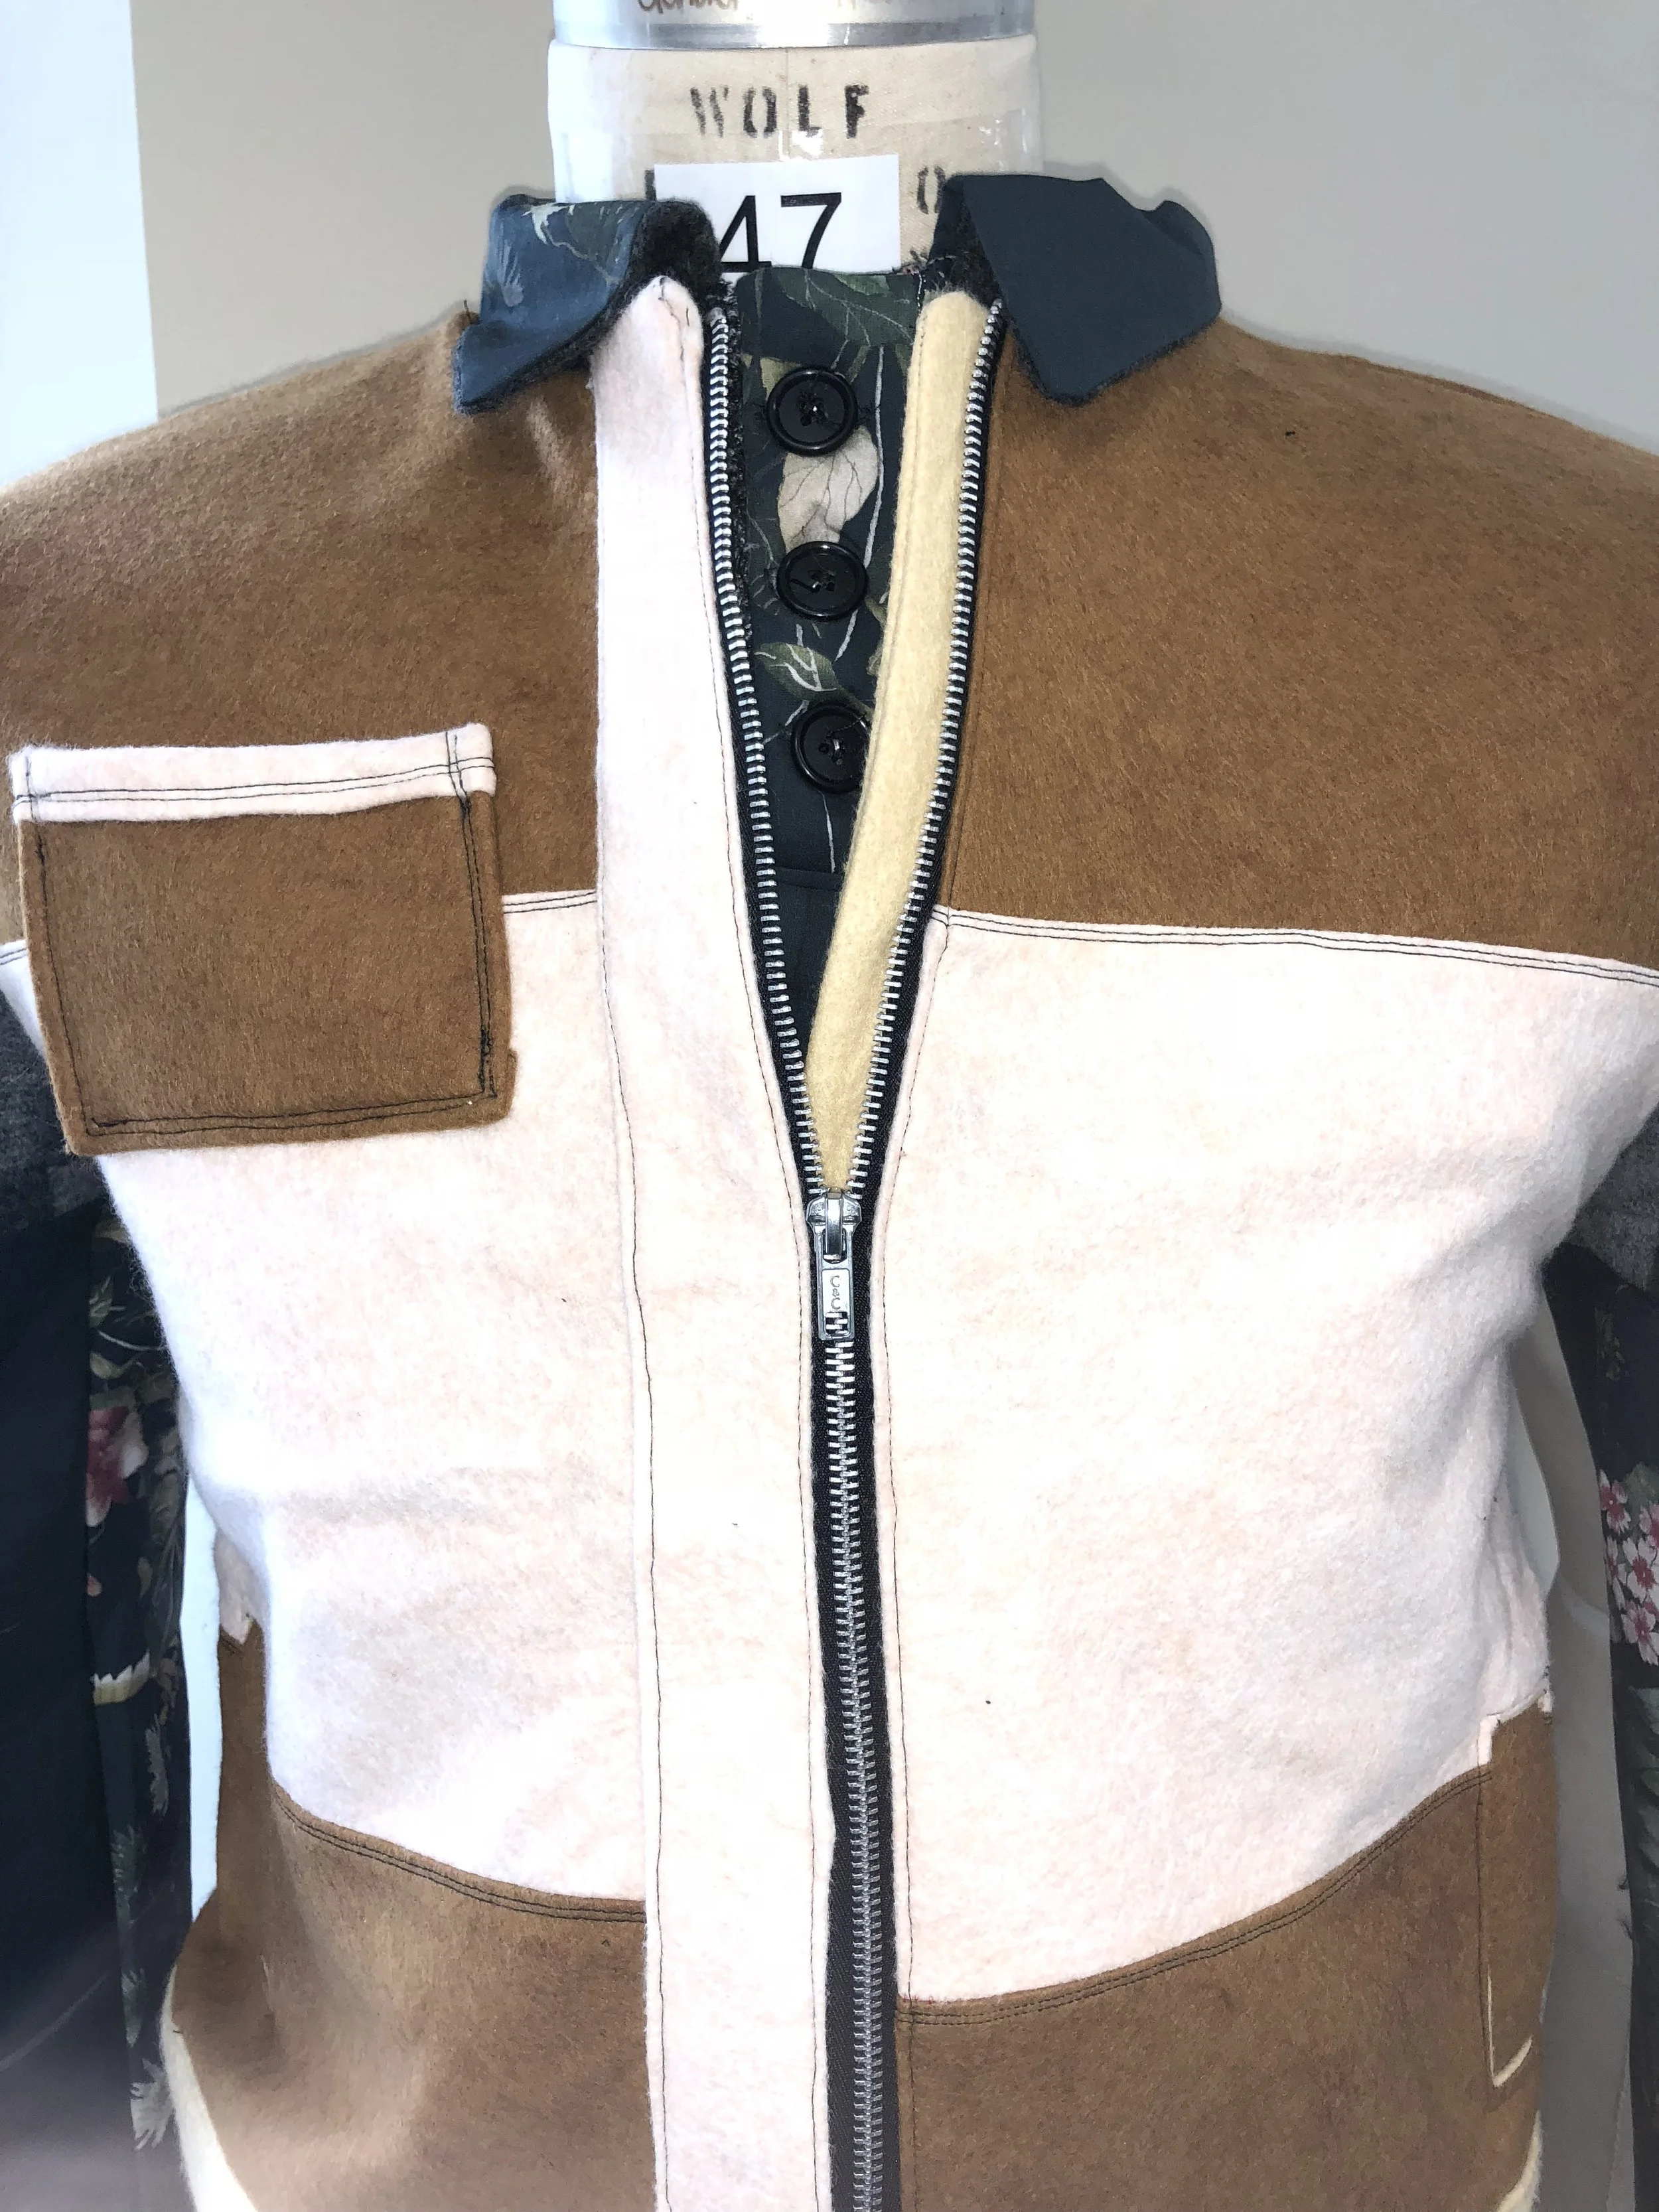
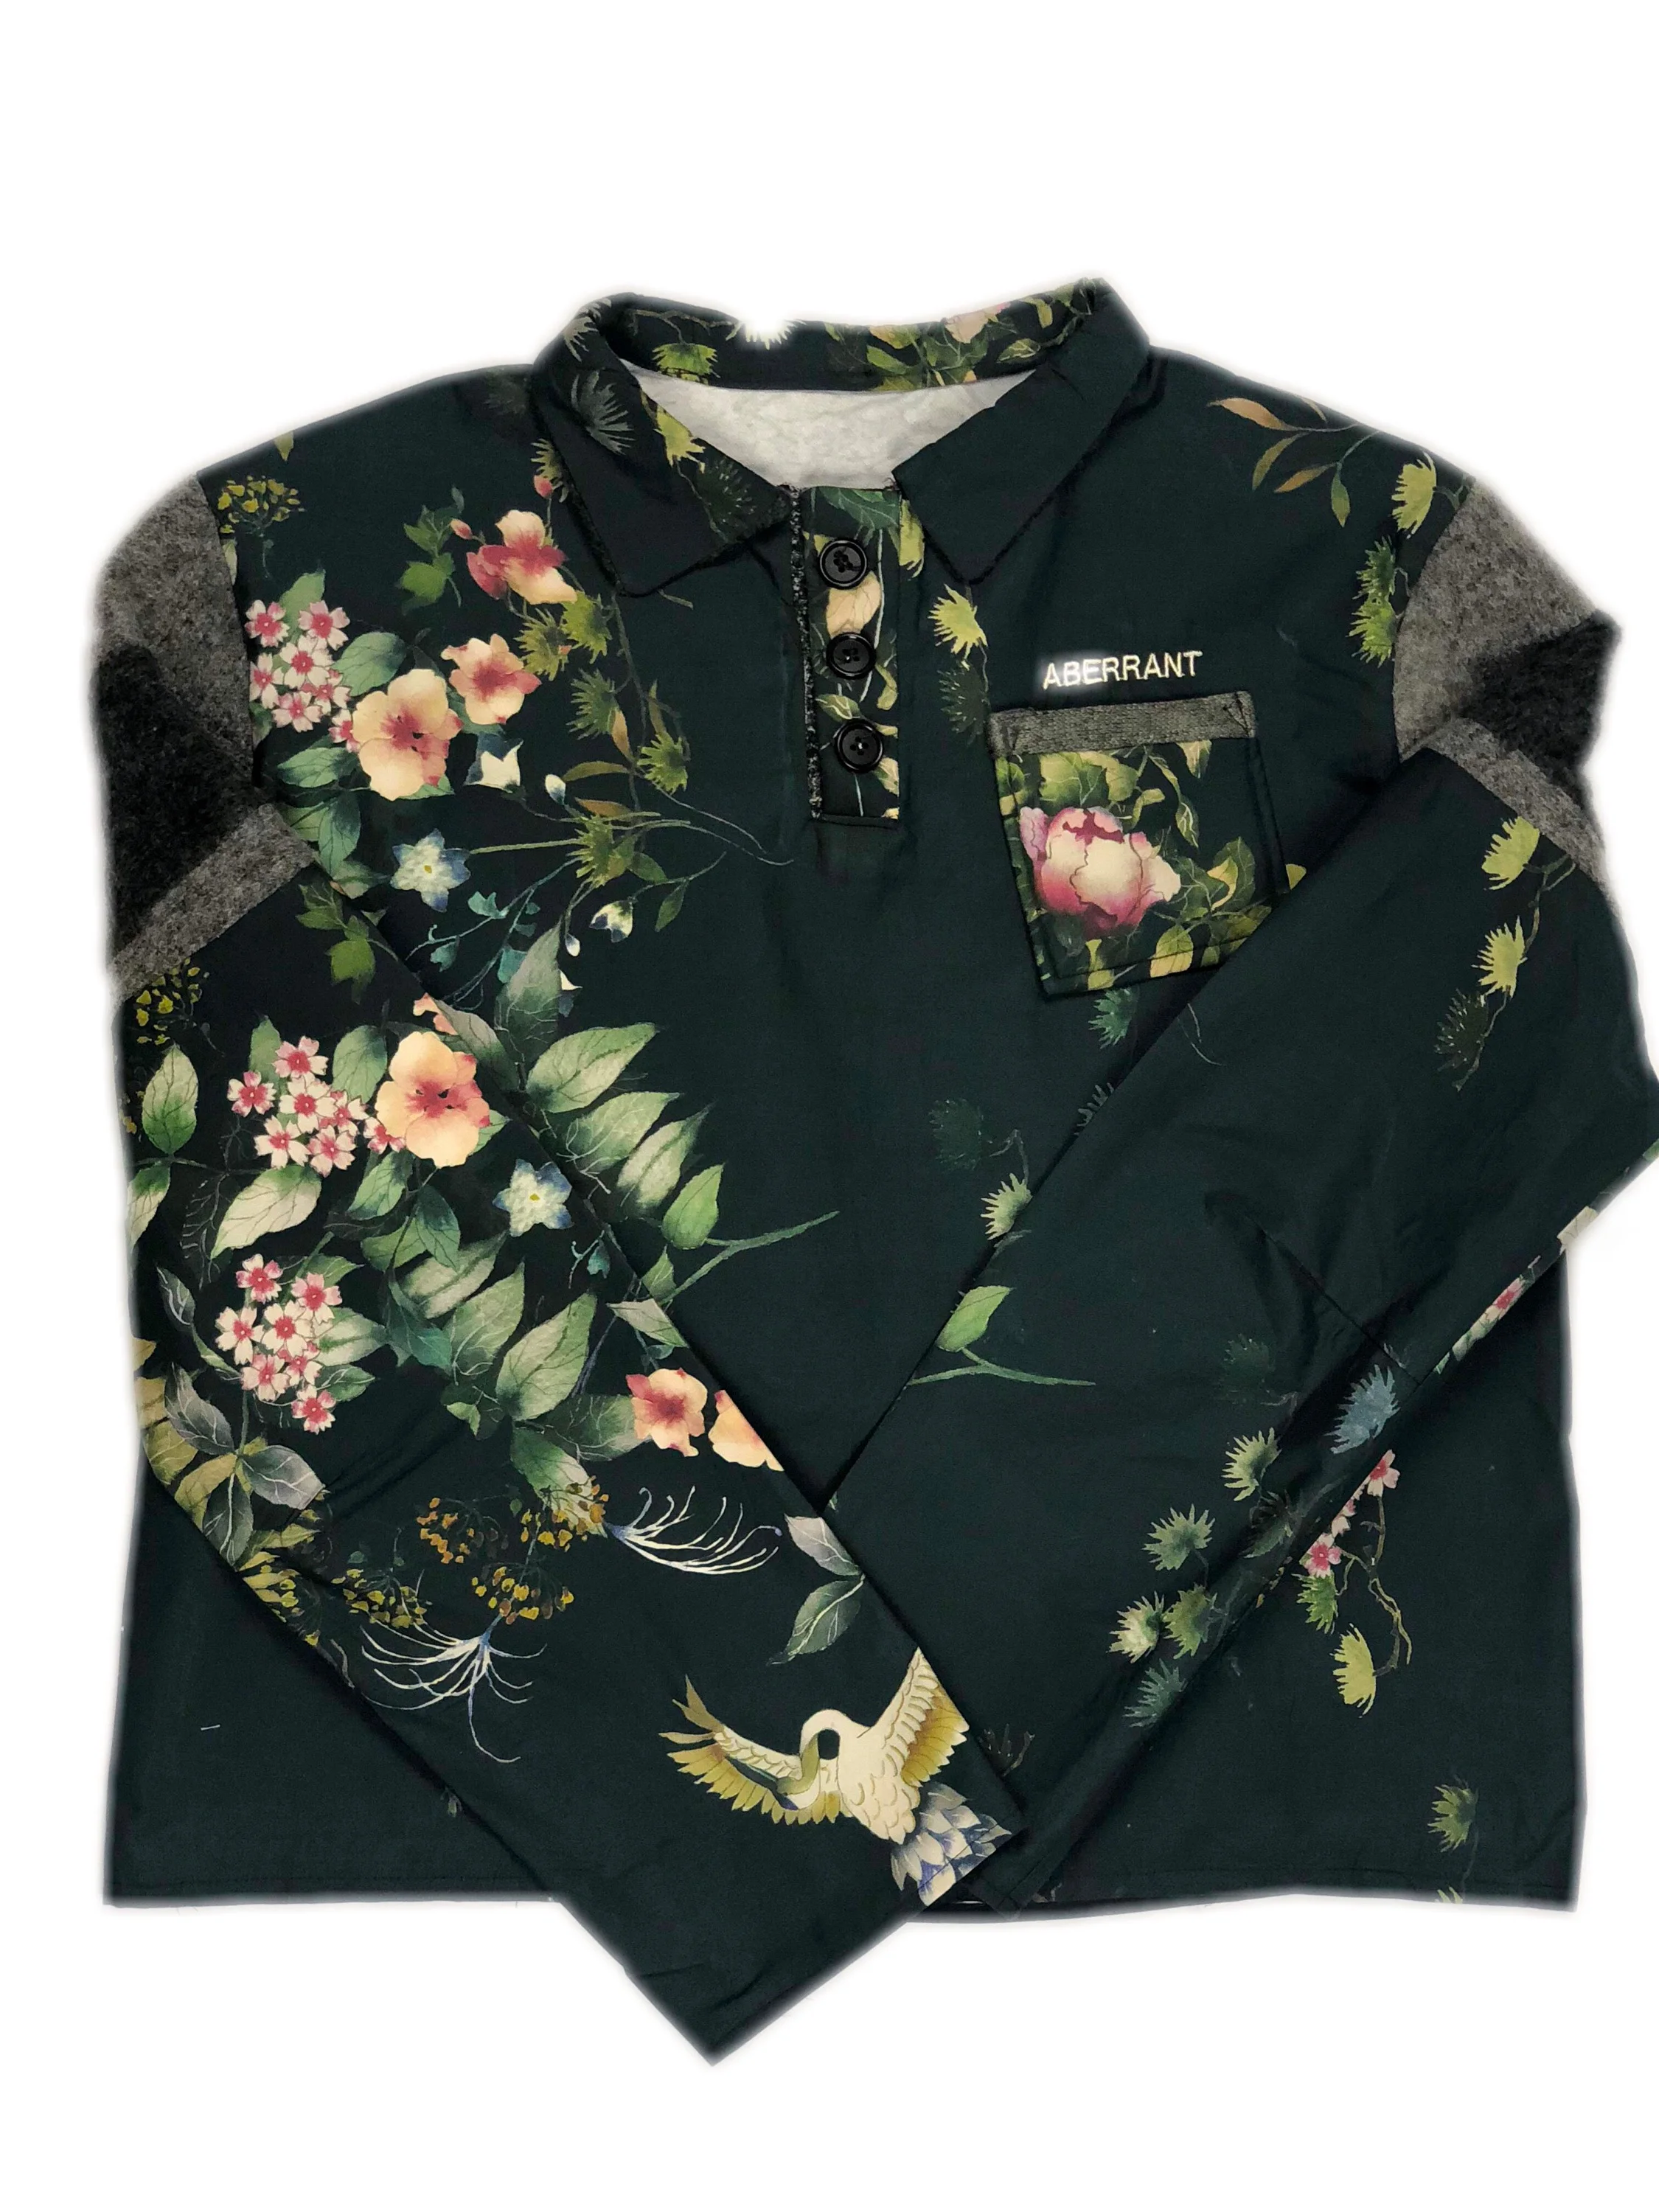
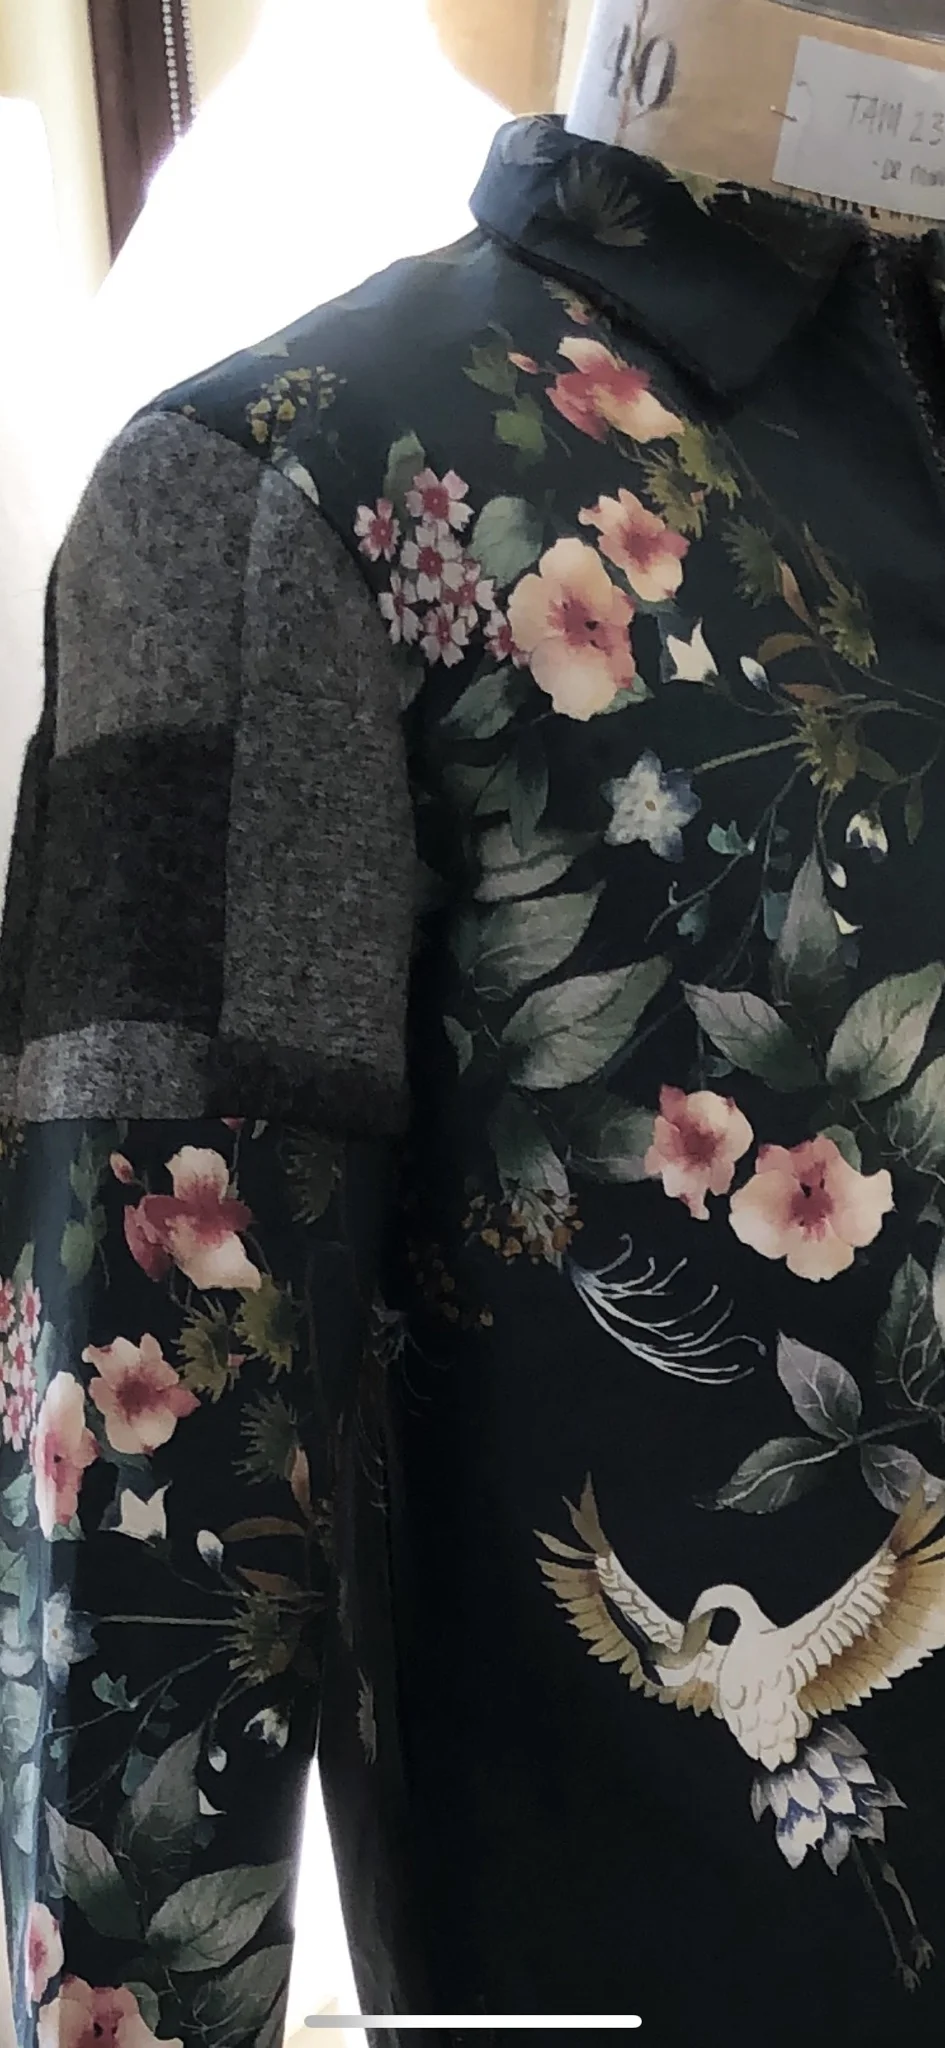
Textiles/Fabric
- La Grande Tournee Black & Green Cotton Poplin
- 100% Cotton
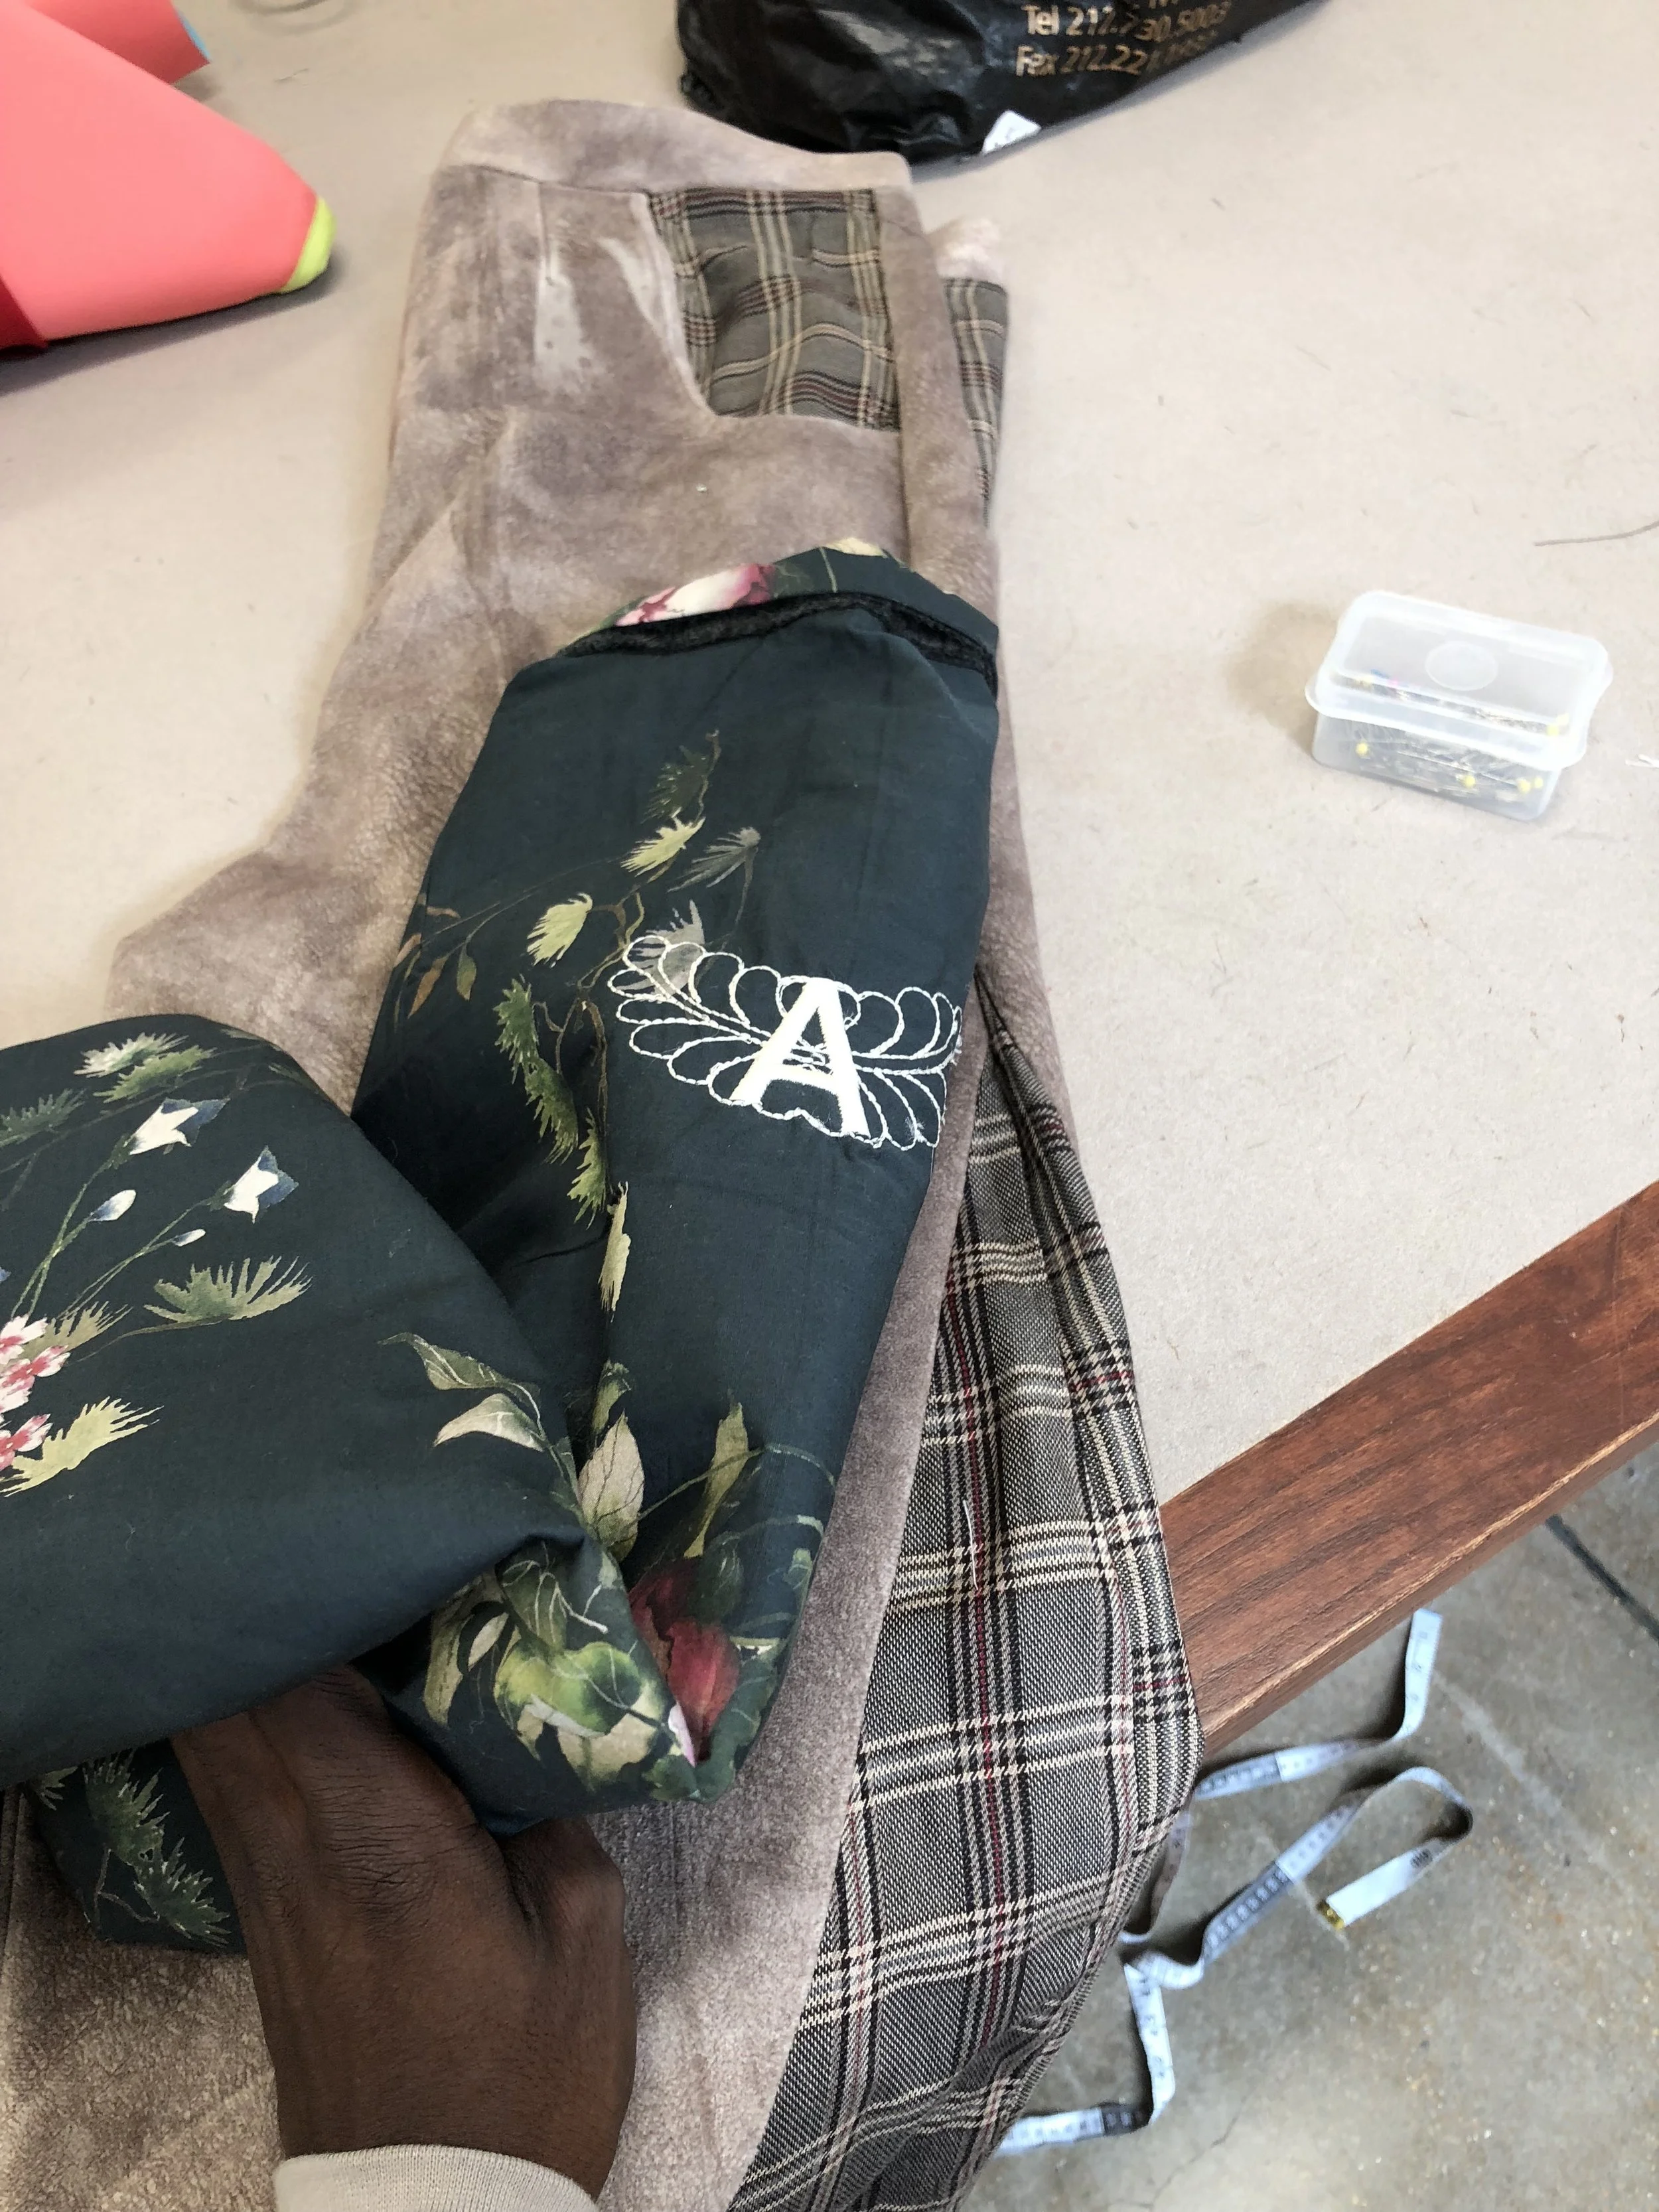
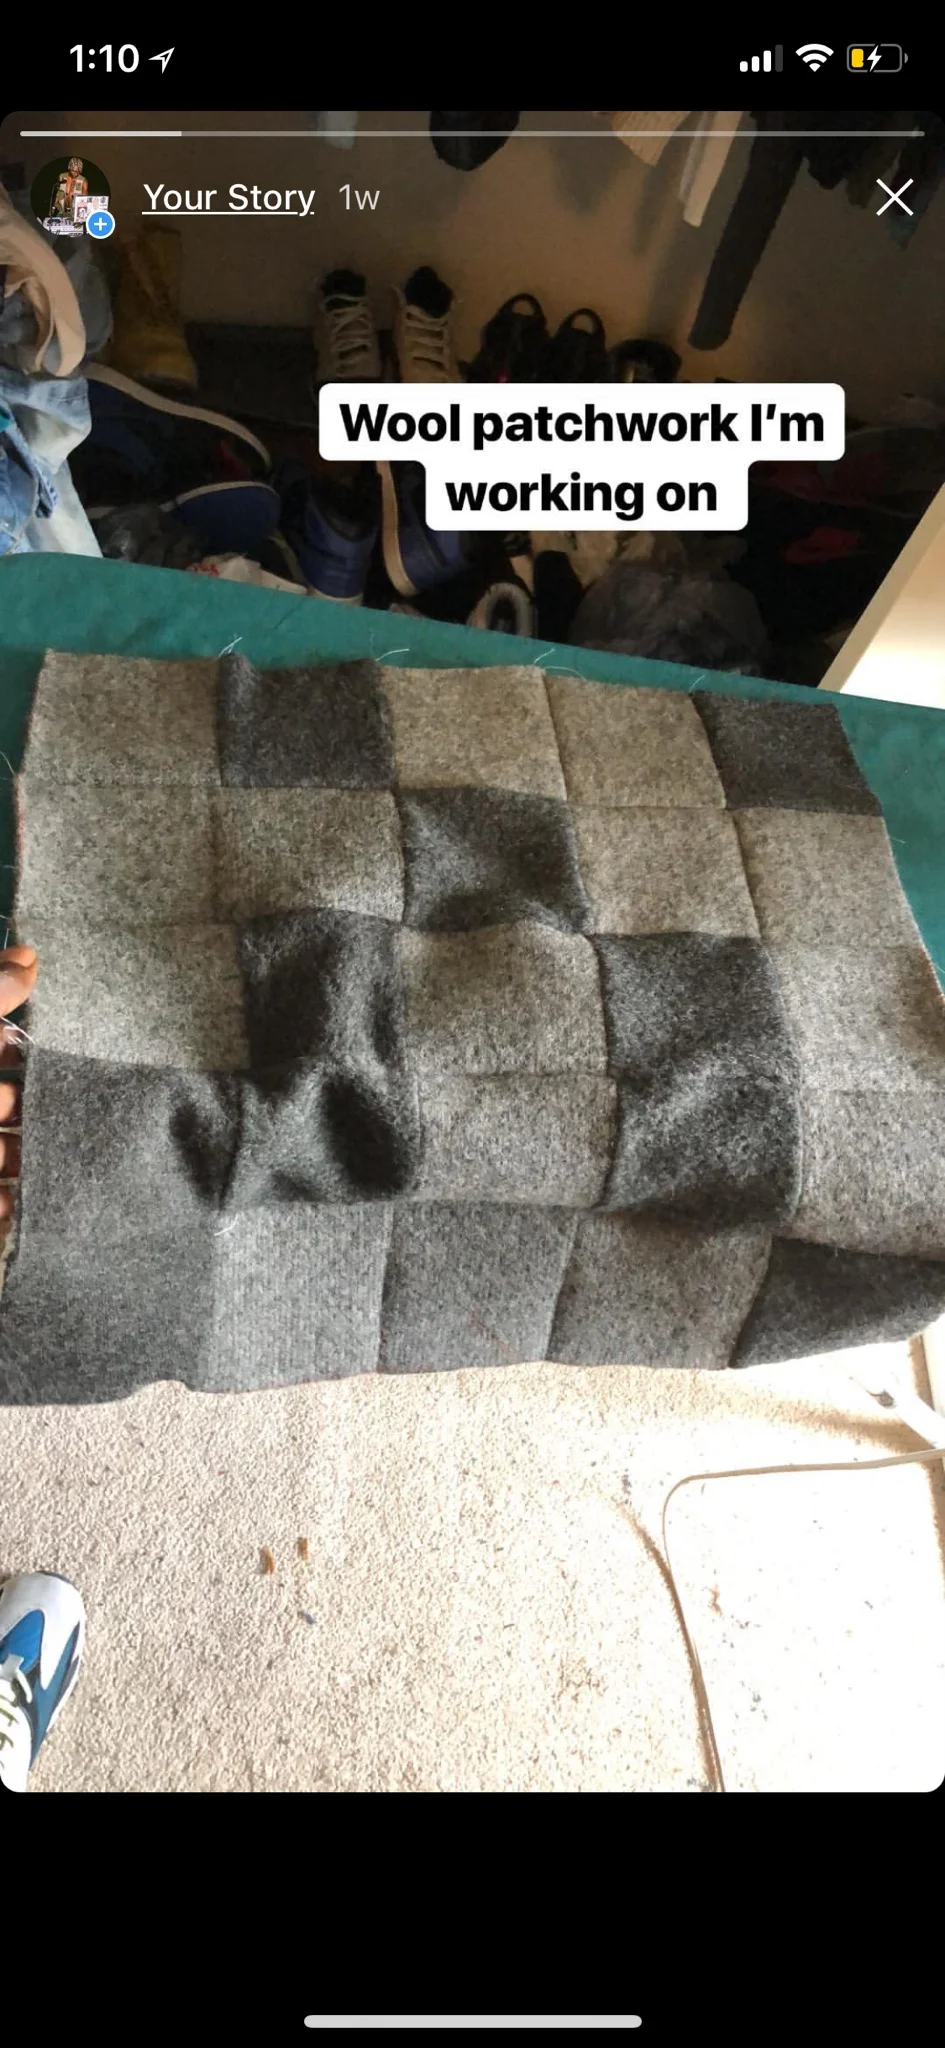
Construction/Process
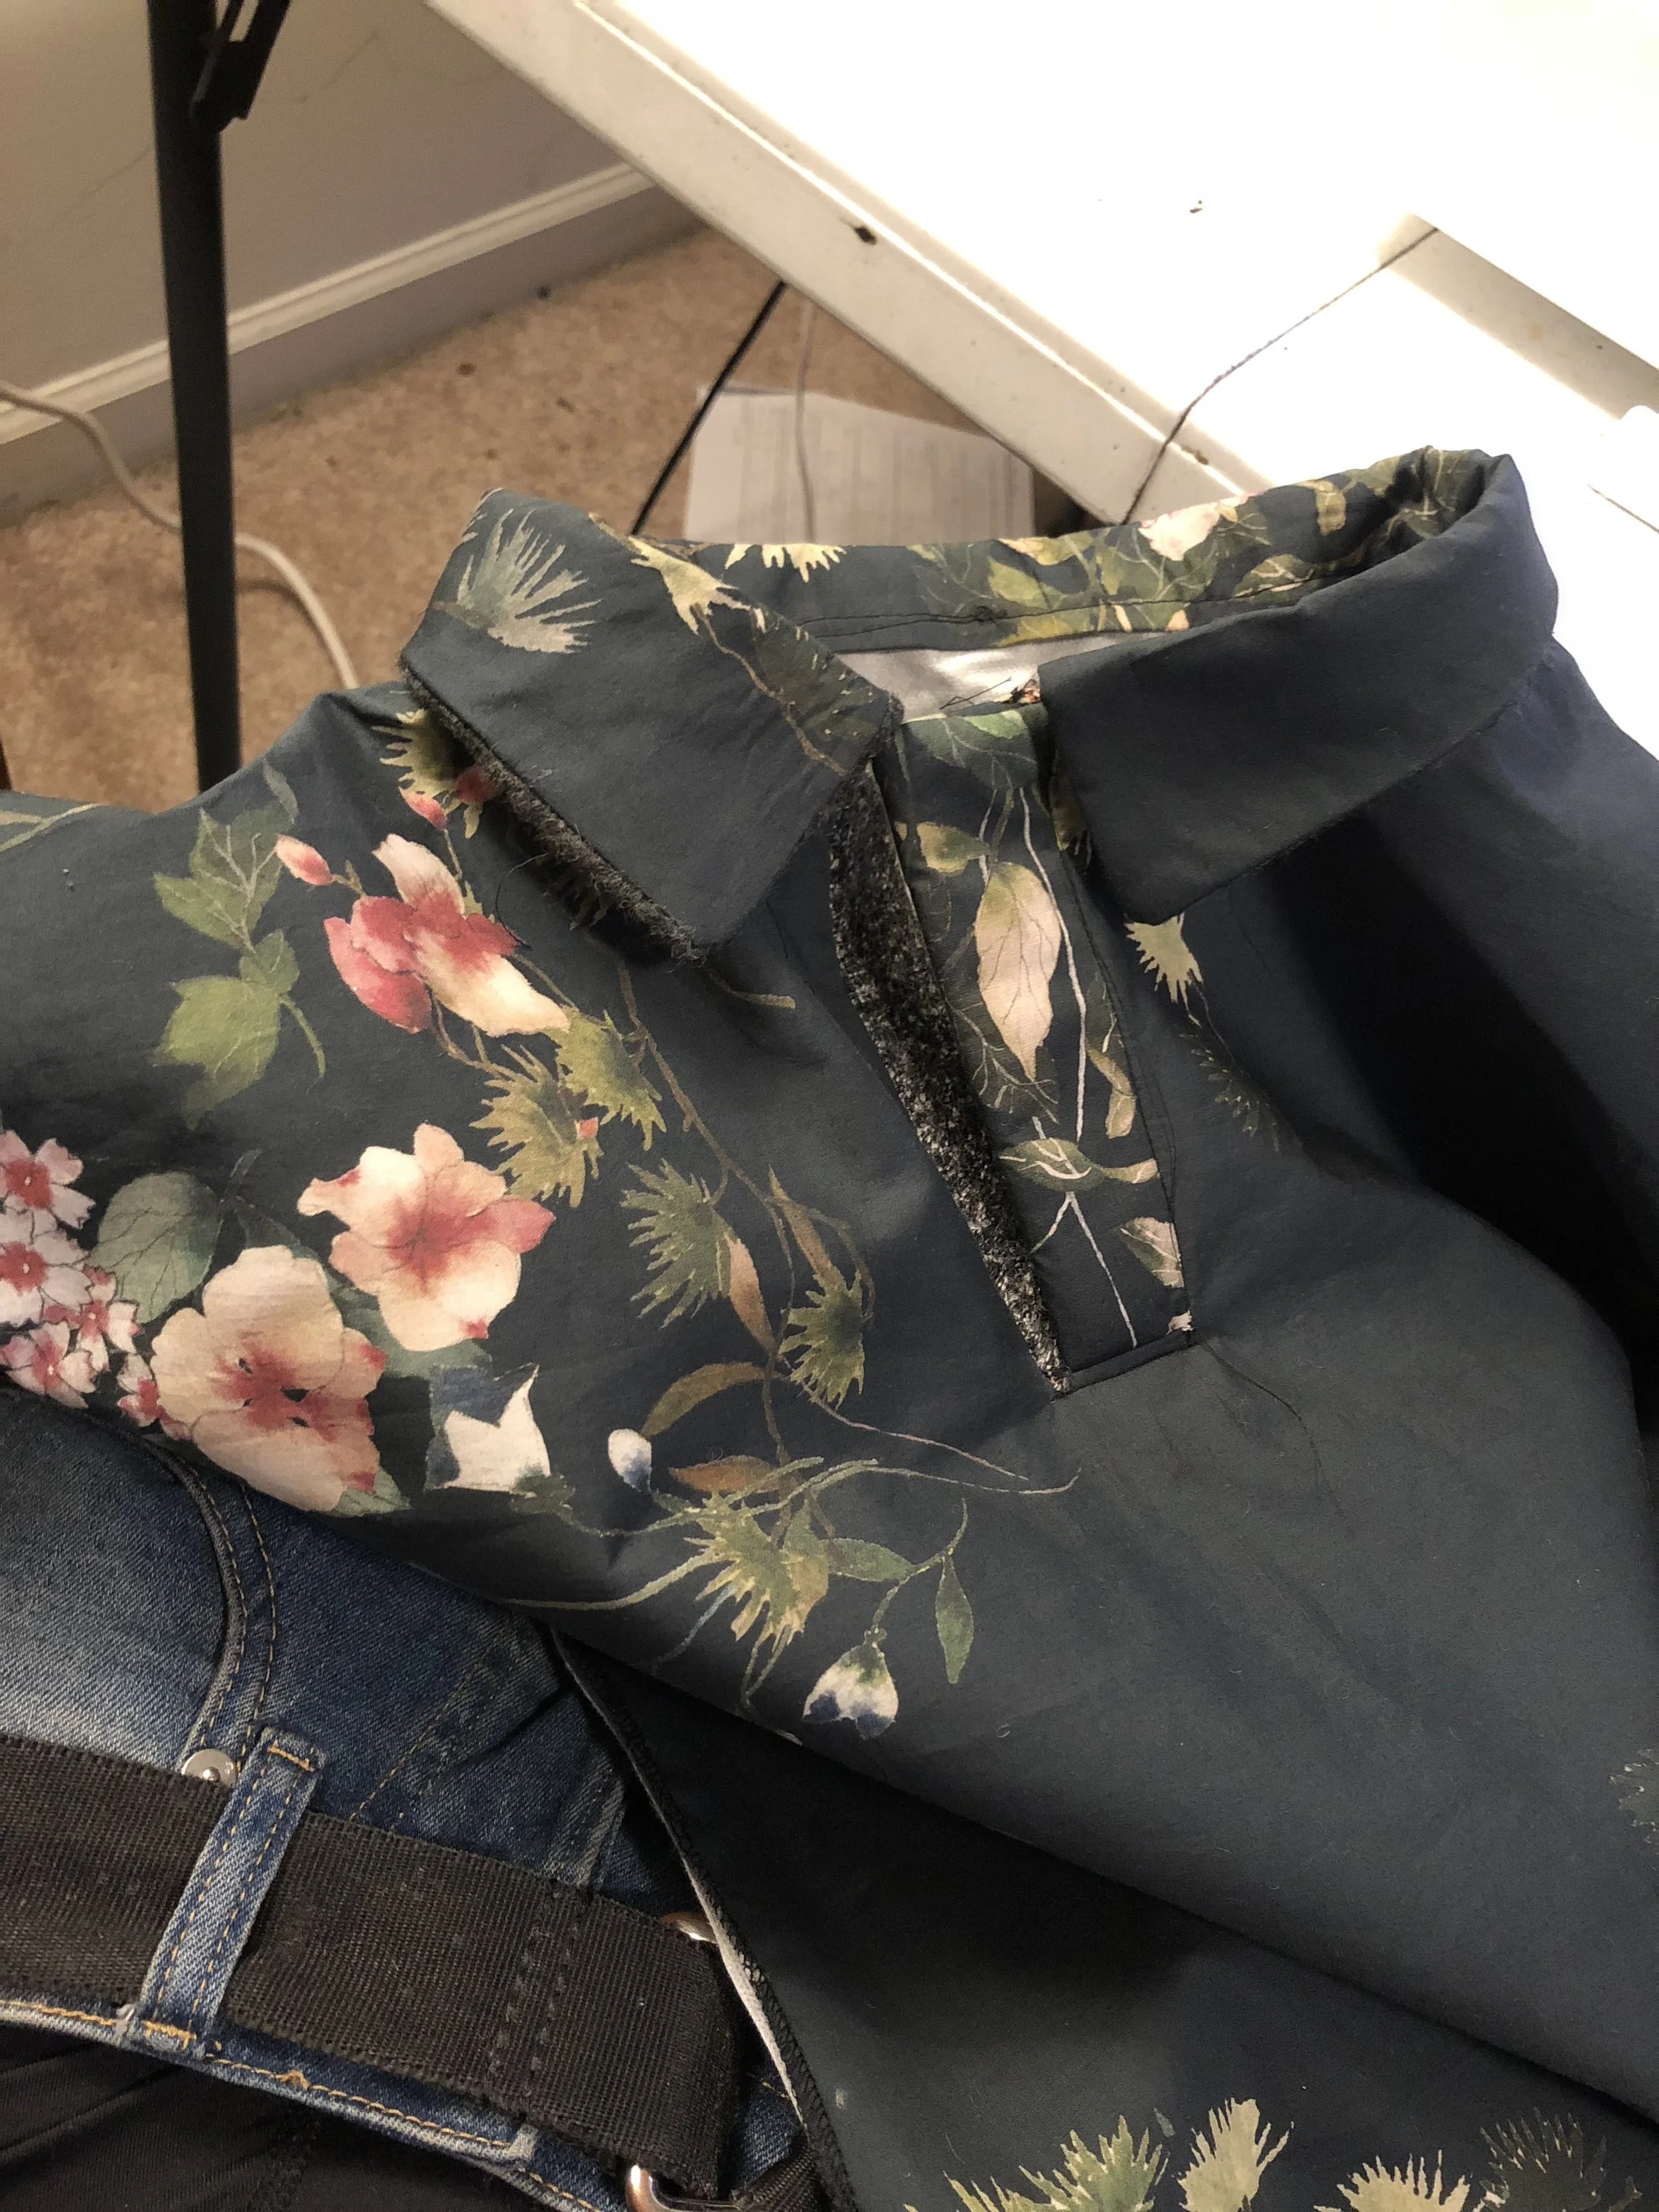
- For the polo long sleeve, I used a printed black/green cotton poplin fabric that was very lightweight. I initially planned to use this fabric for just the sleeves. After seeing the full design on the fabric, I felt it was necessary to make the entire garment out of this. The only problem solving issues I encountered was when connecting the wool patchwork sleeve piece to the rest of the poplin sleeve. The poplin was very lightweight, which made it almost impossible to realistically notice the longevity of this piece. To add a more defined structure and weight (to make it easier to sew with the wool patchwork), I added a thick fusible interfacing to all of the pattern pieces (except the wool patchwork). This made the silhouette of the polo a lot more defined and added the weight I needed to balance the garment out completely.
The care instructions for this garment are quite simple (yet expensive) due to the price range I was tasked with (moderate). I didn’t intend for this garment to be so expensive (sourcing wise). That being said, in the final production and marketing stages, I believe that this garment would be classified and categorized into the better side of the line. A piece of this nature would definitely need to be dry cleaned to secure the overall integrity of the wool patchwork and lightweight poplin. My favorite part of this garment is the polo placket because I worked very hard to make it clean and crisp as well as heavy and strong enough to withstand button holes and buttons whilst enhancing the overall integrity of the fabric.
Weight - Lightweight